Website maintainance mode
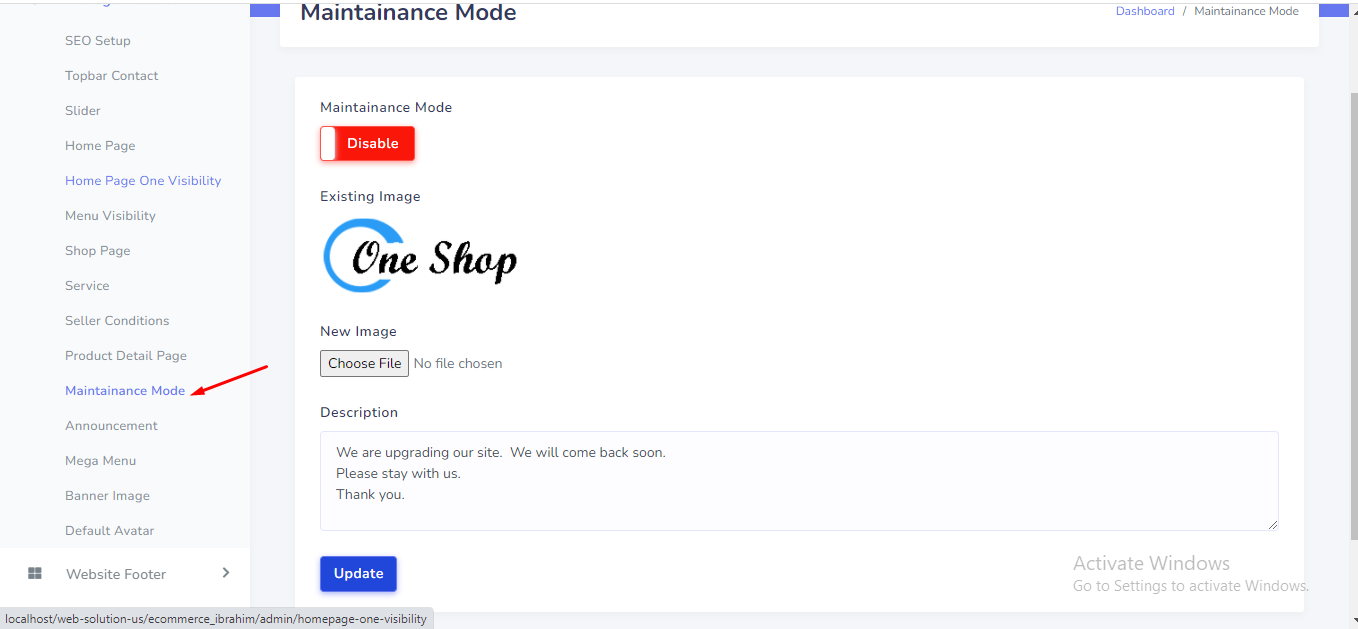
Website maintainance mode can be manage from the admin panel. Go to "Manage website >> Maintainace mode" from sidebar. See:
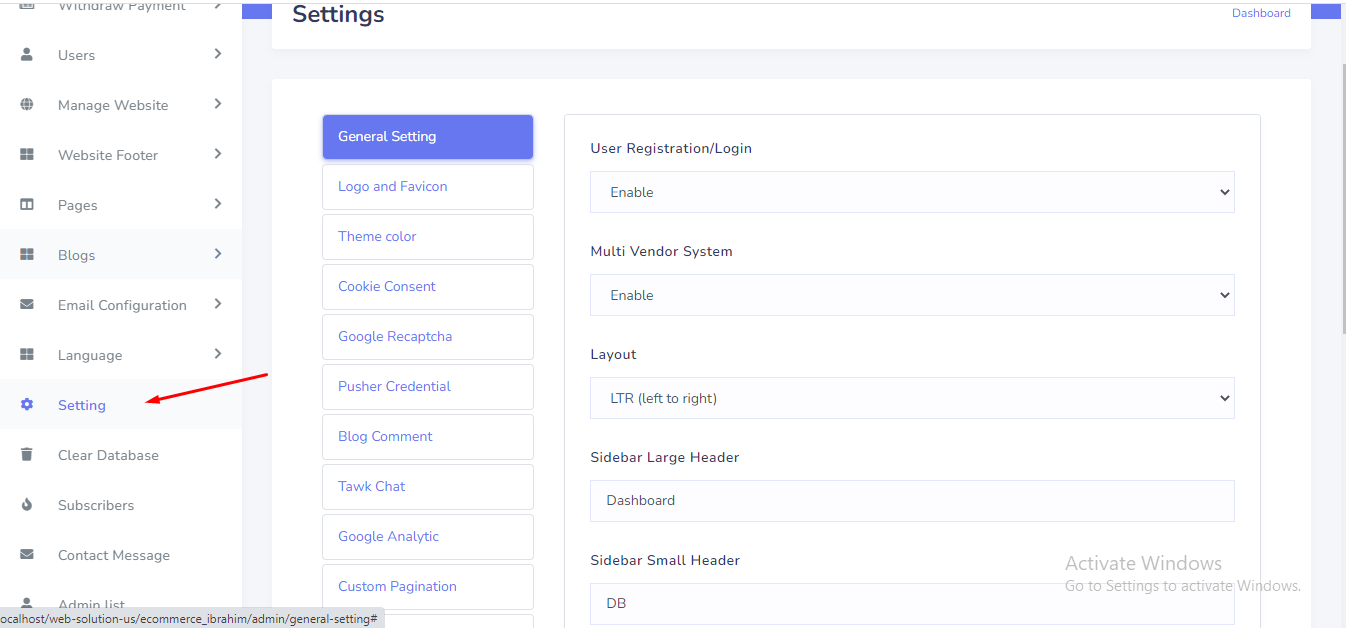
Website General Setting can be set up from the admin panel. Go to "Setting" from the sidebar. See:
Logo and favicon can be set up from the admin panel. Go to "Setting" from the sidebar. See:
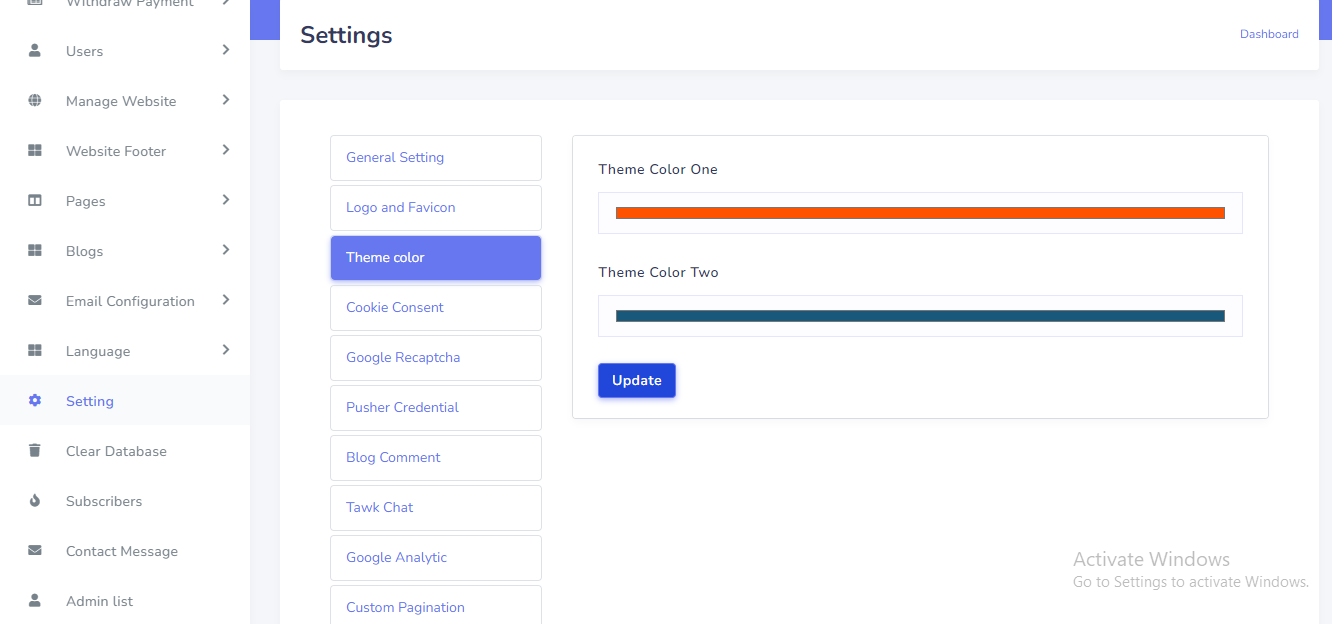
Theme color can be set up from the admin panel. Go to "Setting" from the sidebar. See:
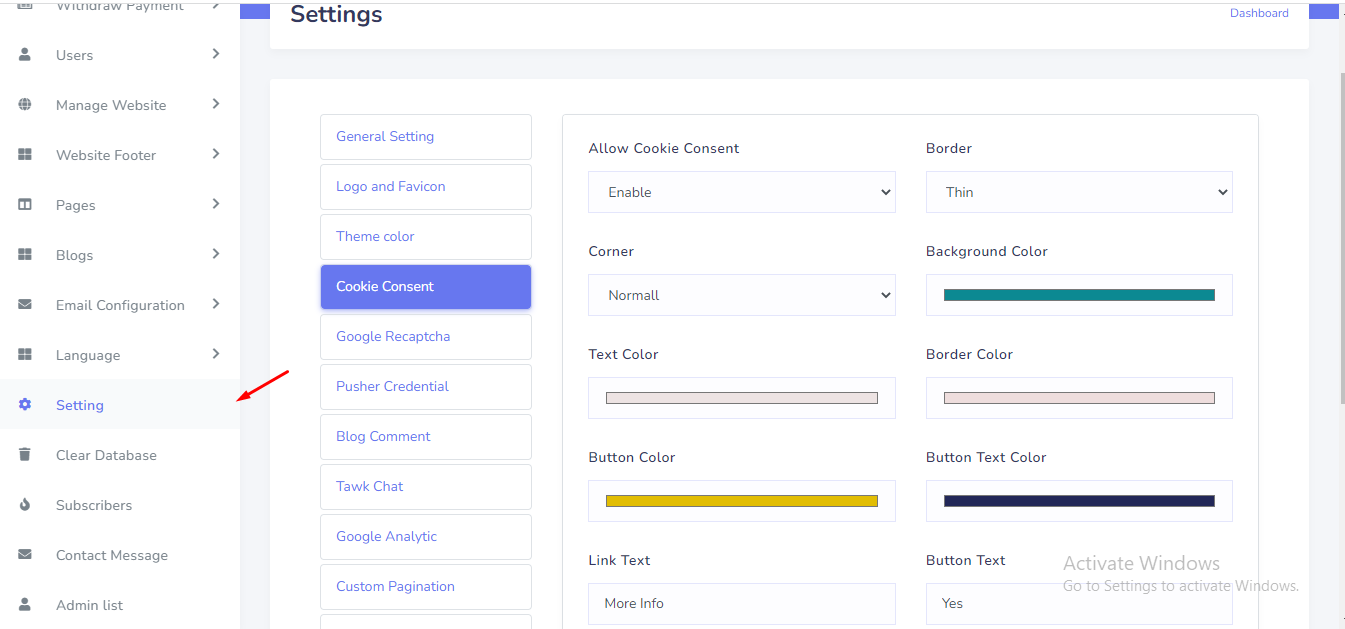
Cookie consent can be set up from the admin panel. Go to "Setting" from the sidebar. See:
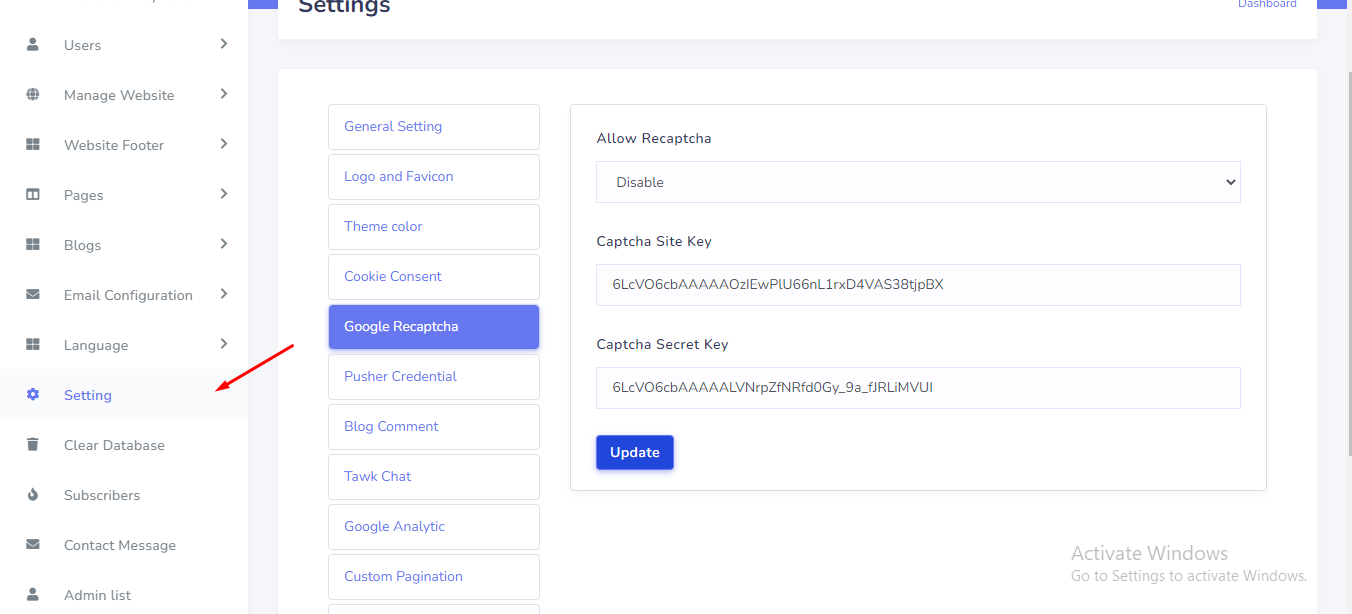
Google Recaptcha can be set up from the admin panel. Go to "Setting" from the sidebar. See:
To get your recaptcha keys, go to this link:
https://www.google.com/recaptcha/admin/create
Select version 2.
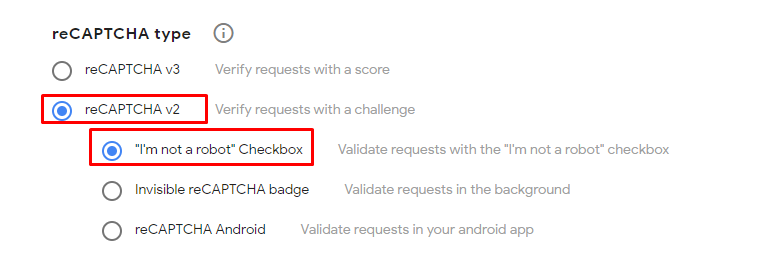
Add your website's domain name or subdomain name here and after submit you will get a site key and secret key.
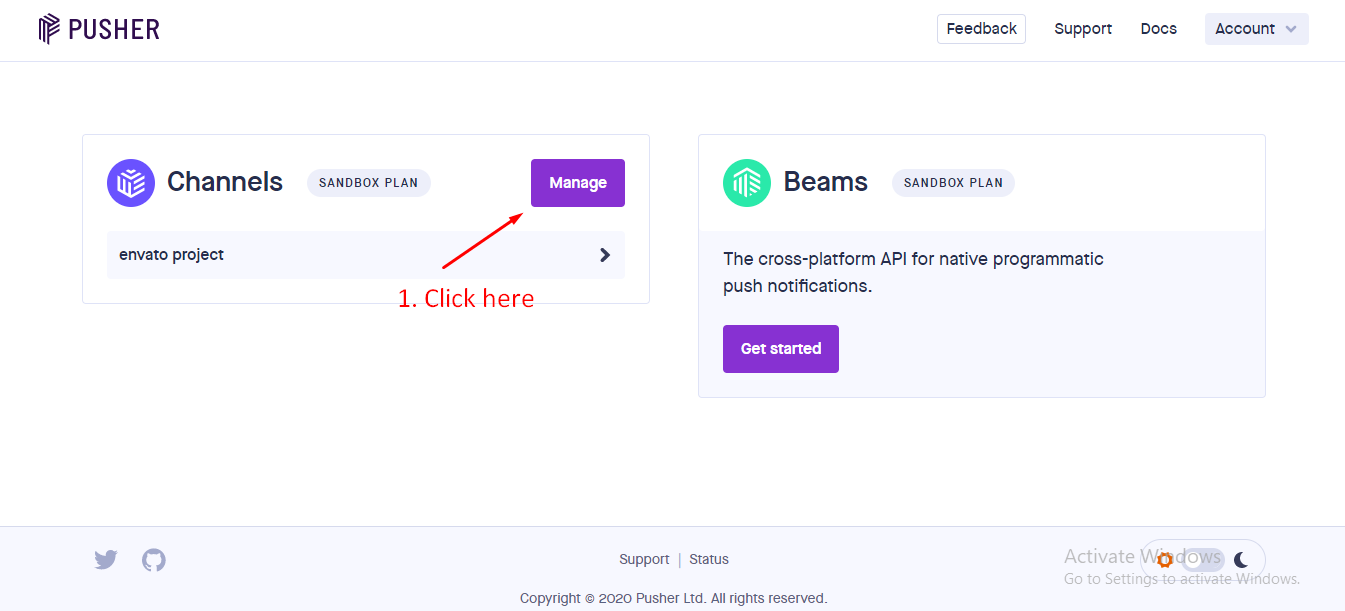
In this system need to pusher credentials for real time message between customer and seller. To
get your pusher credentials, go to this link and sign in:
https://dashboard.pusher.com/
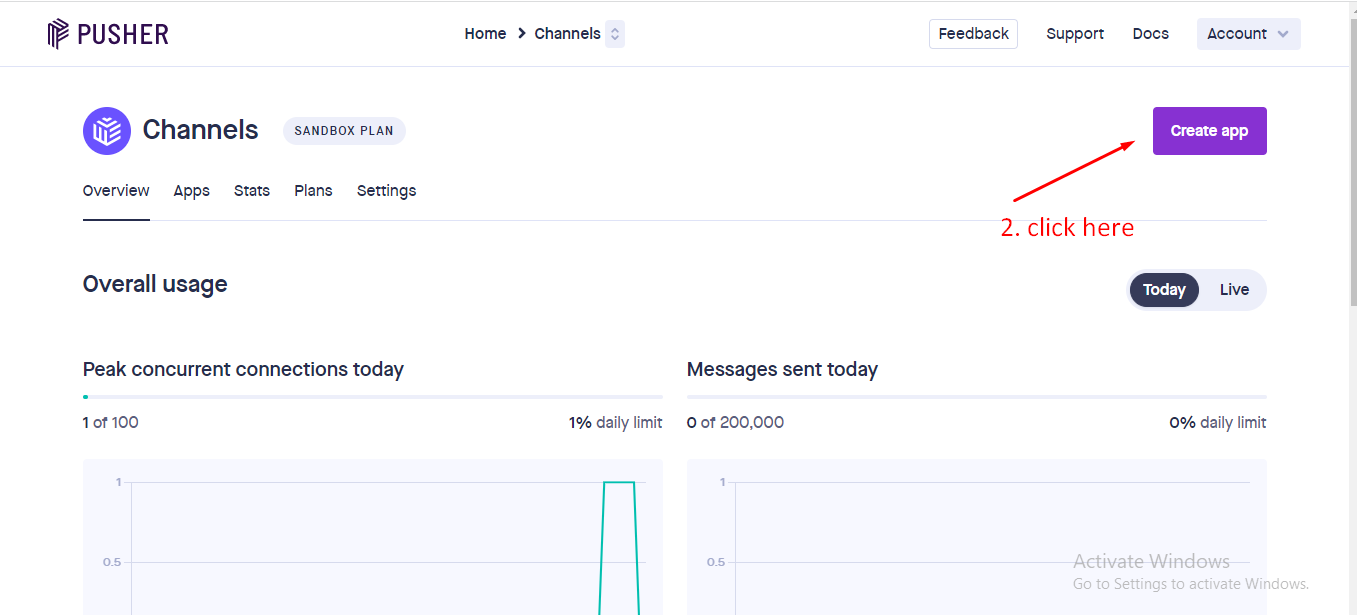
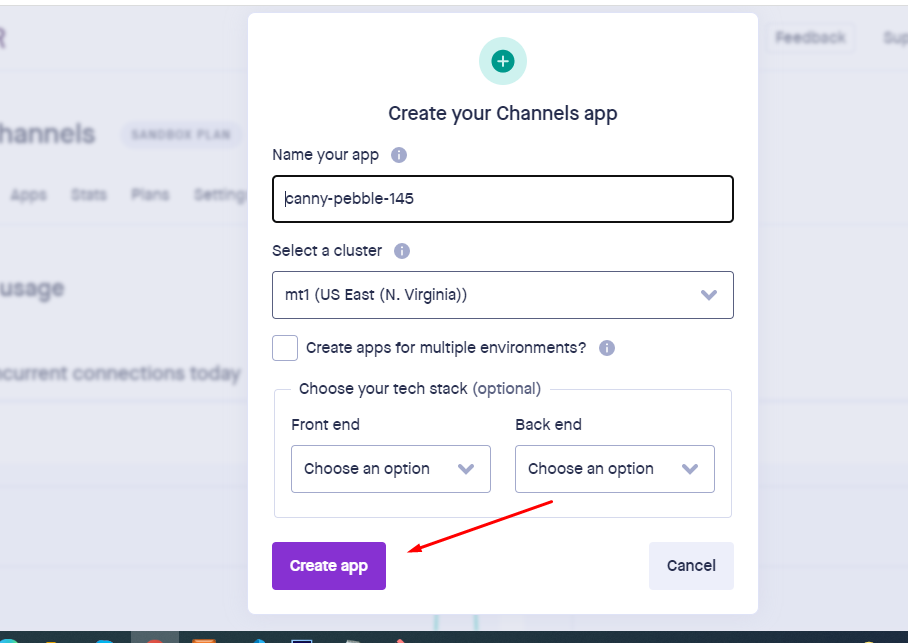
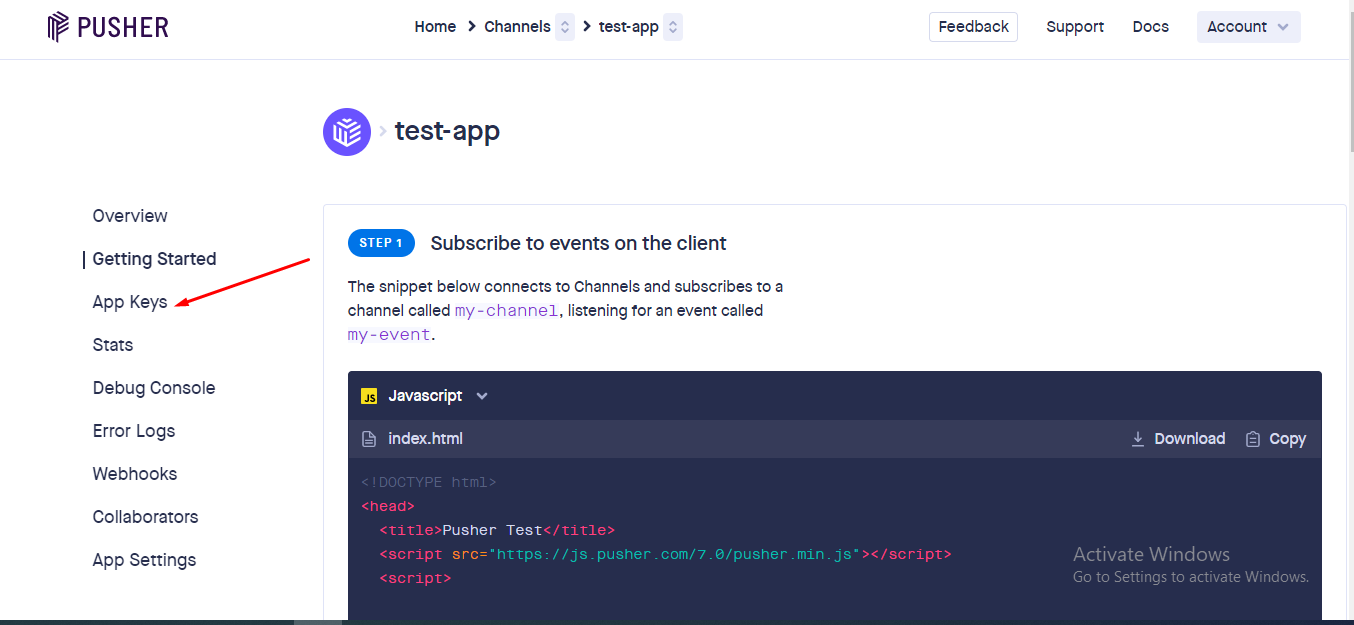

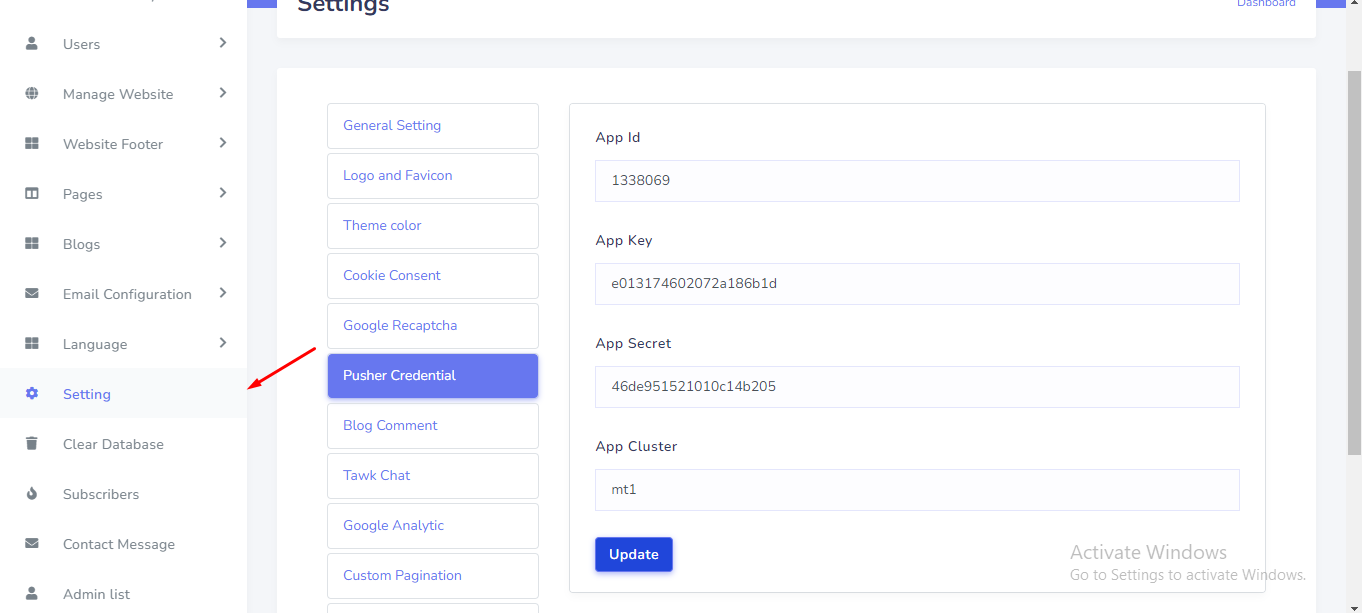
Pusher Credential can be set up from the admin panel. Go to "Setting" from the sidebar. See:
Blog comment can be set up from the admin panel. Go to "Setting" from the sidebar. See:
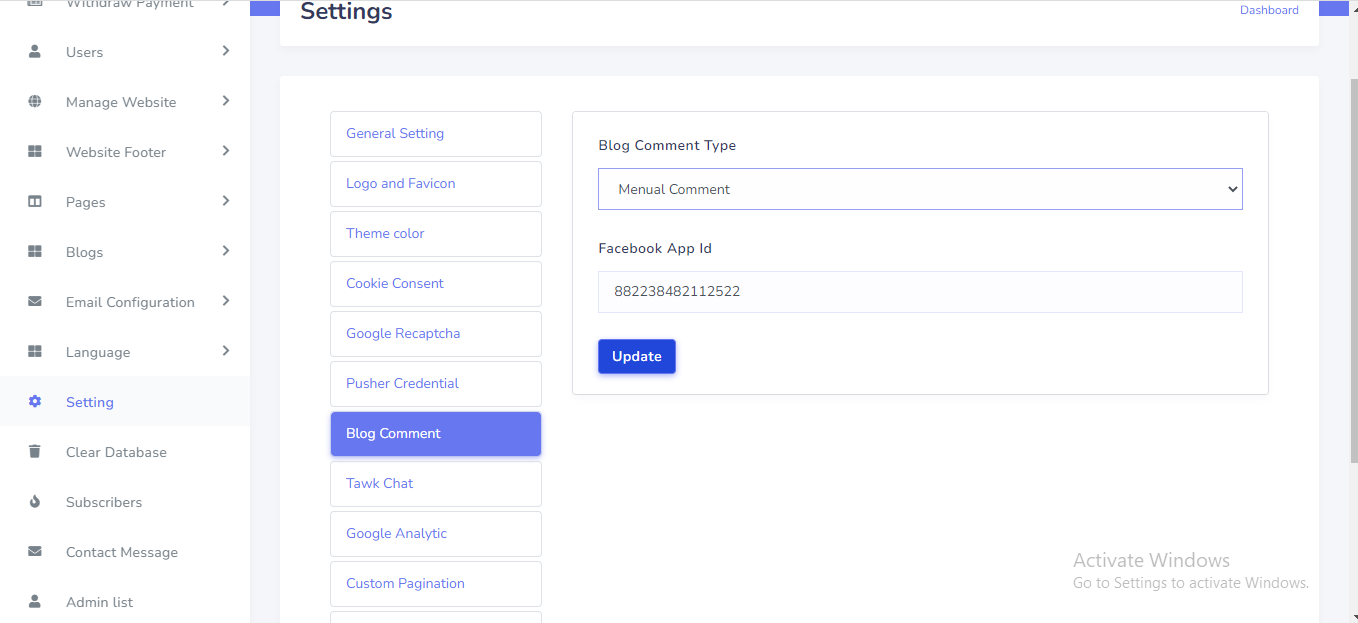
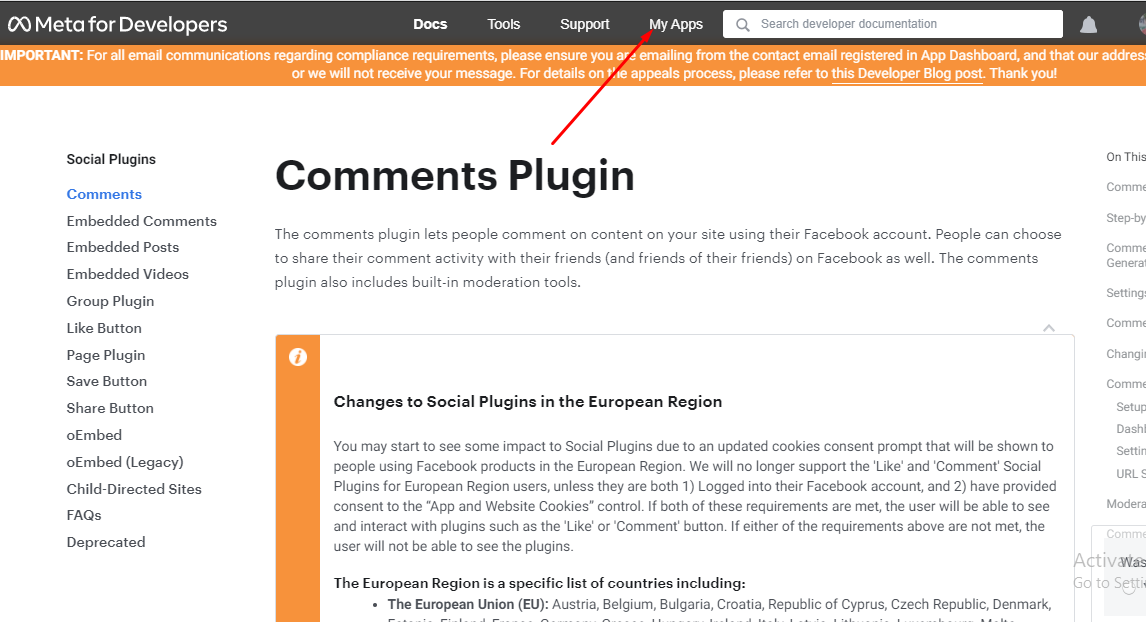
To get your facebook app id. go to this link :
https://developers.facebook.com/docs/plugins/comments
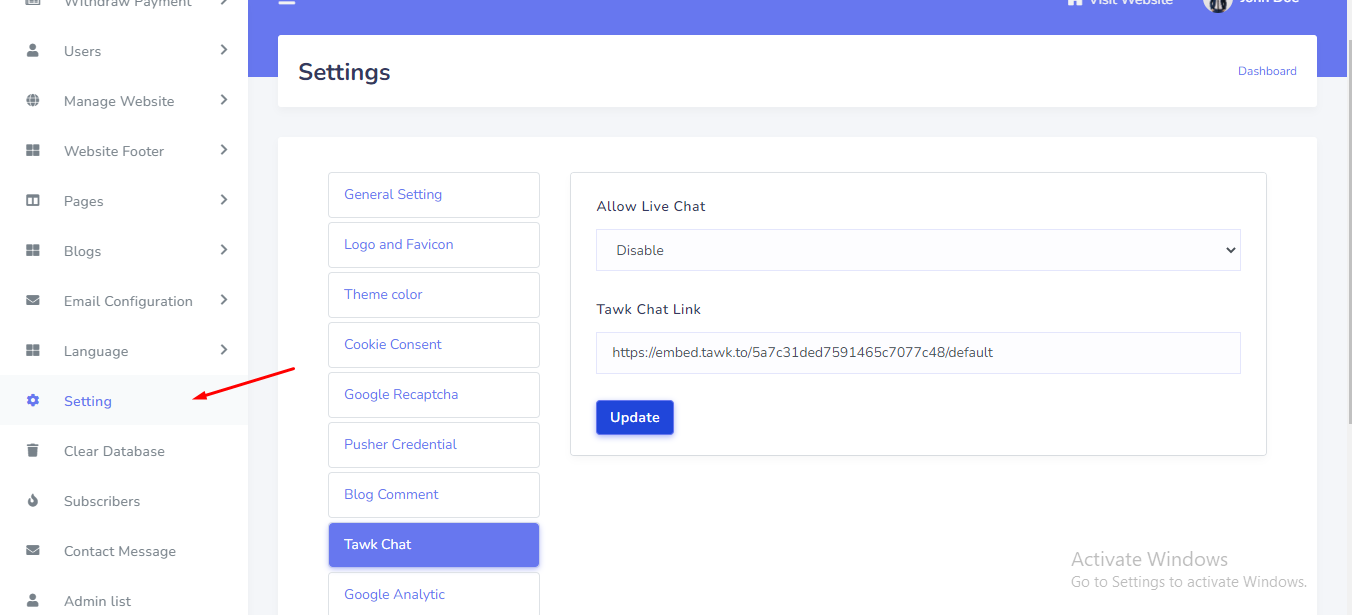
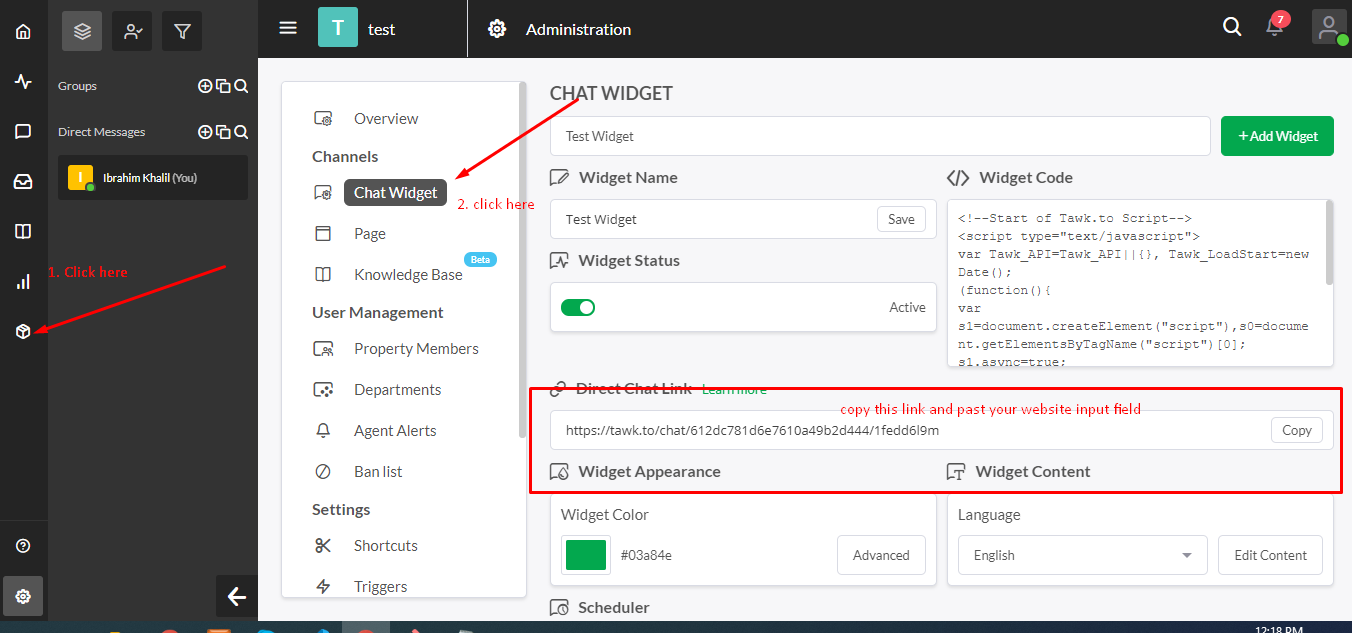
Tawk Live Chat can be set up from the admin panel. Go to "Setting" from sidebar. See:
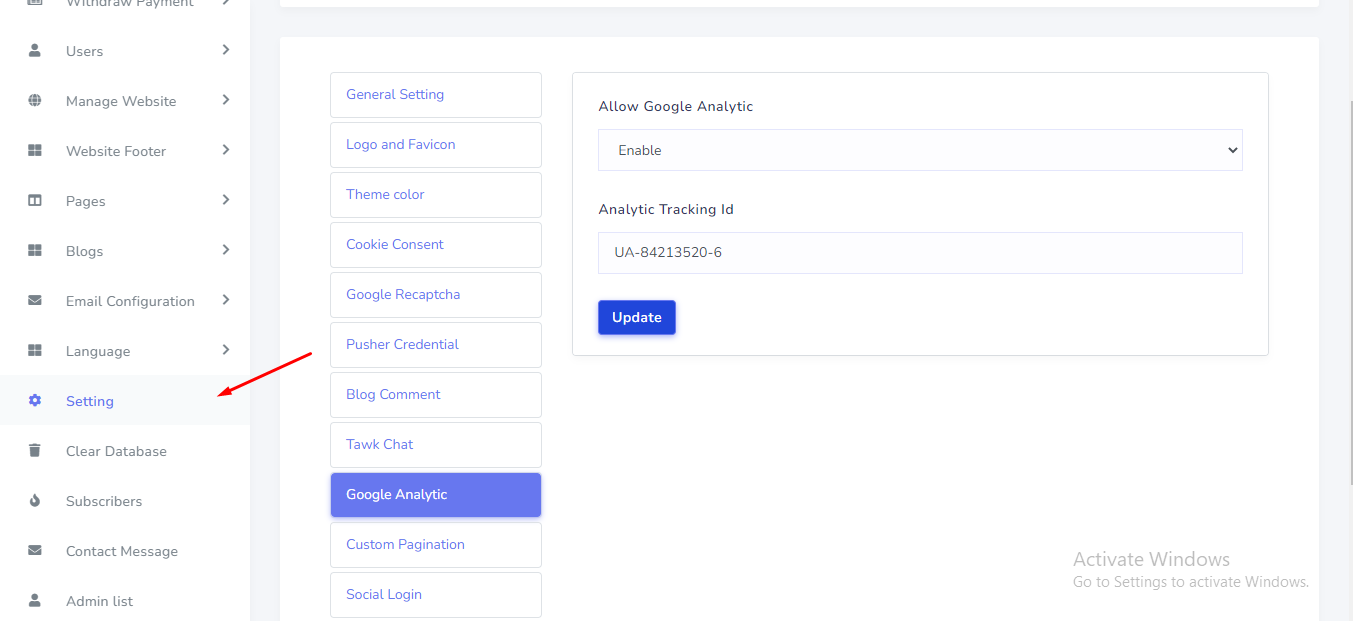
Google Analytic can be set up from the admin panel. Go to "Setting" from sidebar. See:
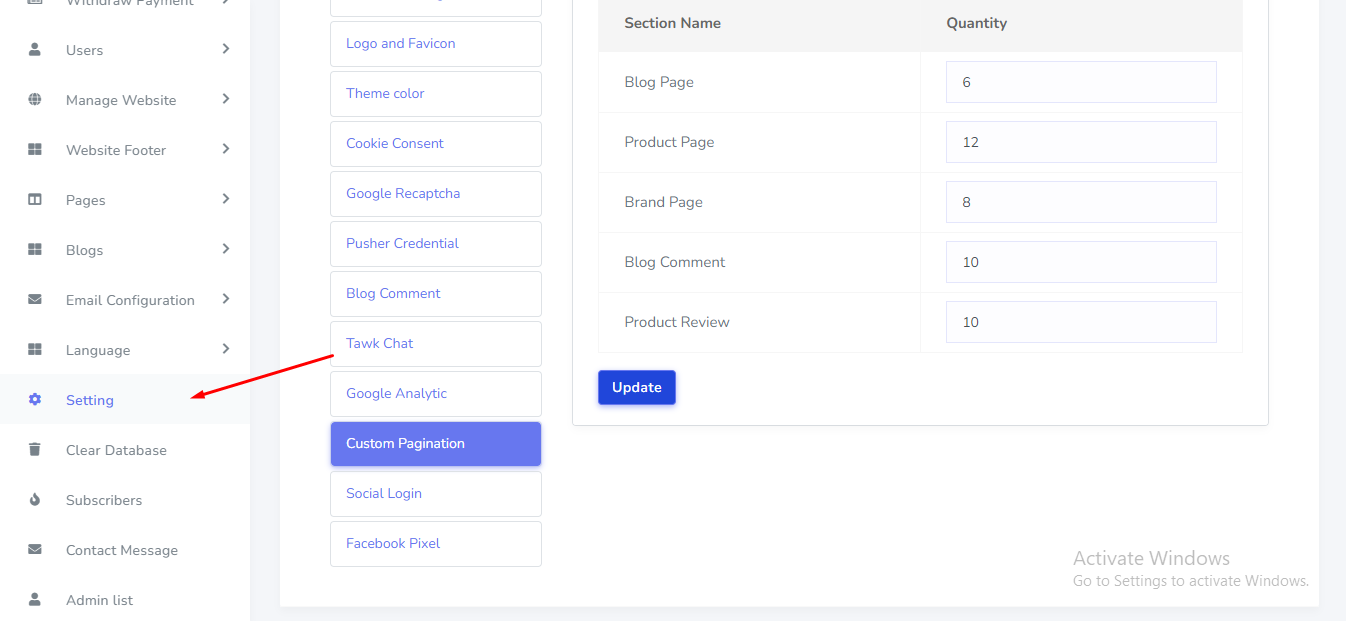
Custom Pagination can be set up from the admin panel. Go to "Setting" from sidebar. See:
Facebook pixel credential can be set up from the admin panel. Go to "Setting" from sidebar. See:
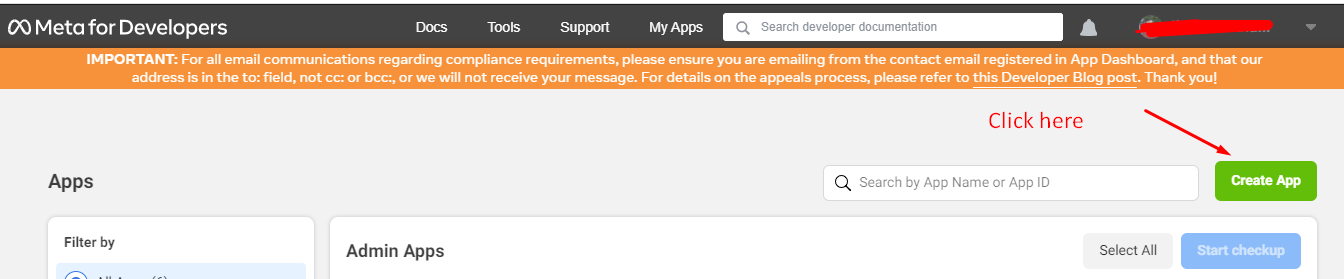
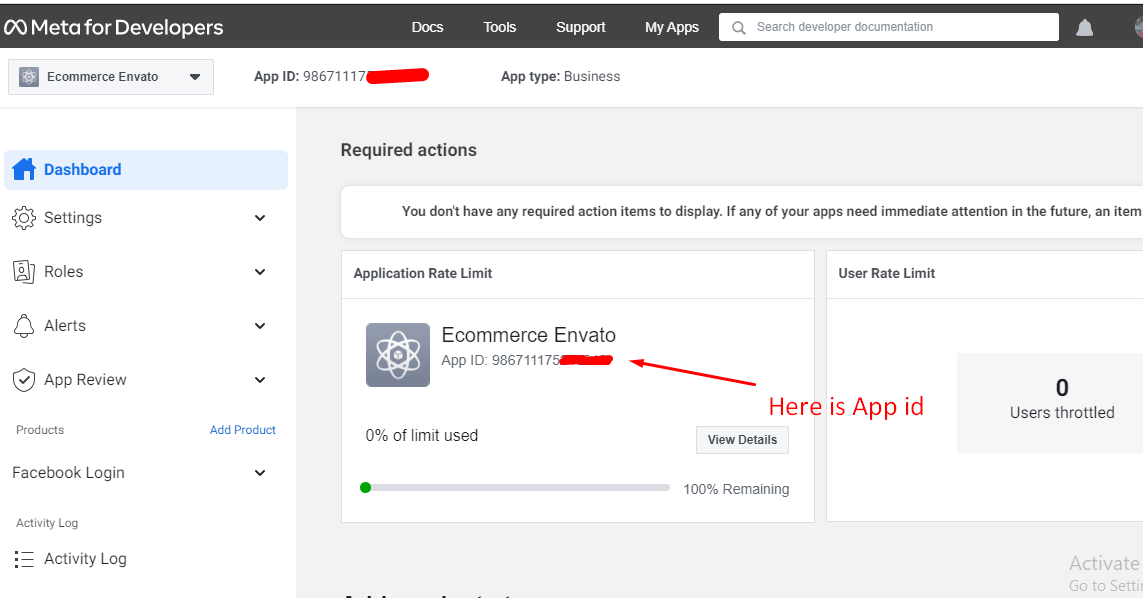
To get your facebook app id. Go to this link and create a new app:
https://developers.facebook.com/
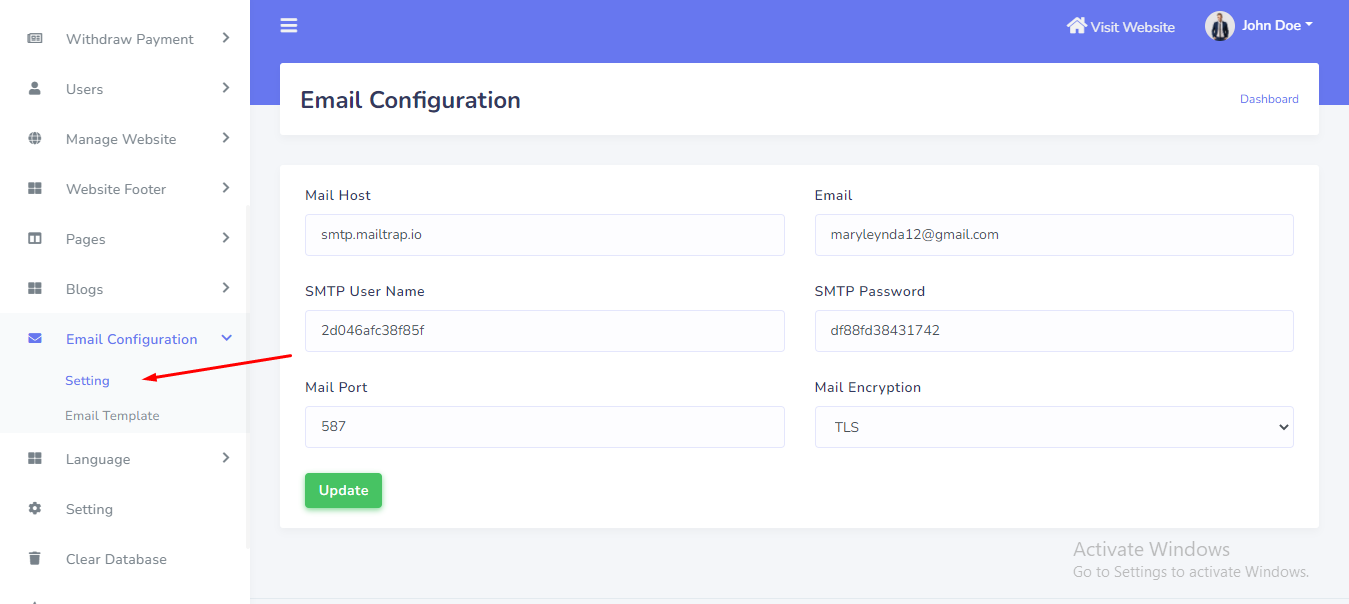
SMTP Email can be set up from the admin panel. Go to "Emai configuration > Setting". See:
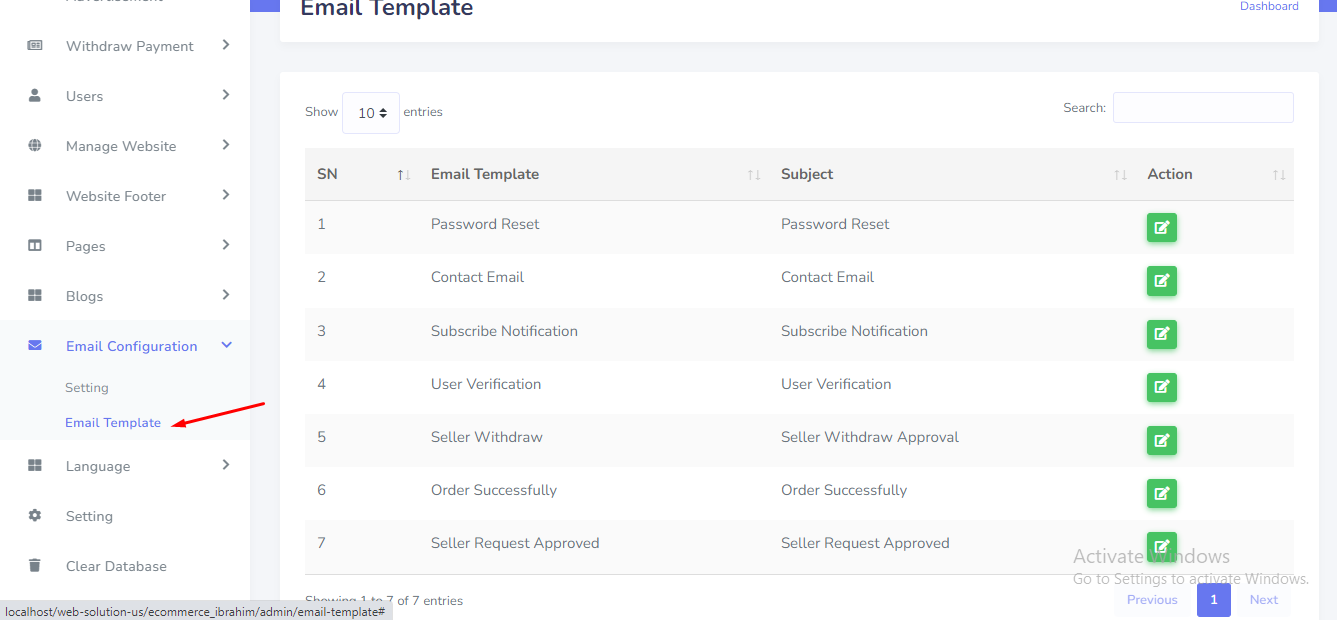
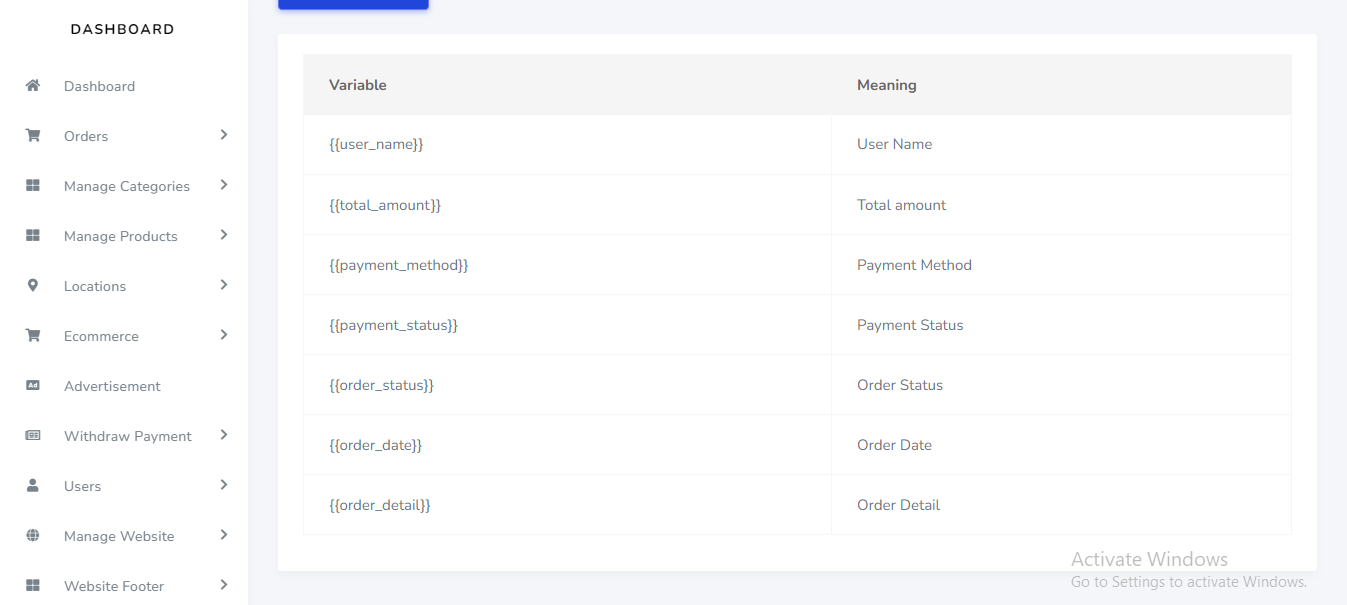
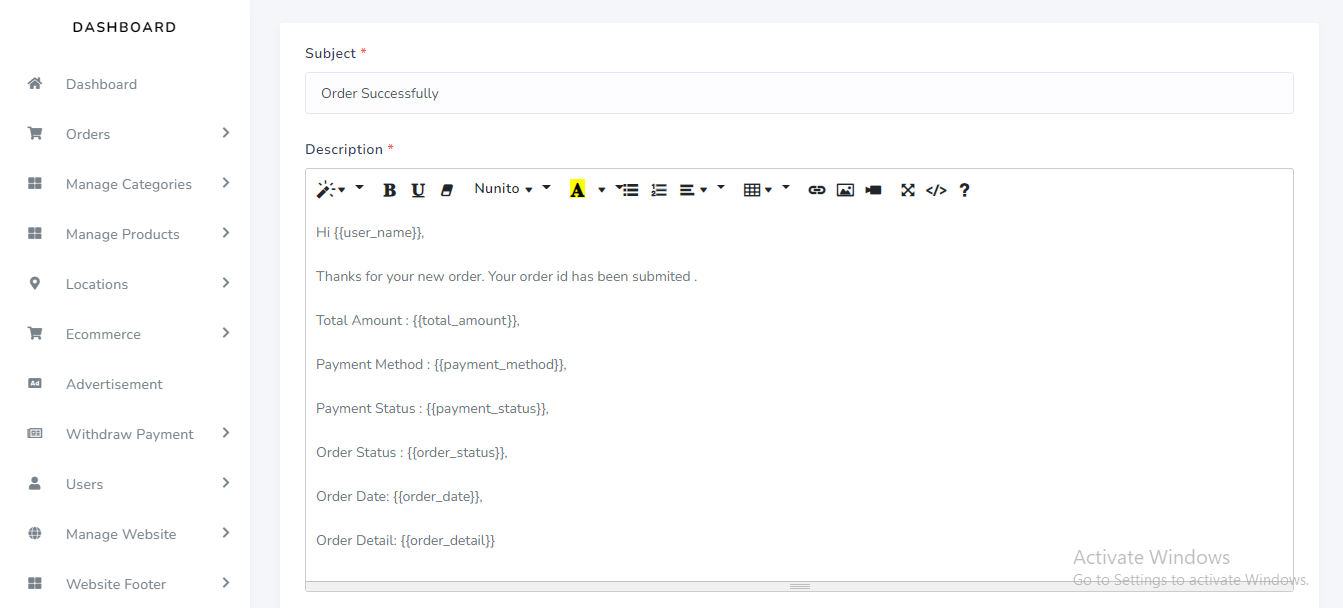
Email template can be set up from the admin panel. Go to "Emai configuration > email template". See:
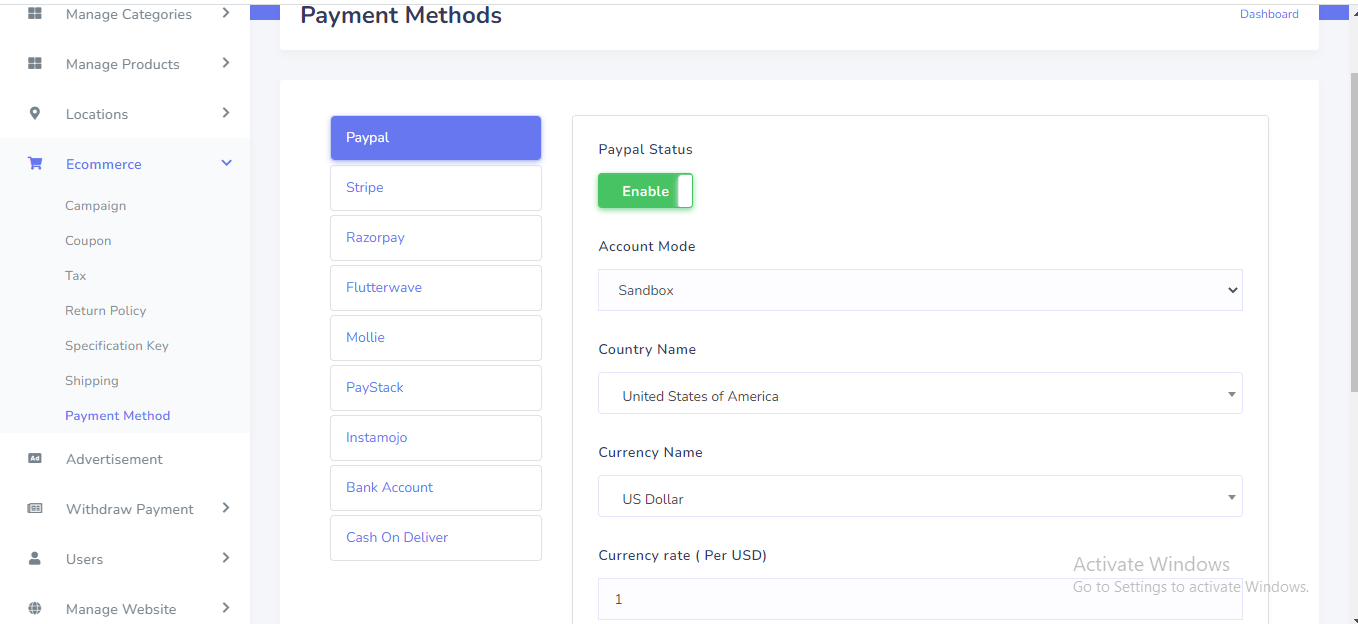
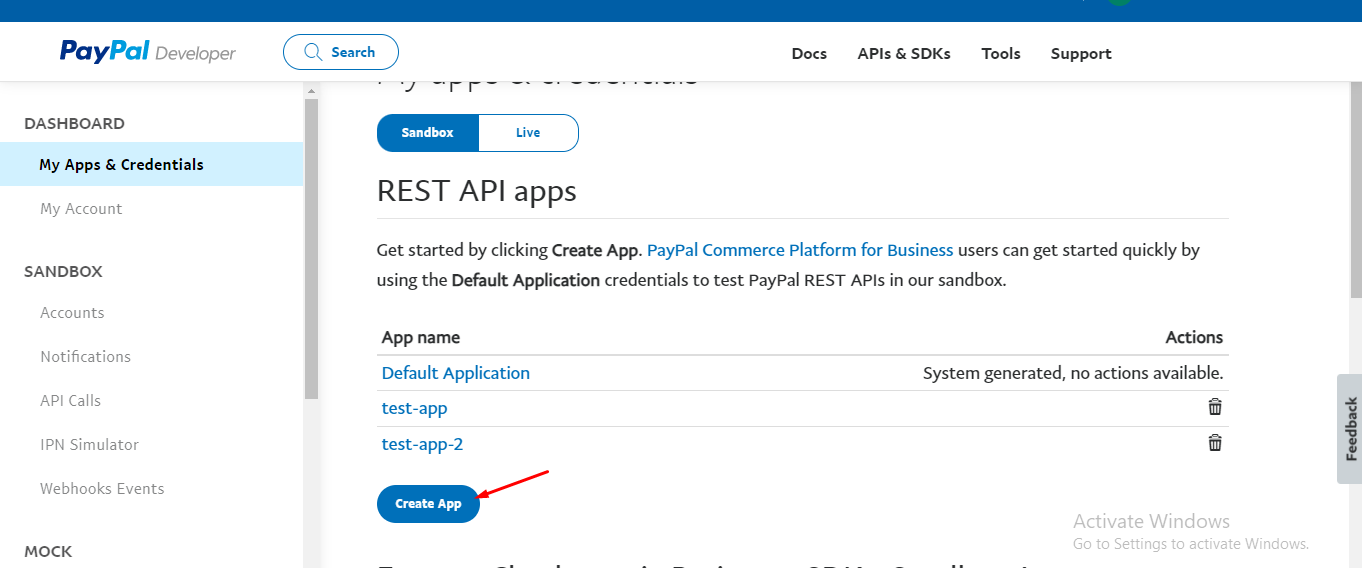
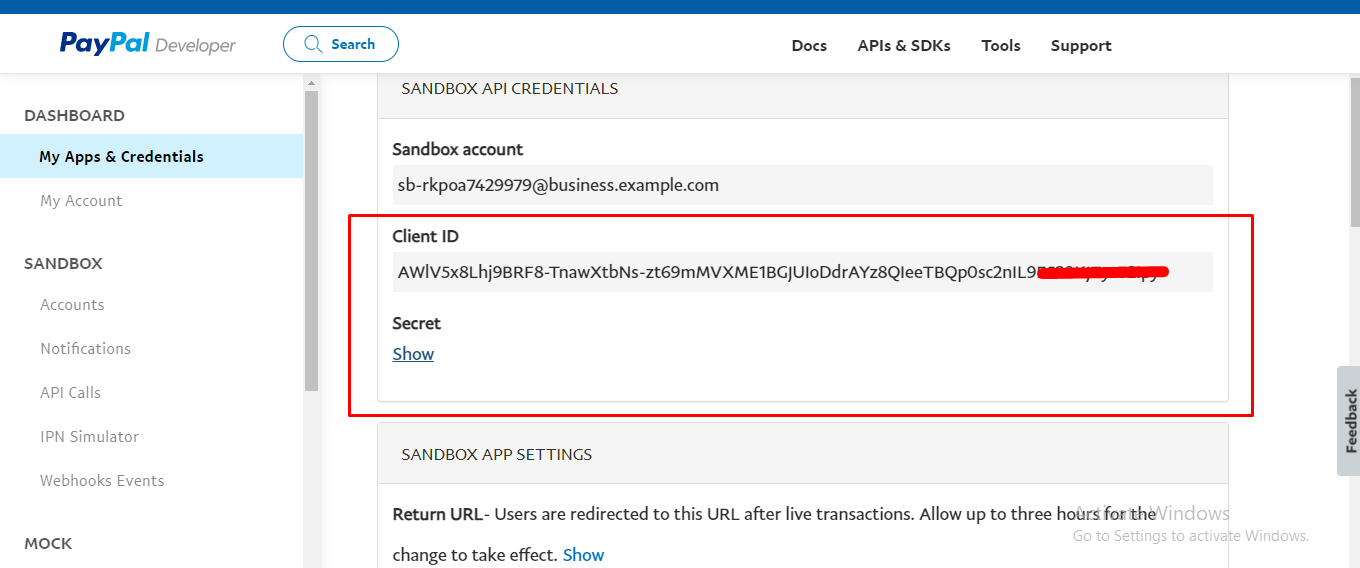
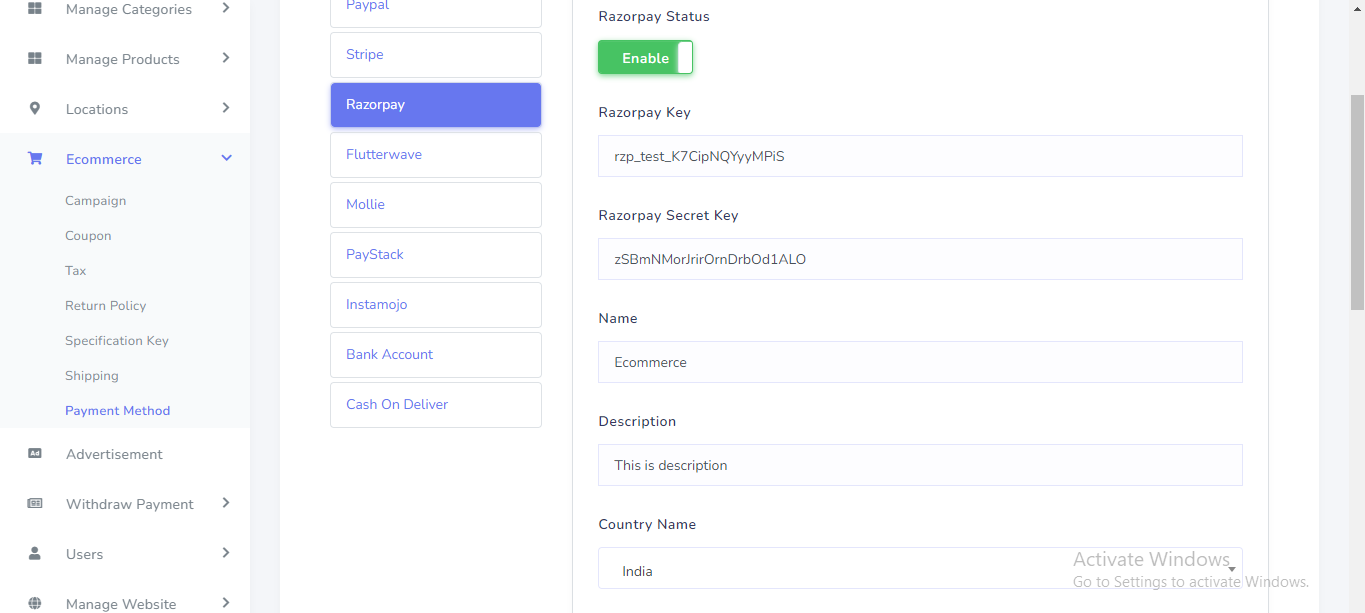
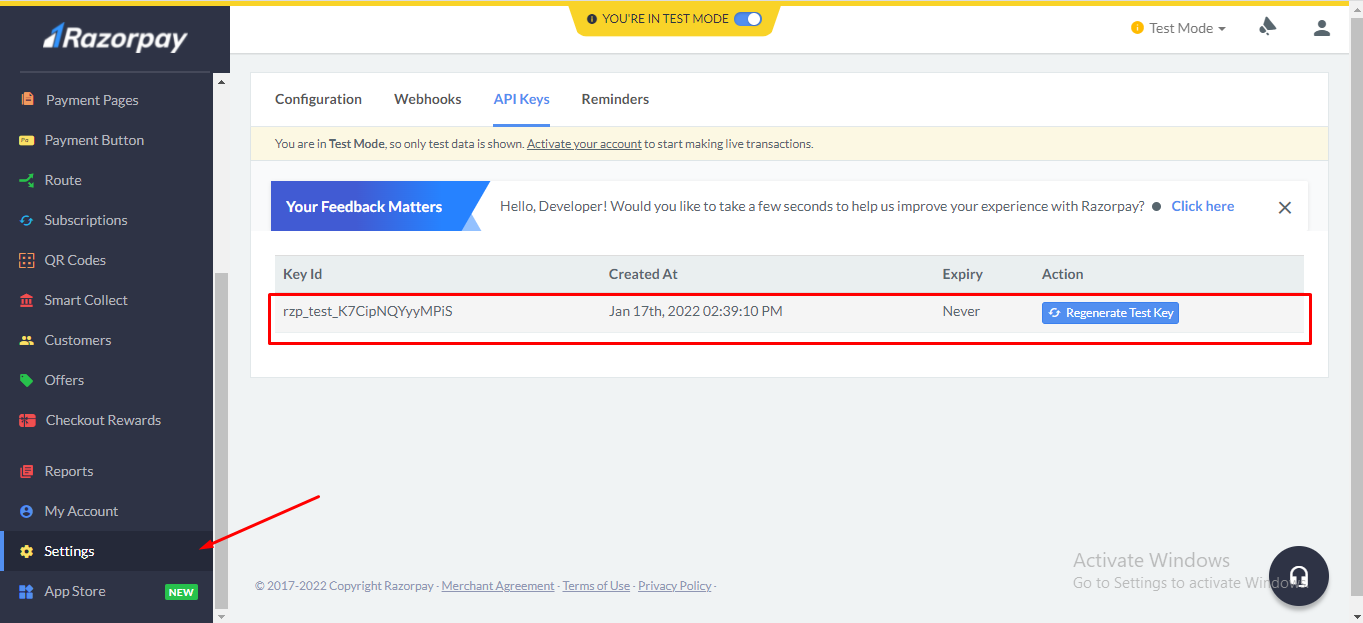
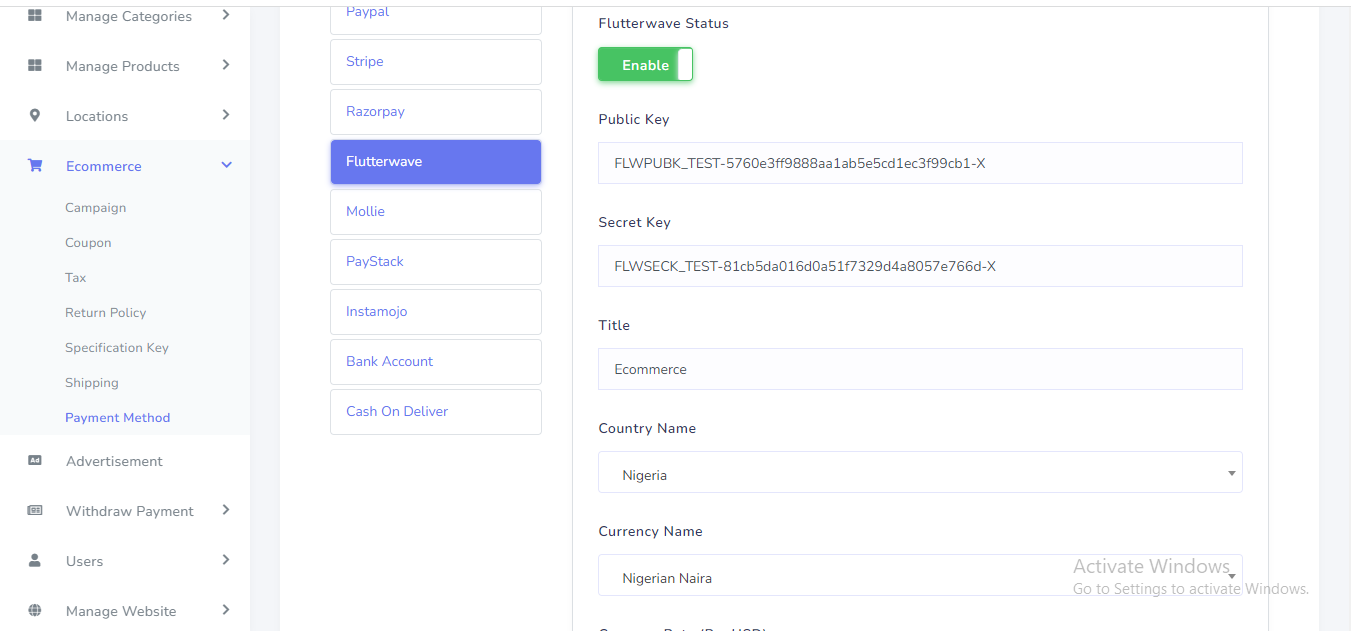
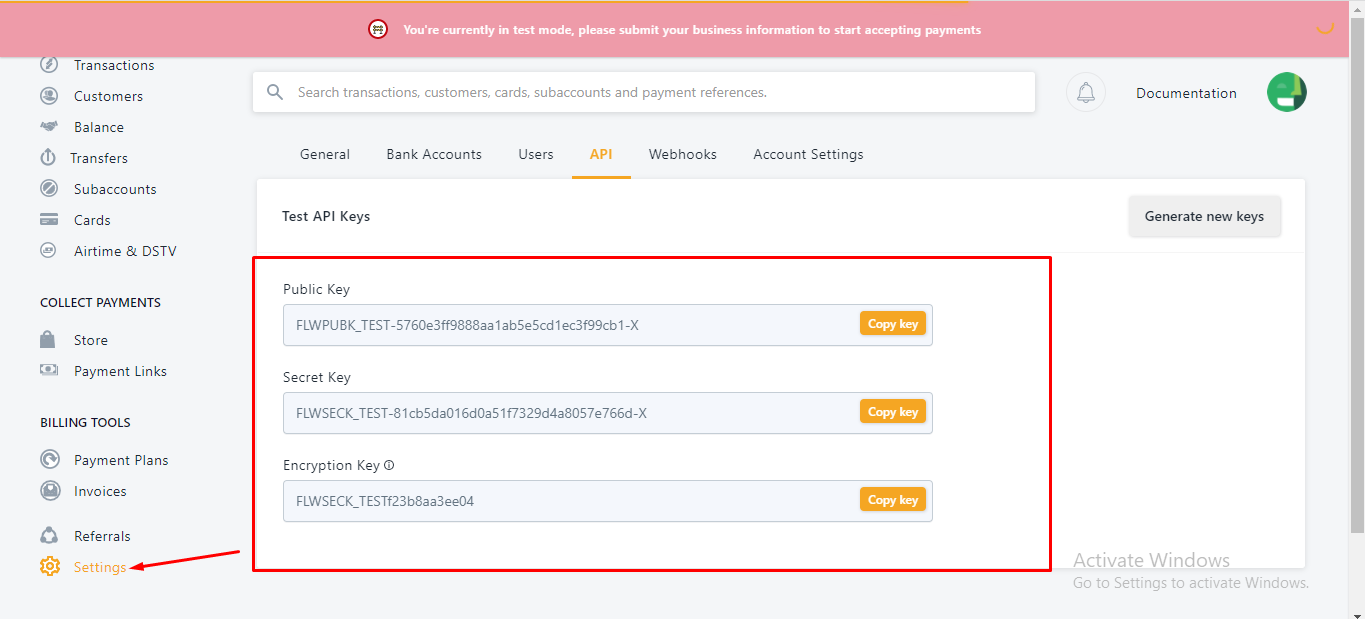
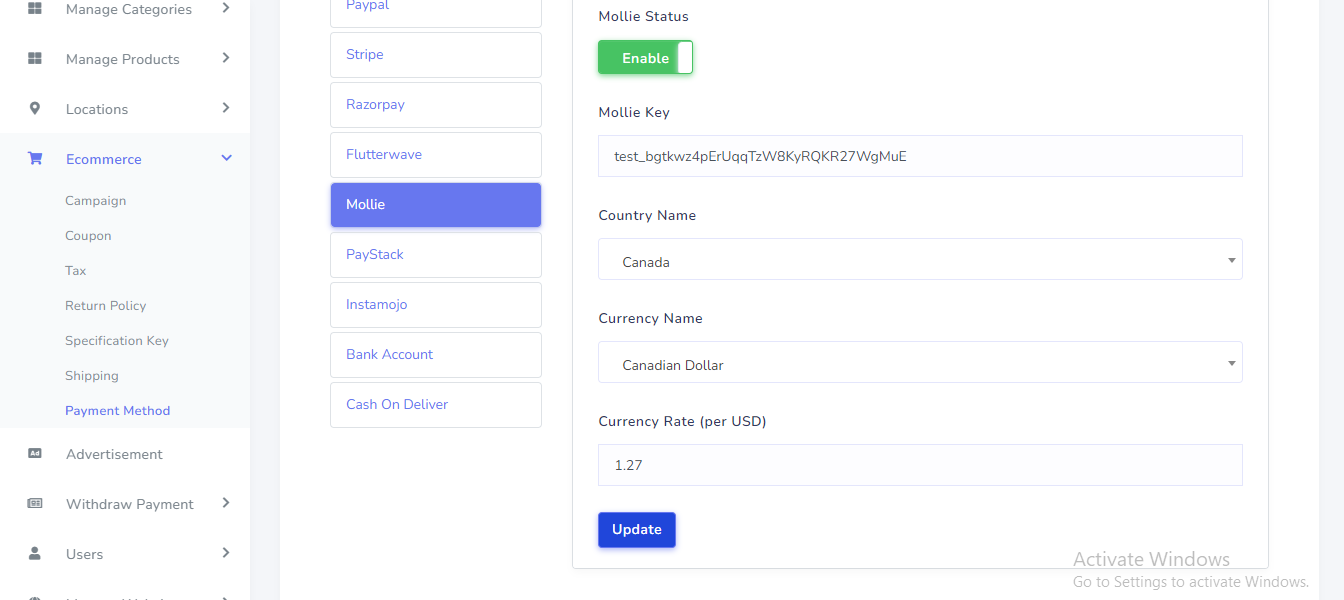
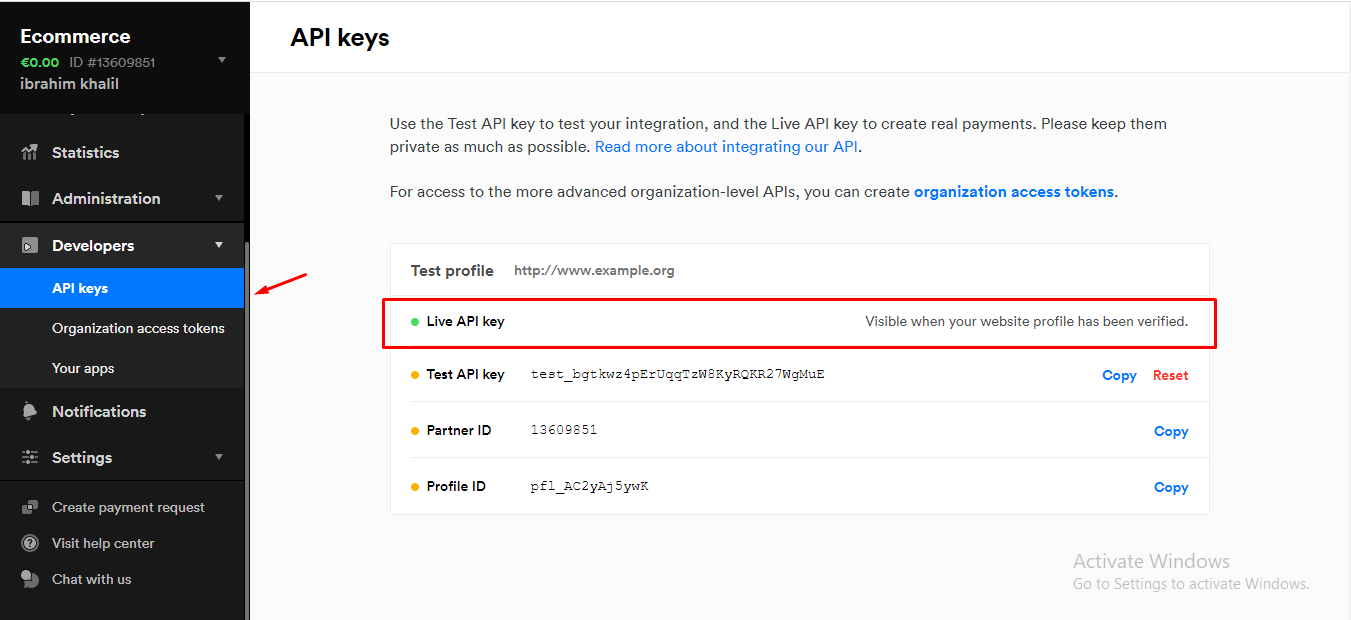
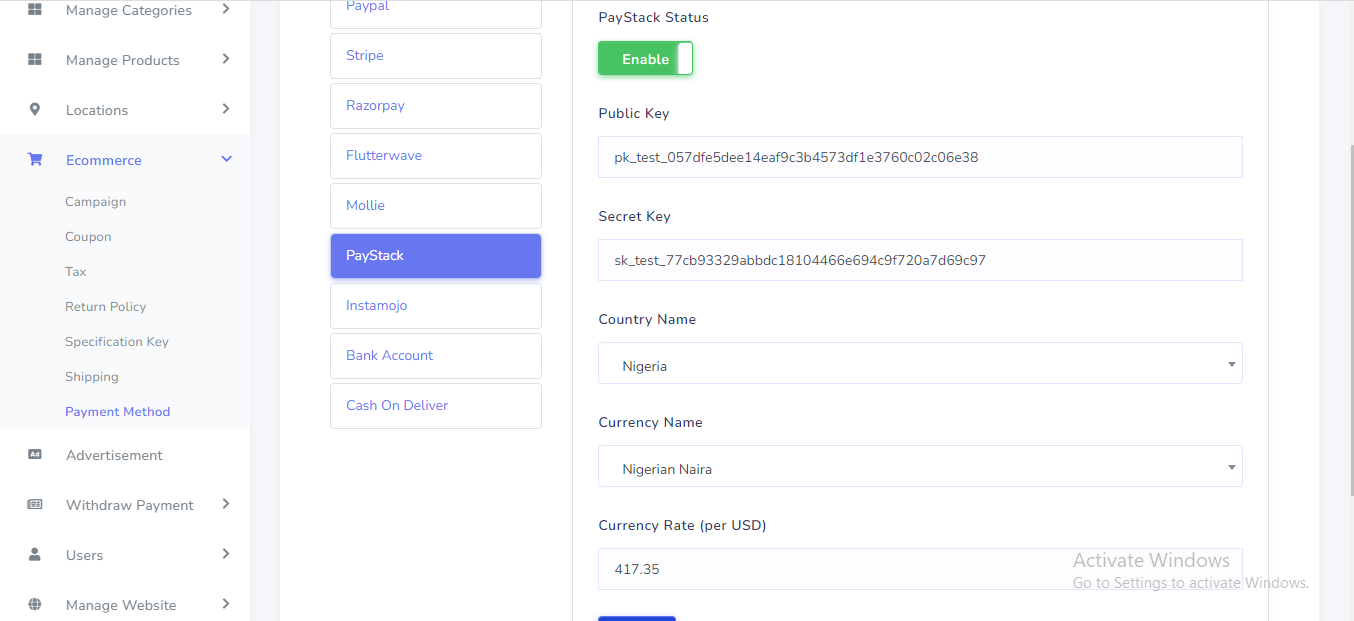
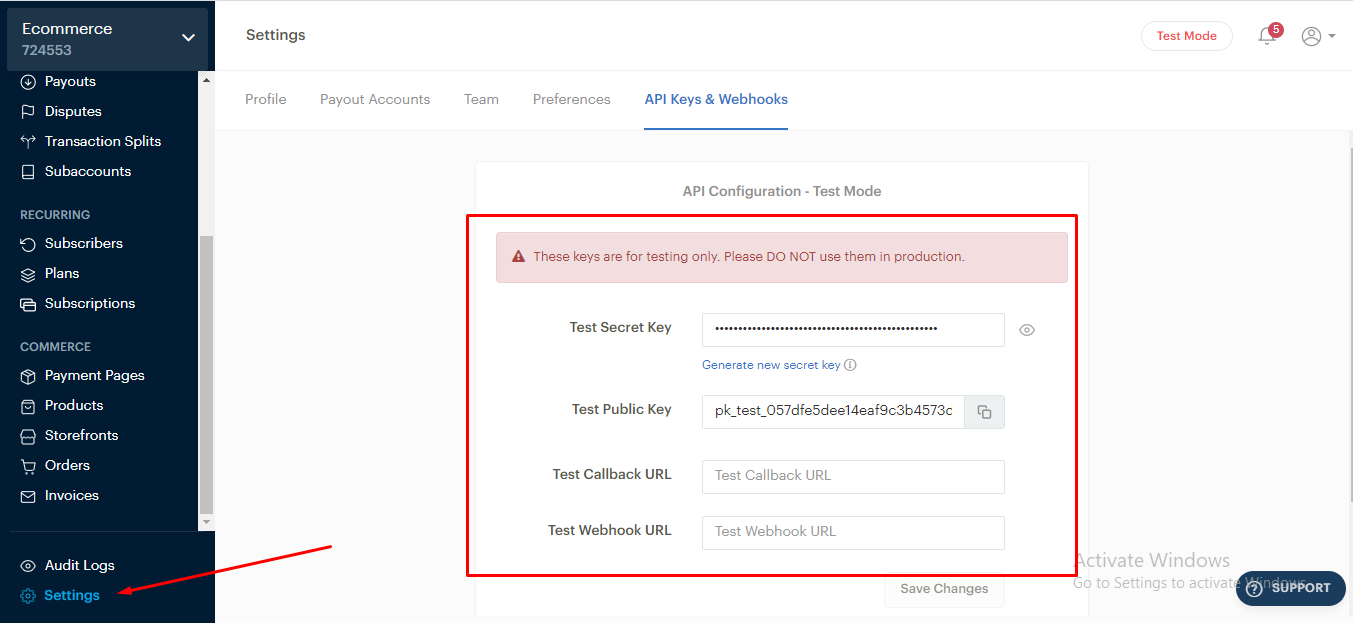
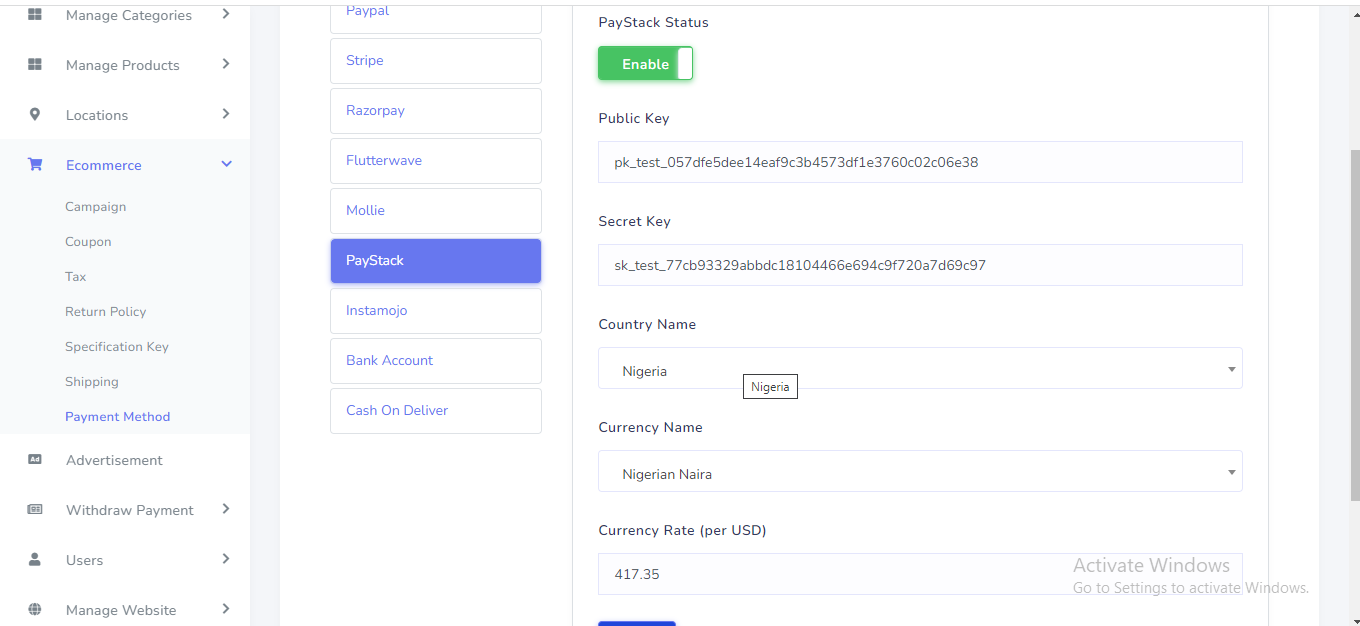
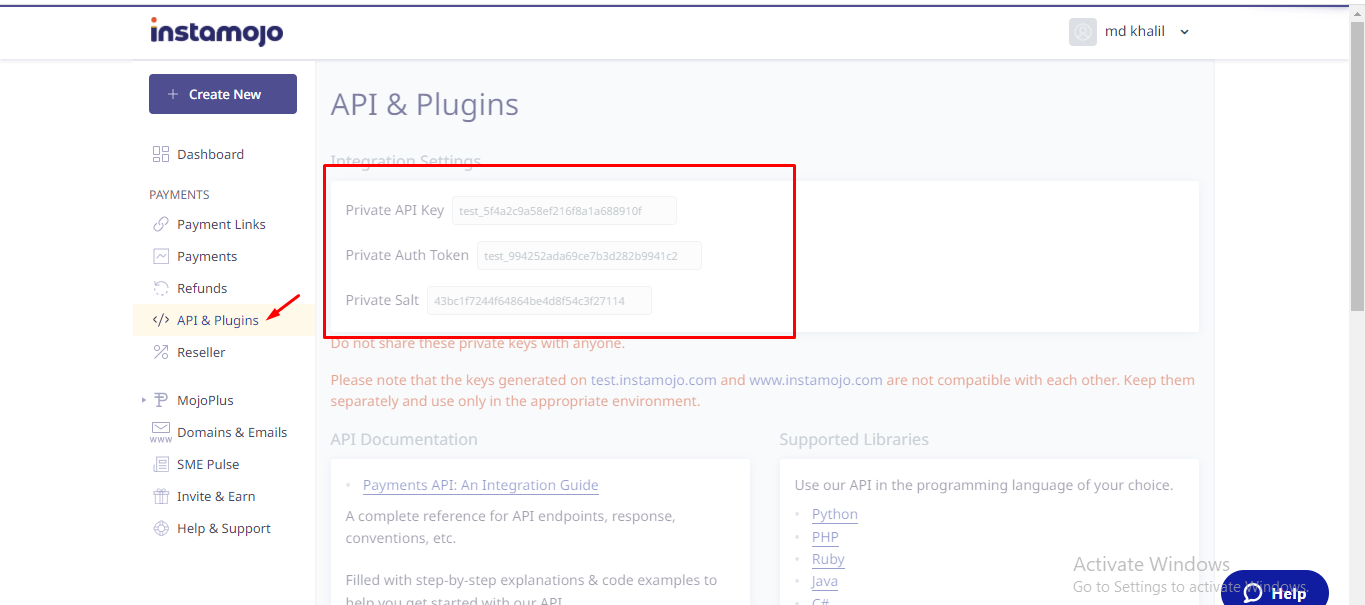
Payment Method can be set up from the admin panel. Go to "Ecommerce > Payment methods". See:
Clear Database setting can be manage from the admin panel. Go to "Clear database" from sidebar. If you want to use the software from scratch, you have to select this option. You do not need to remove the existing data one by one. See:
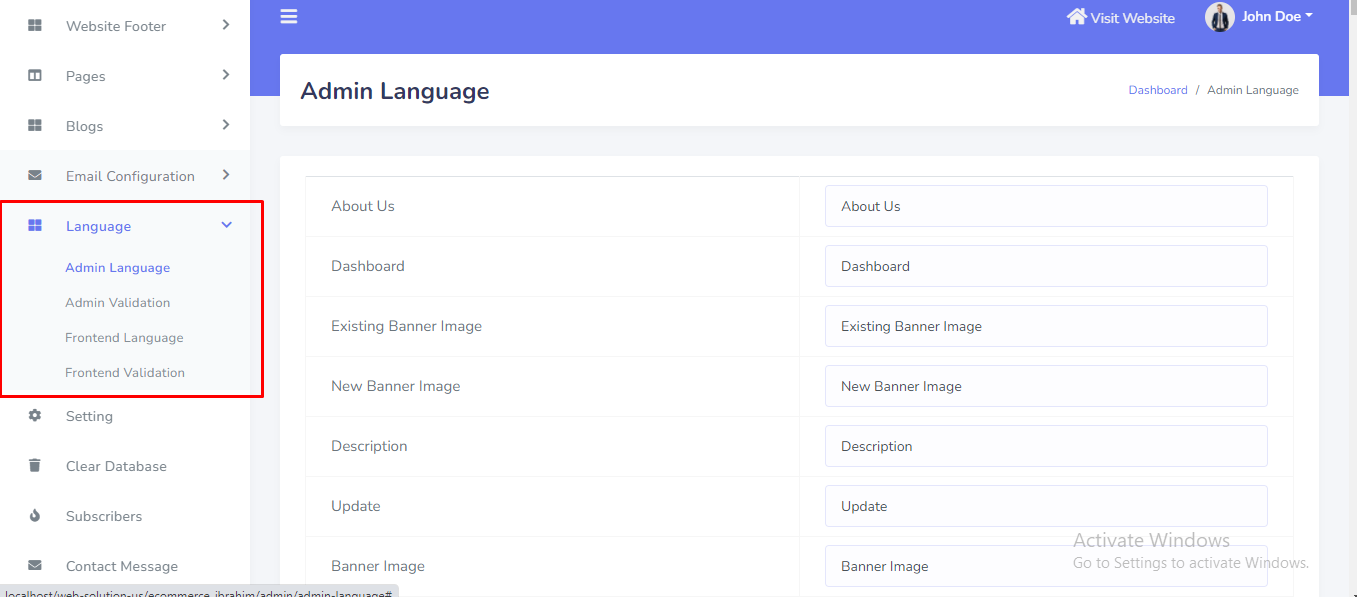
Website language can be set up from the admin panel. Go to "Language >>...." from sidebar. See:
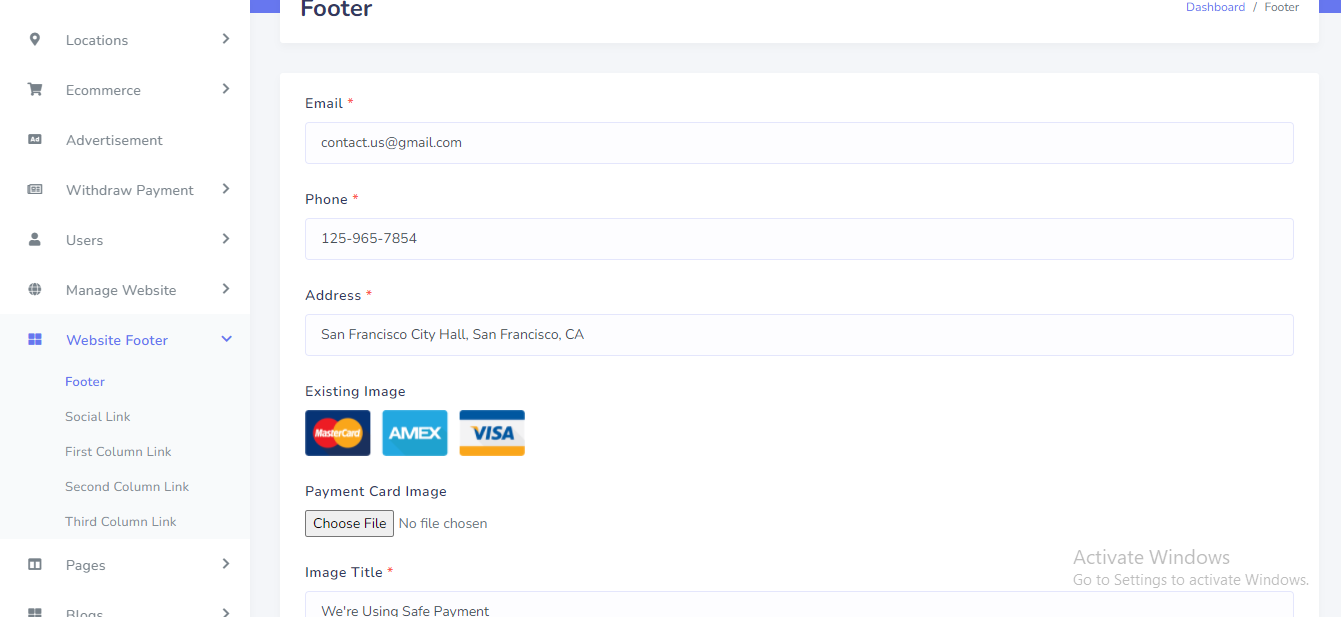
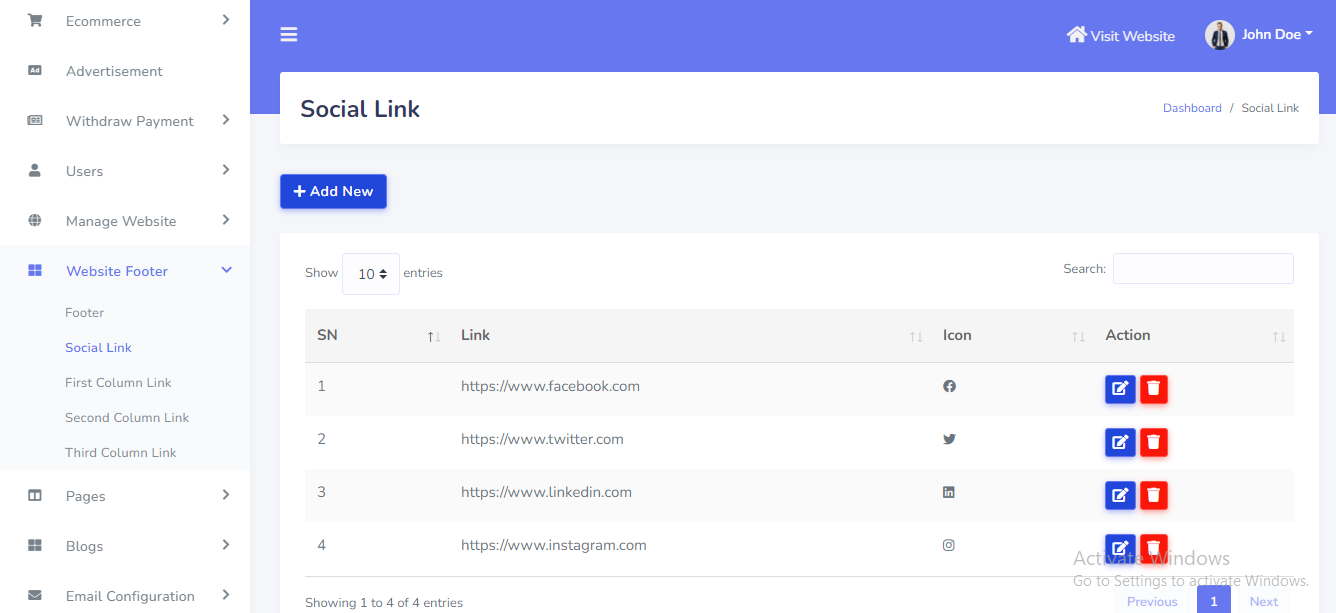
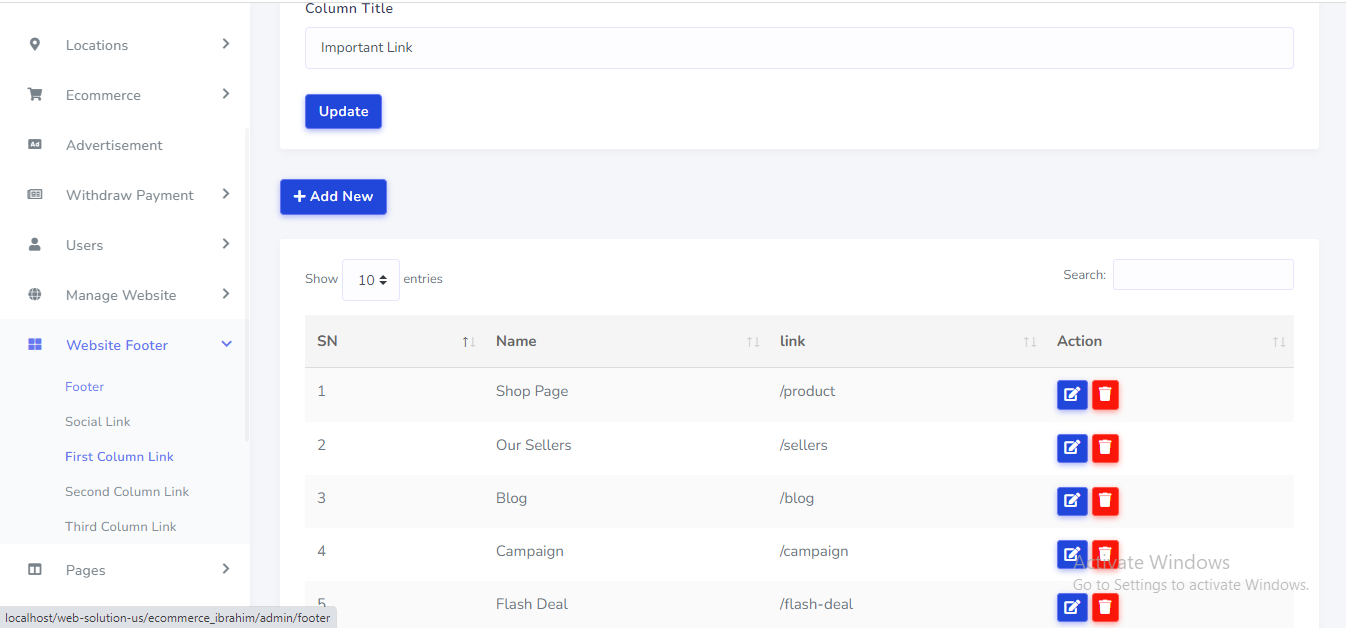
Website Footer can be set up from the admin panel. Go to "Website Footer >>...." from sidebar. See:
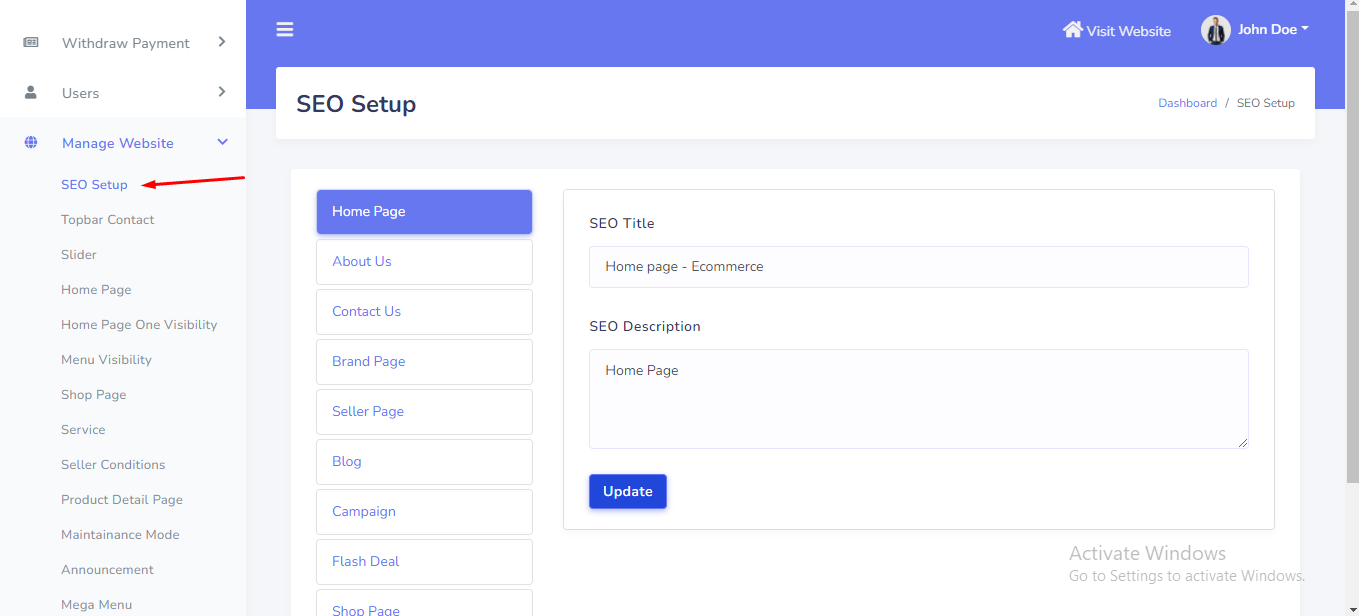
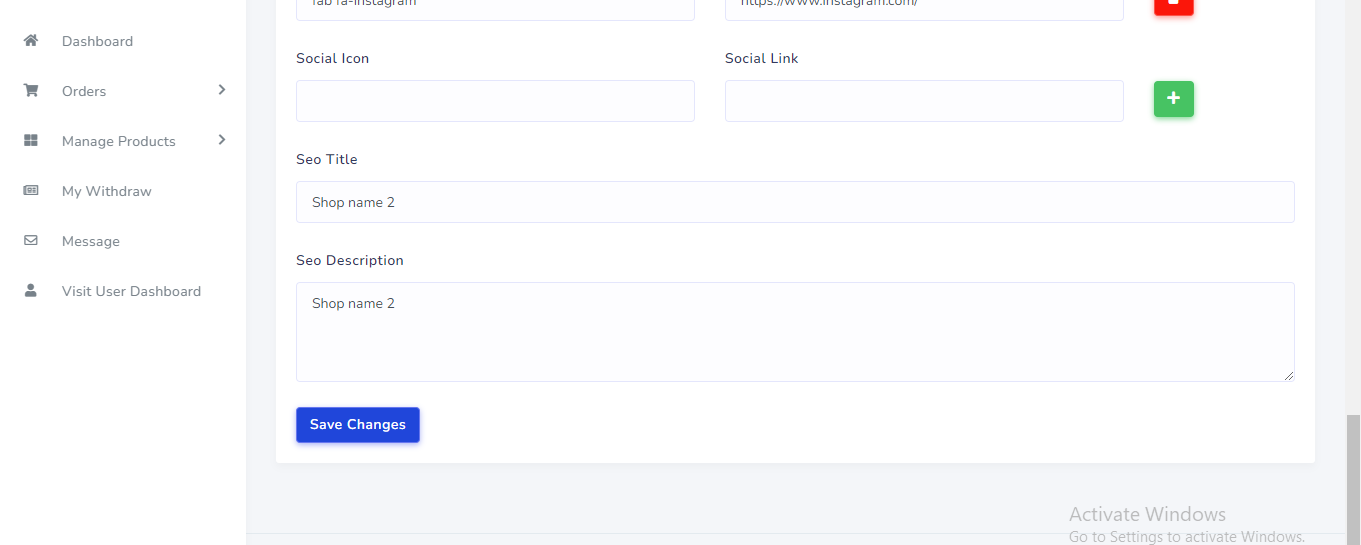
SEO setting can be setup from the admin panel. Go to "Manage website >> SEO setup" from sidebar. See:
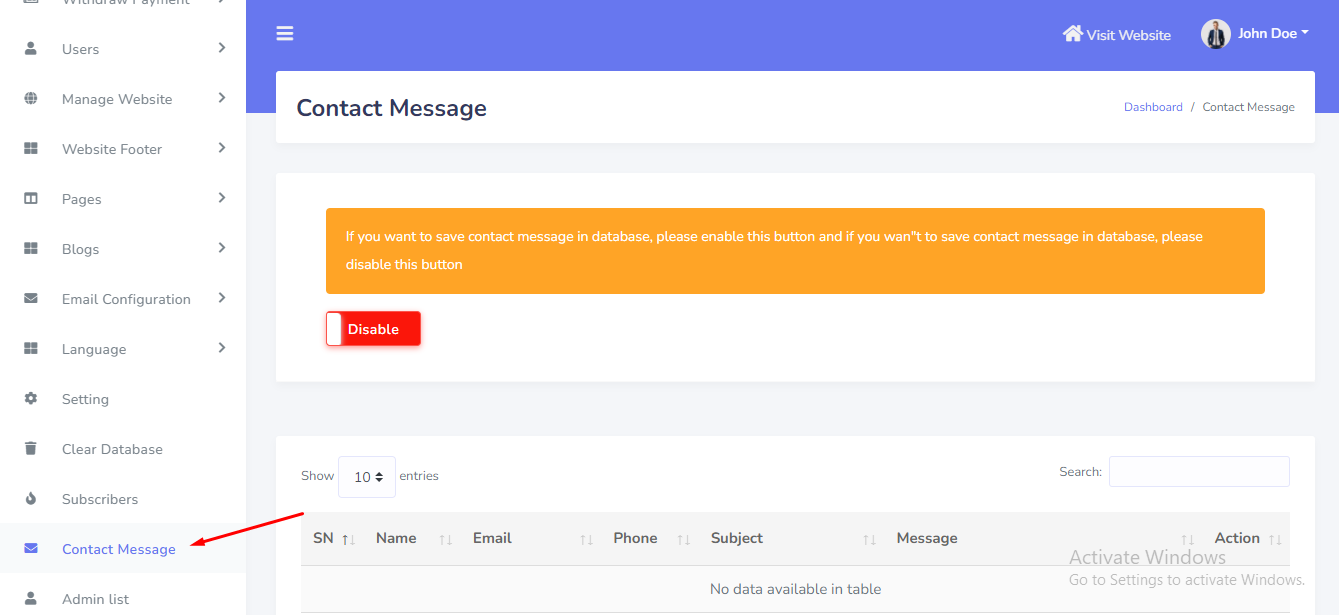
Contact Message can be manage from the admin panel. Go to "Contact Message" from sidebar. See:
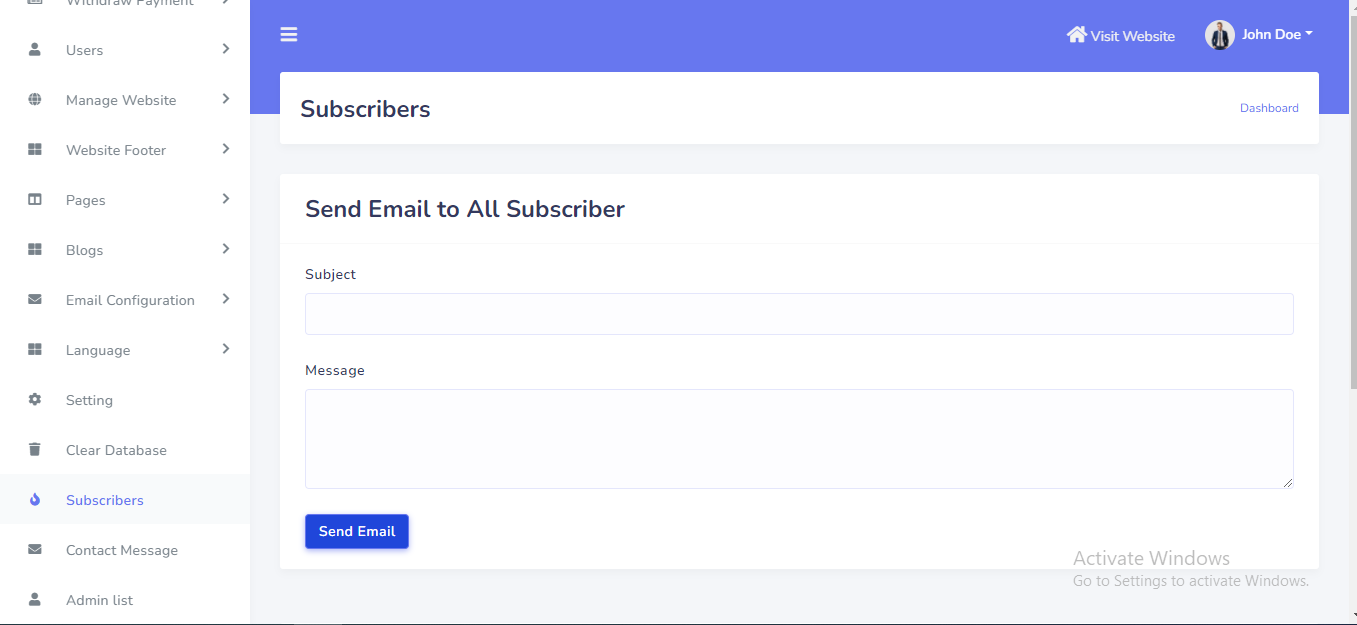
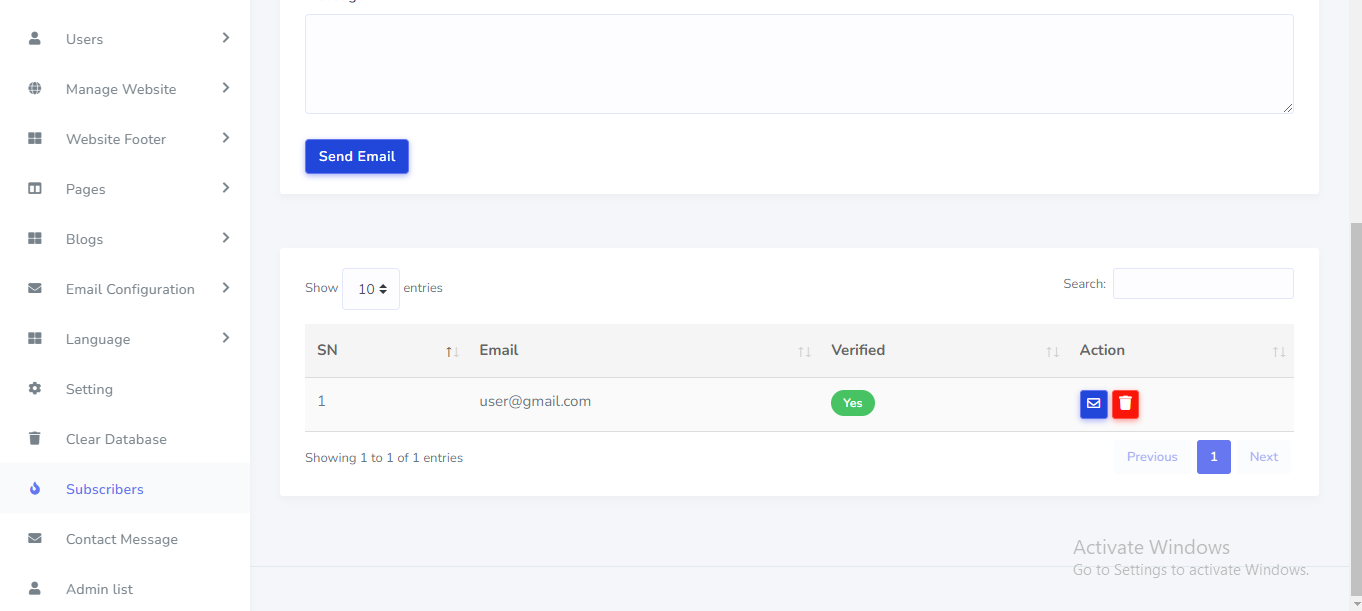
Subscription email can be manage and send mail from the admin panel. Go to "Subscribers".See:
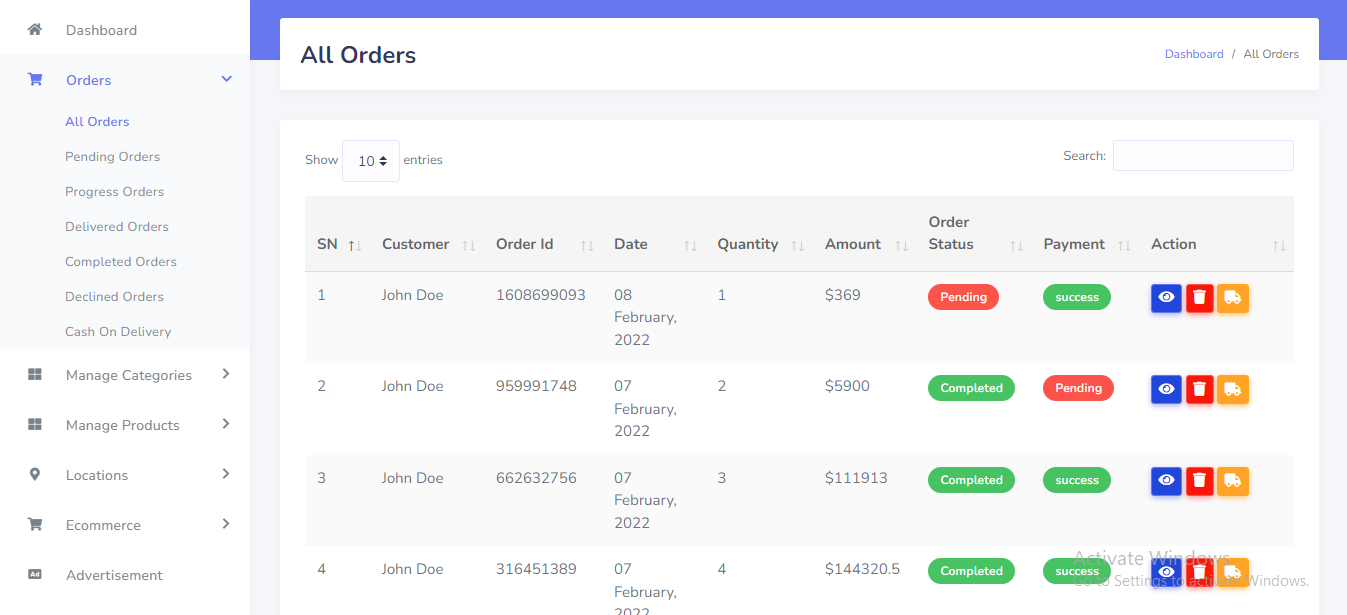
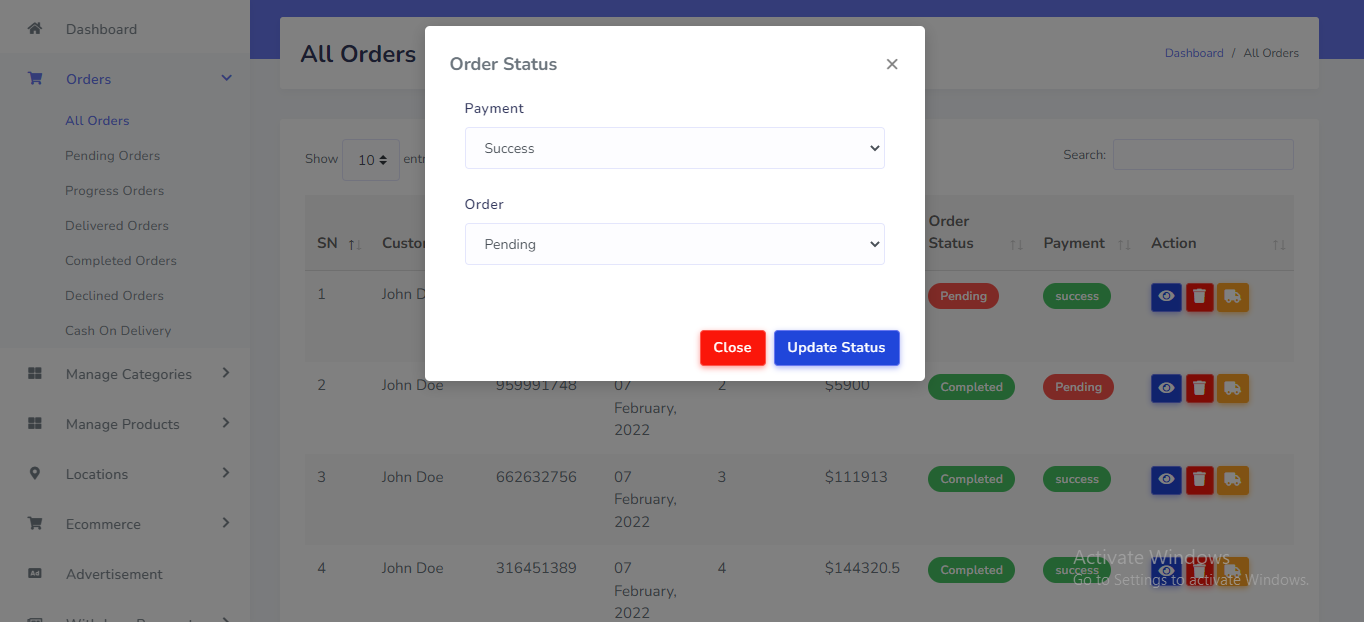
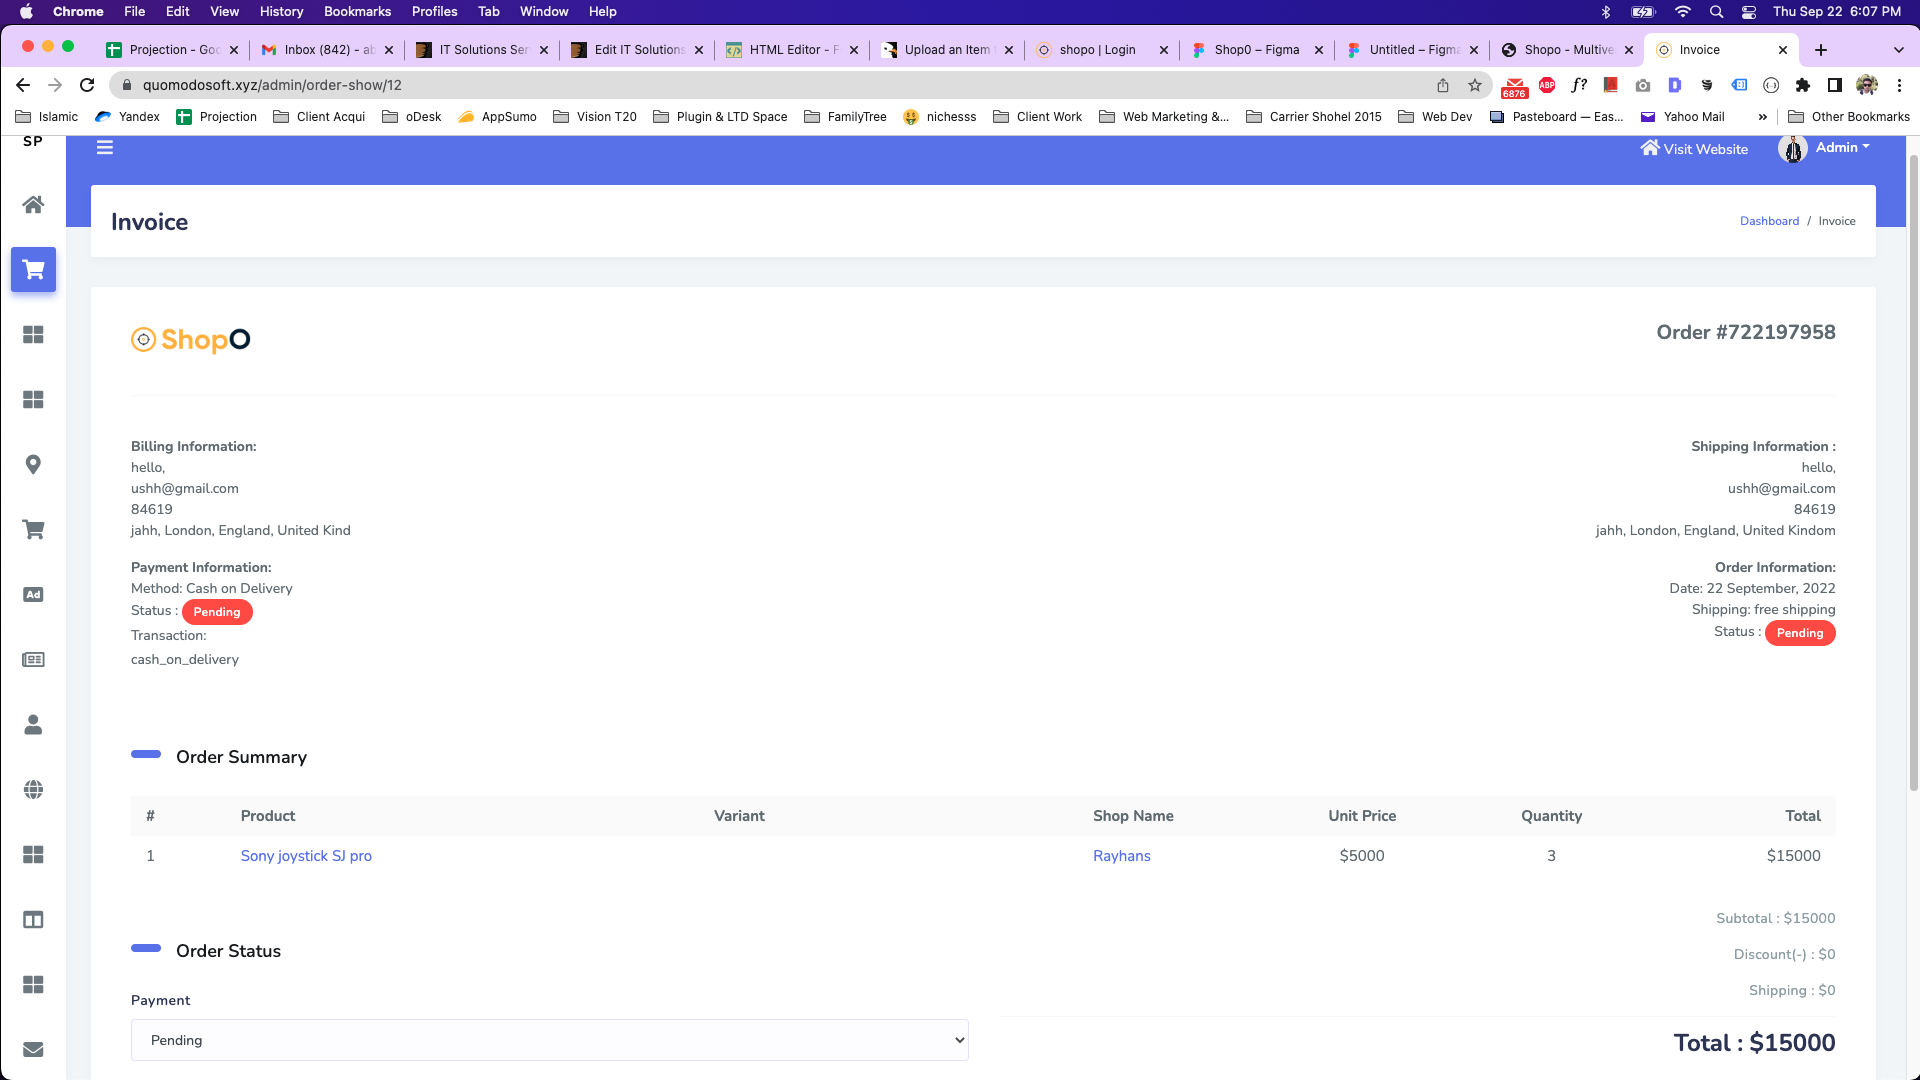
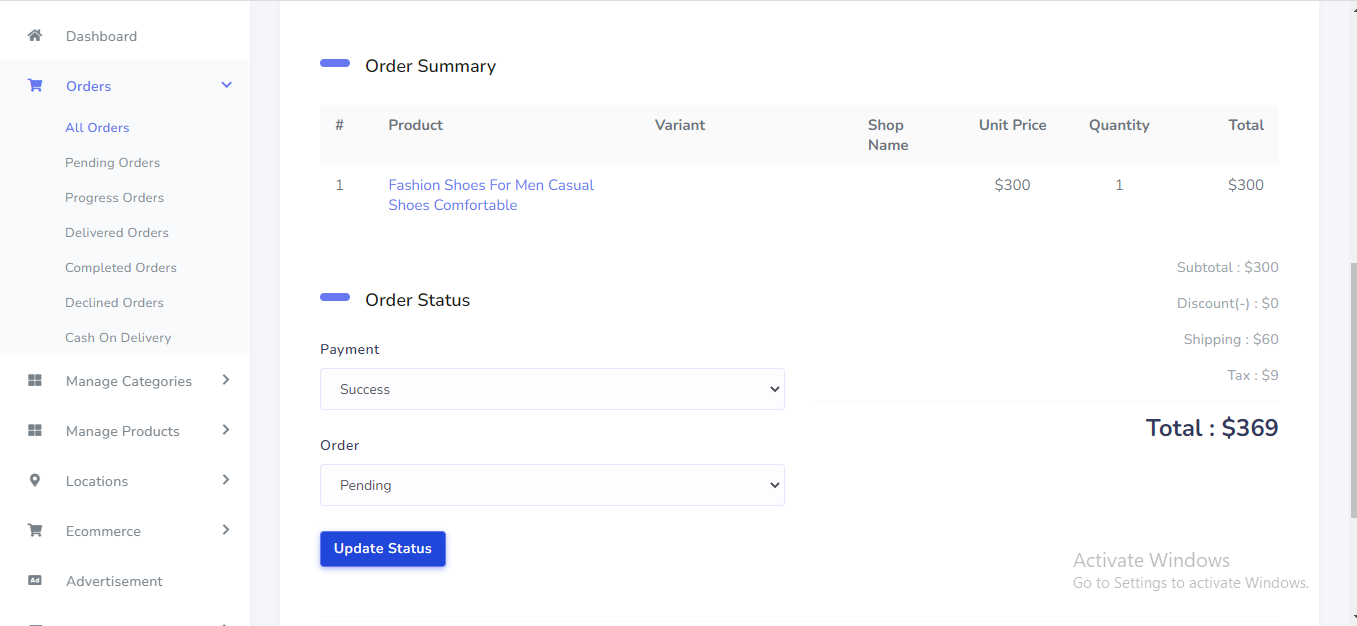
Order can be manage from the admin panel. Go to "Orders >>...". See:
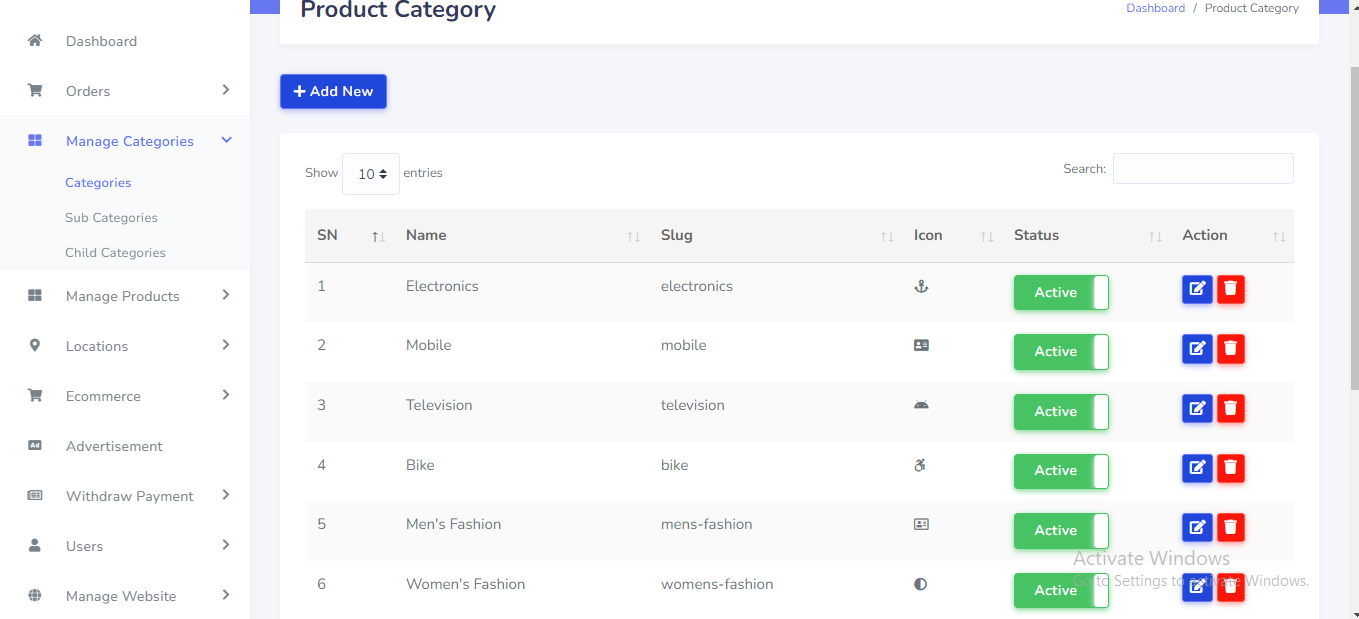
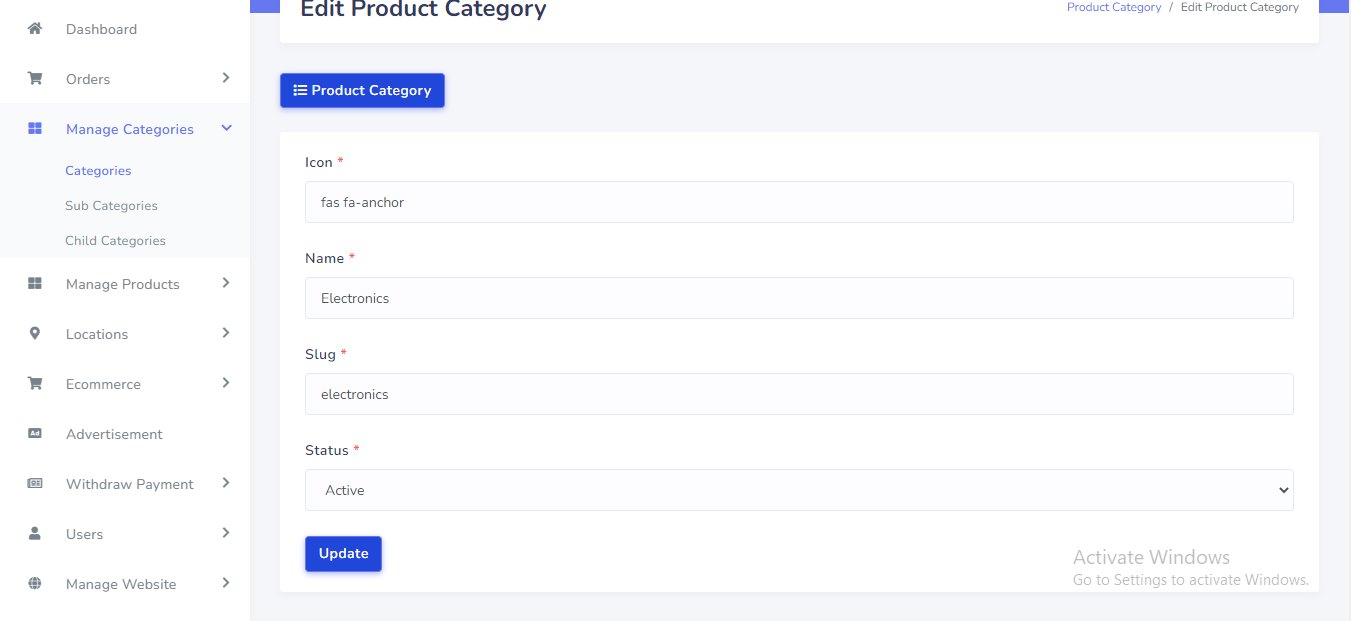
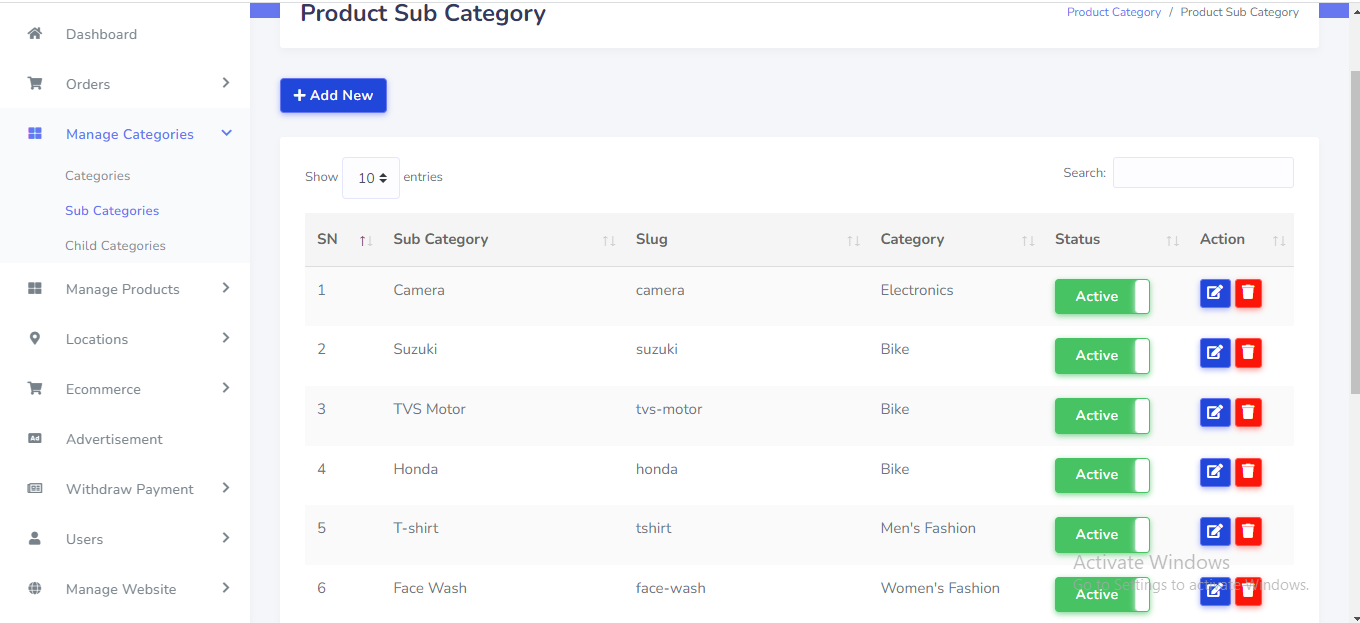
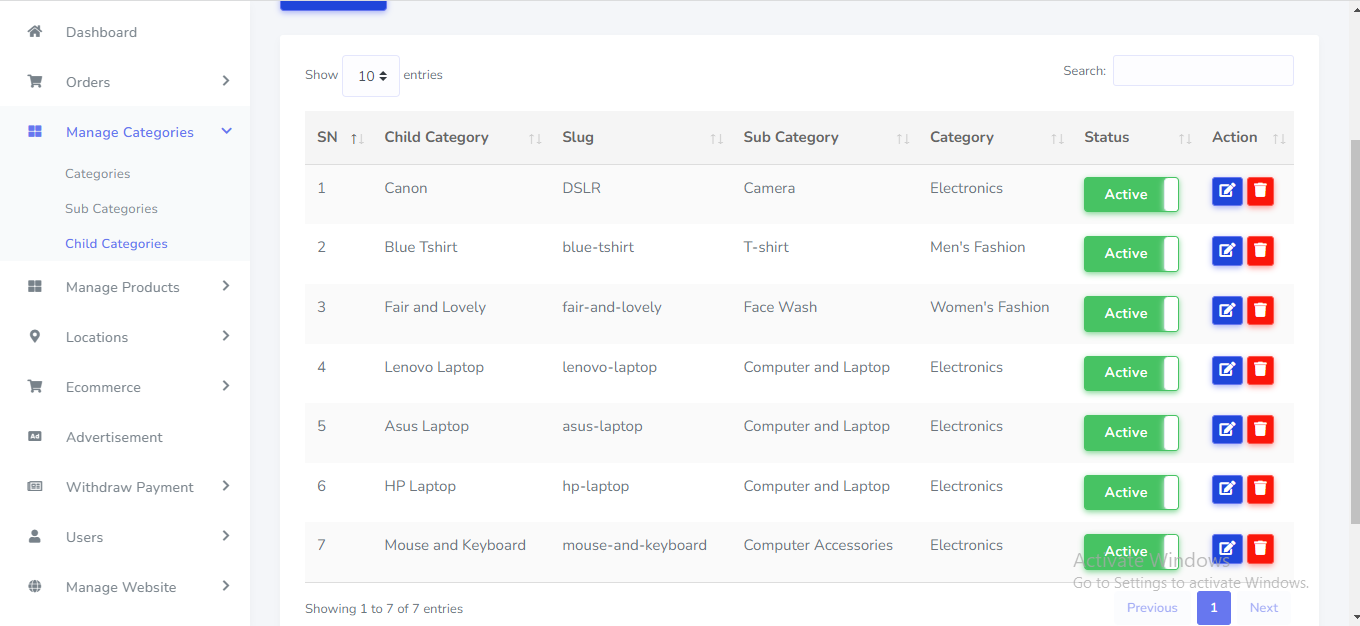
Product Category can be manage from the admin panel. Go to "Manage Categories >> ..". See:
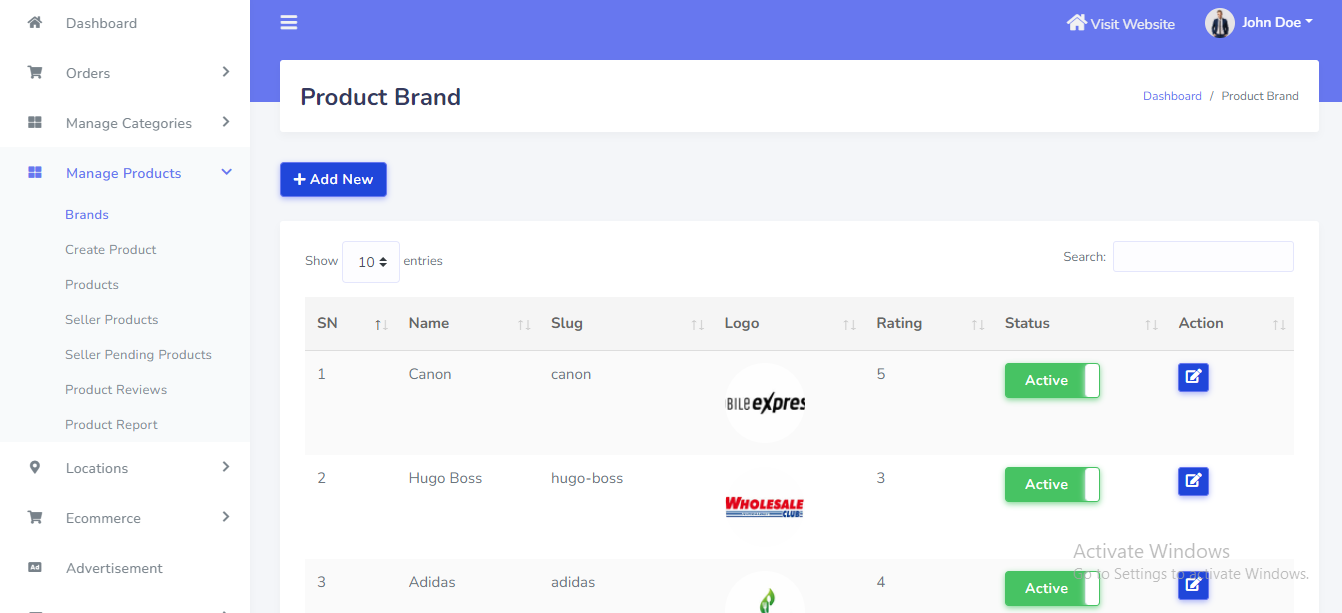
Product Brand can be manage from the admin panel. Go to "Manage Products >> Brands ..". See:
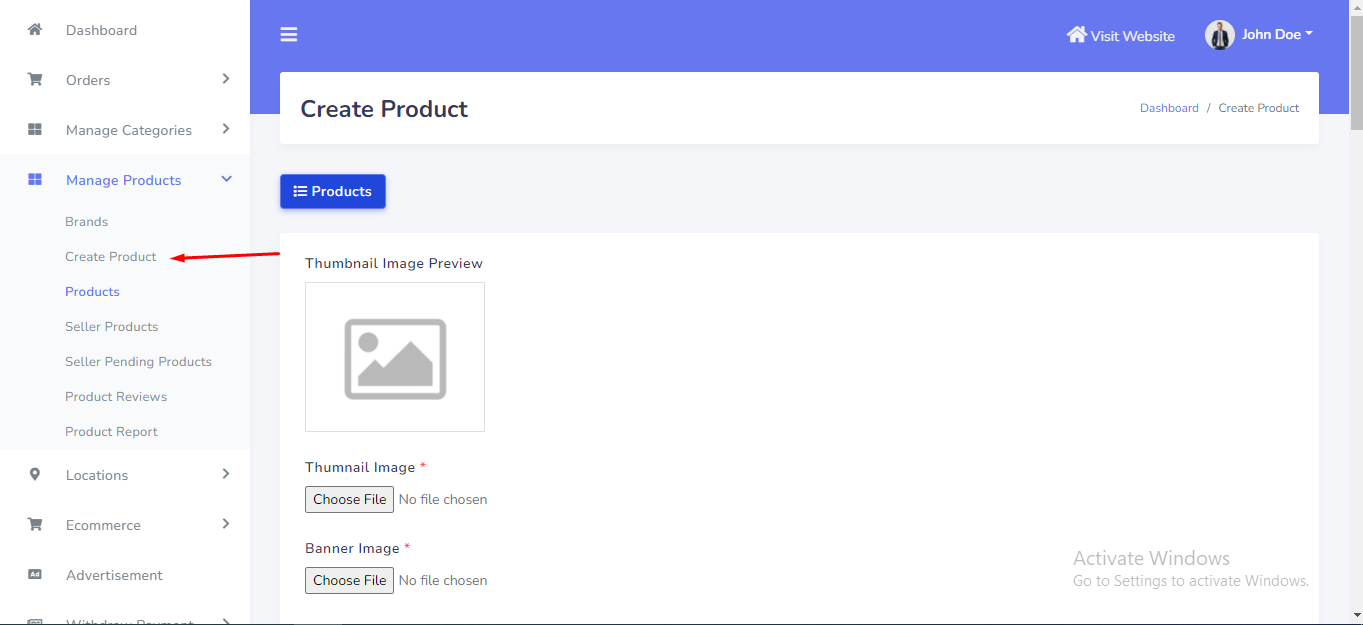
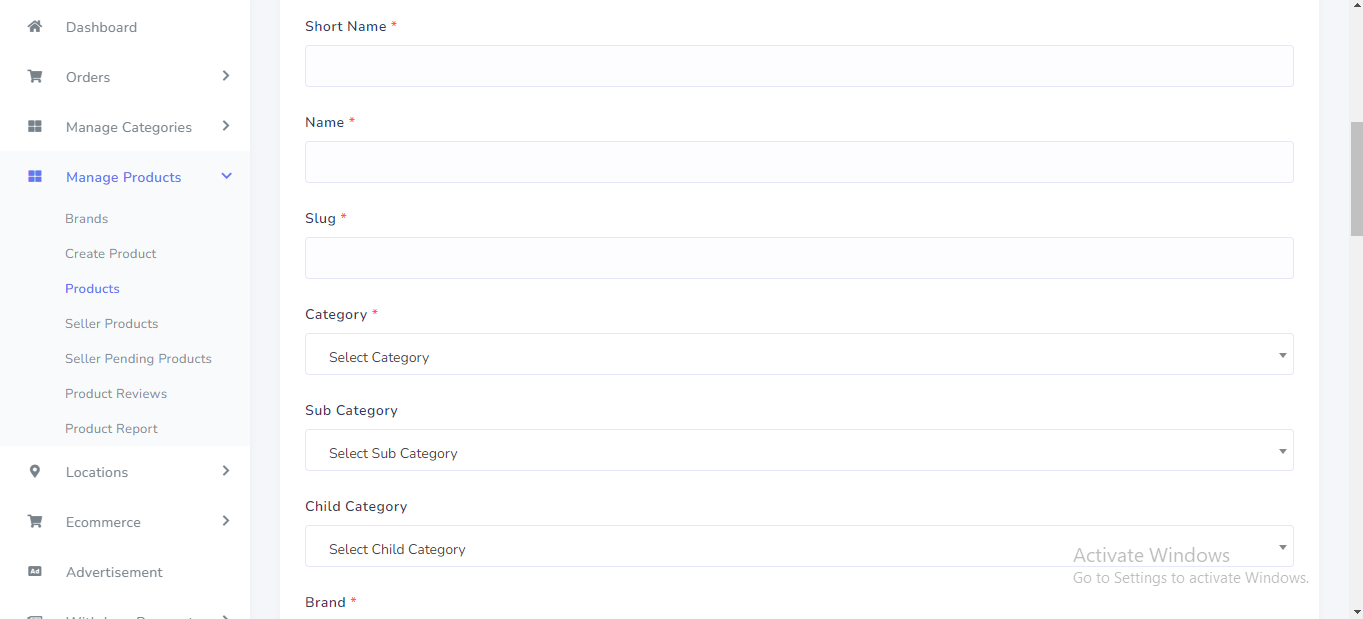
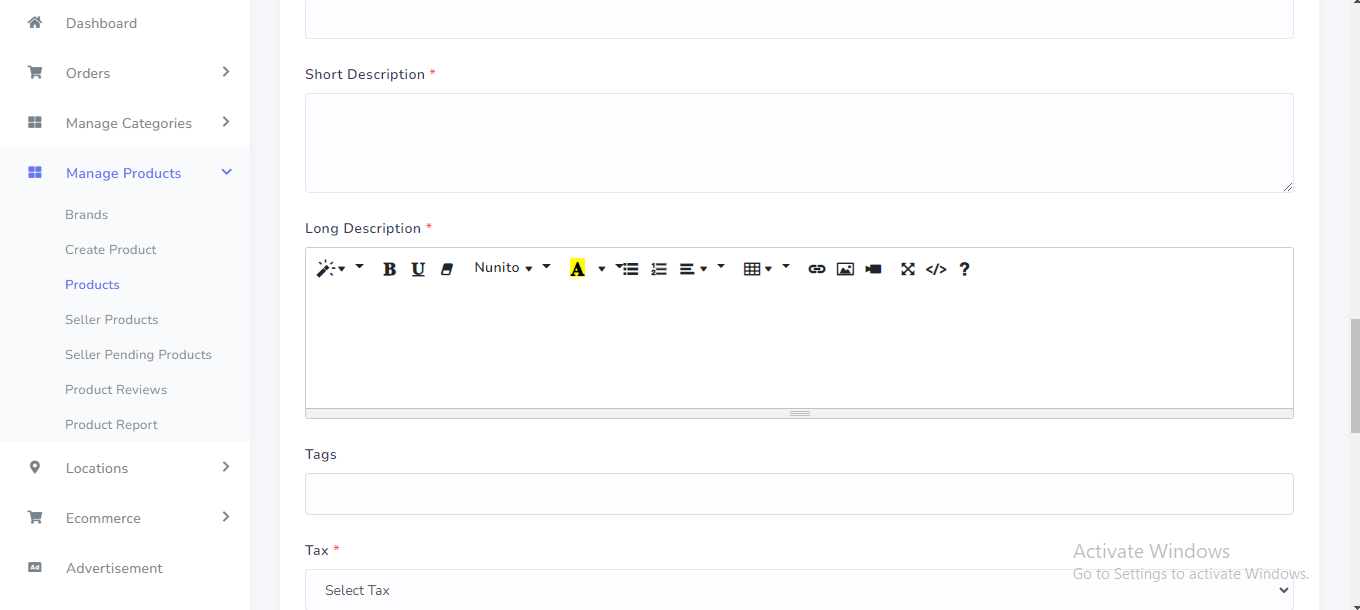
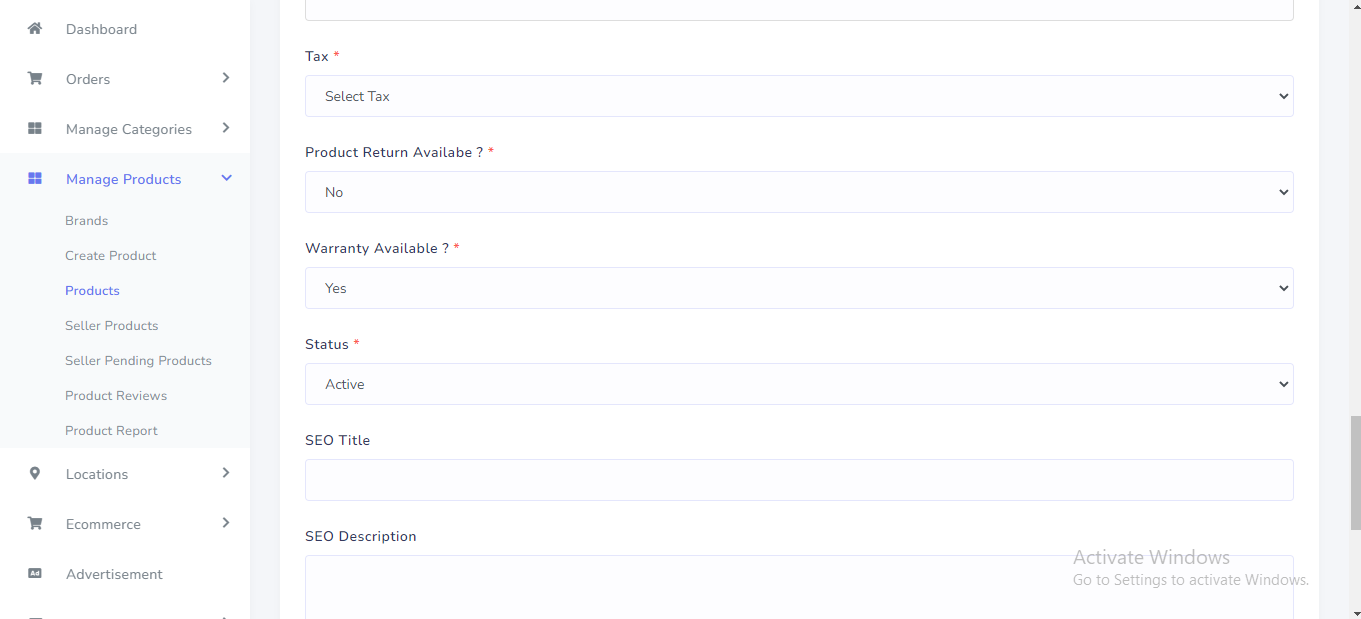
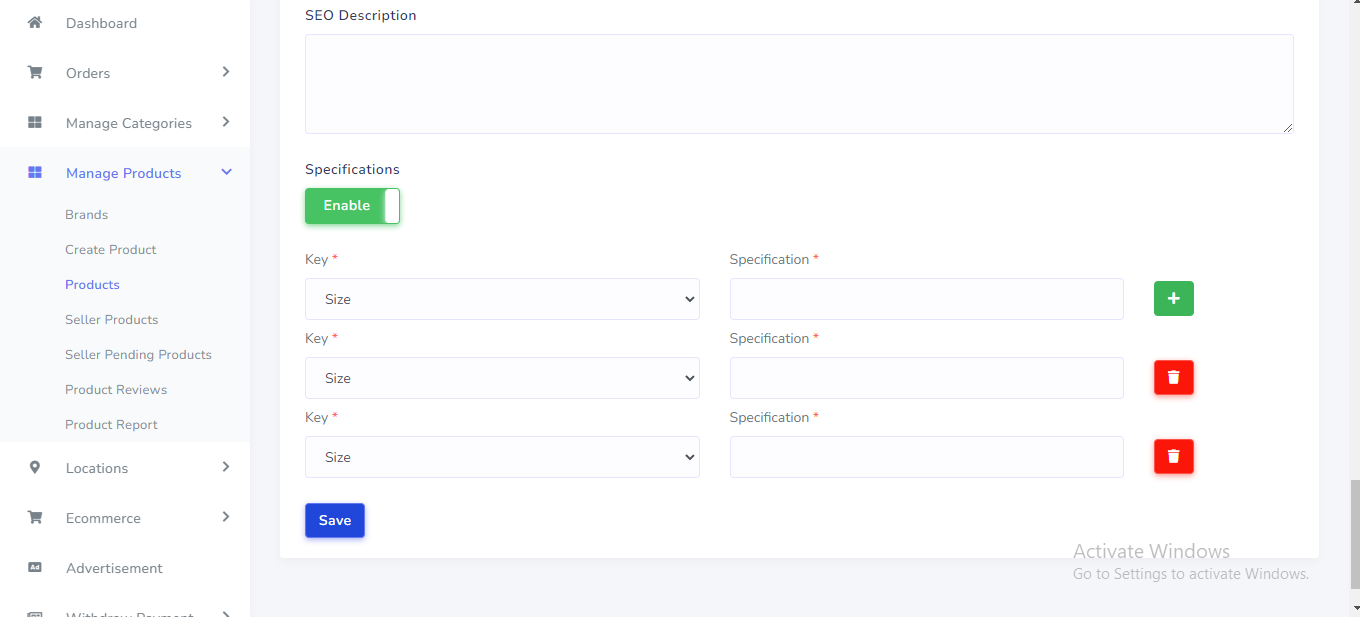
Product Create can be manage from the admin panel. Go to "Manage Products >> Create Product". See:


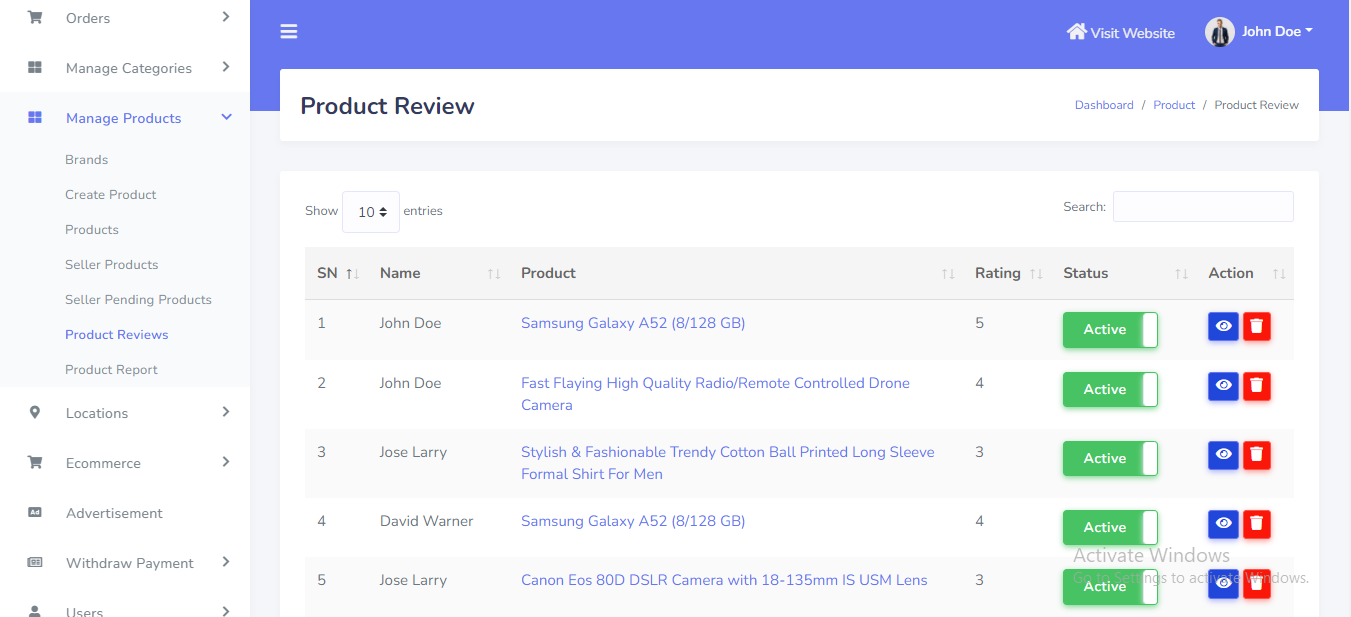
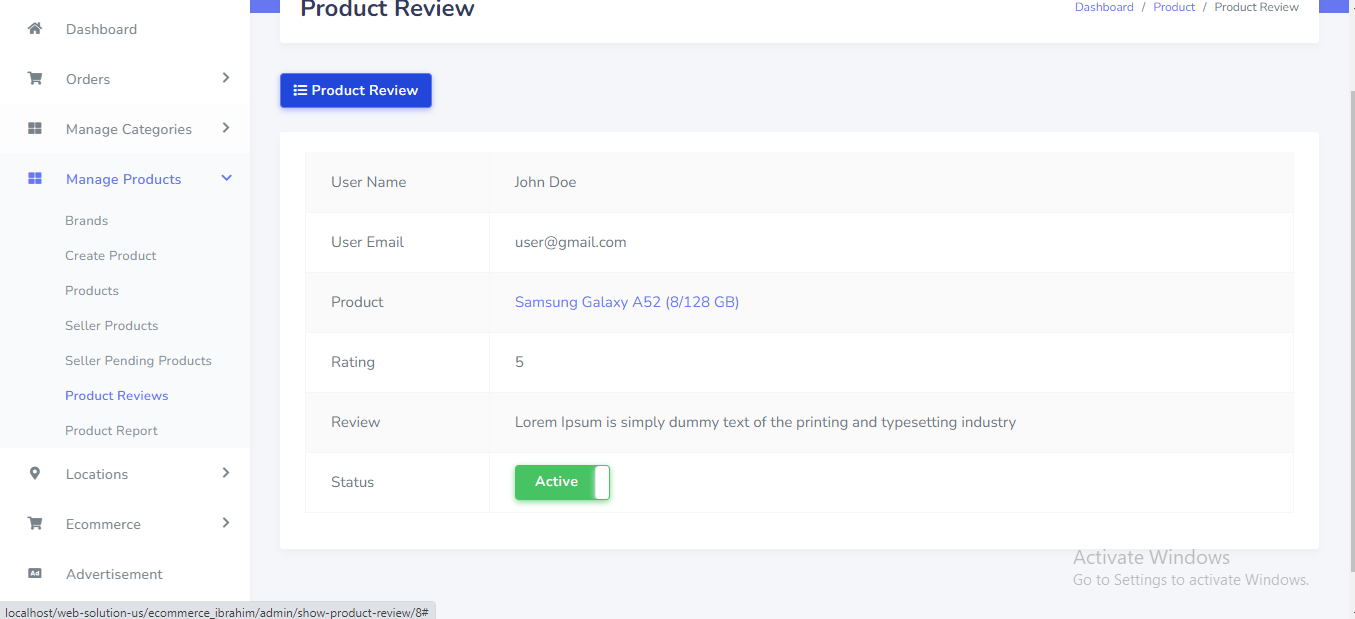
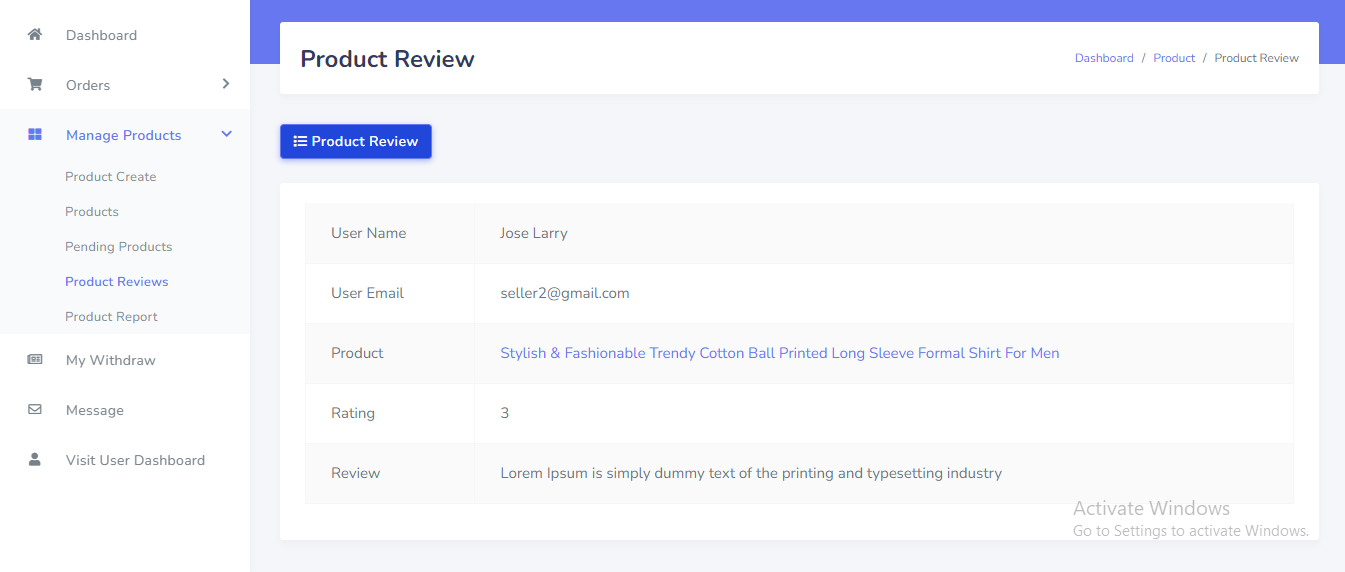
Product Review can be manage from the admin panel. Go to "Manage Products >> Product Reviews" from sidebar. See:
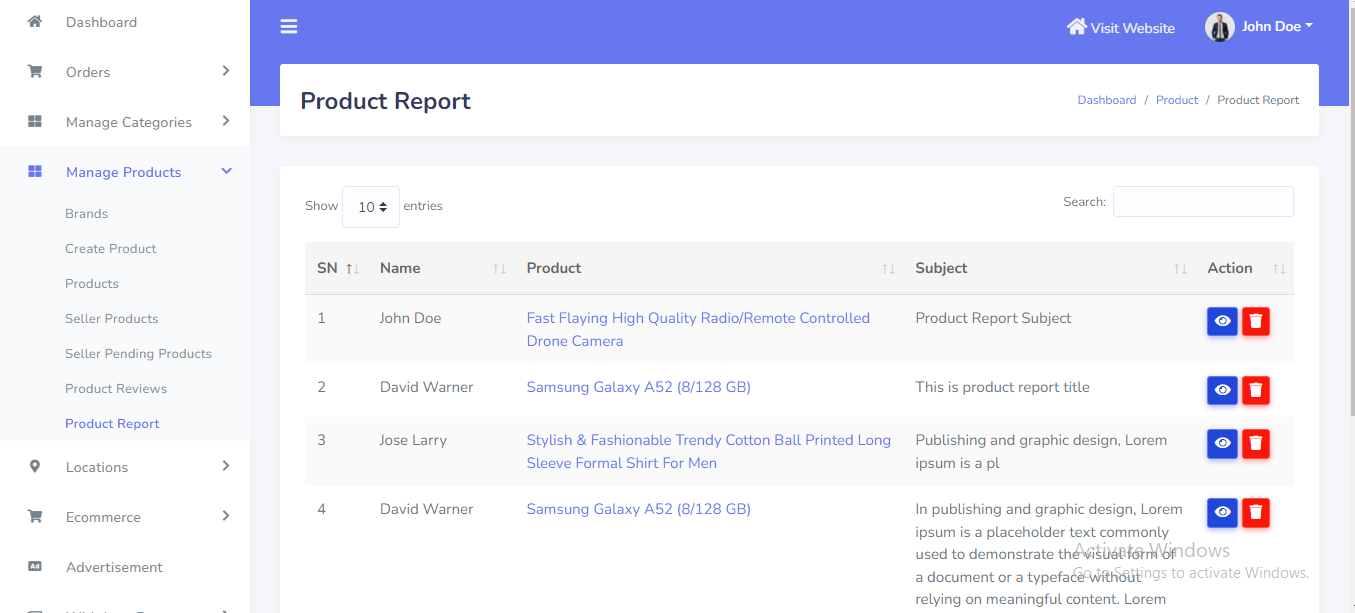
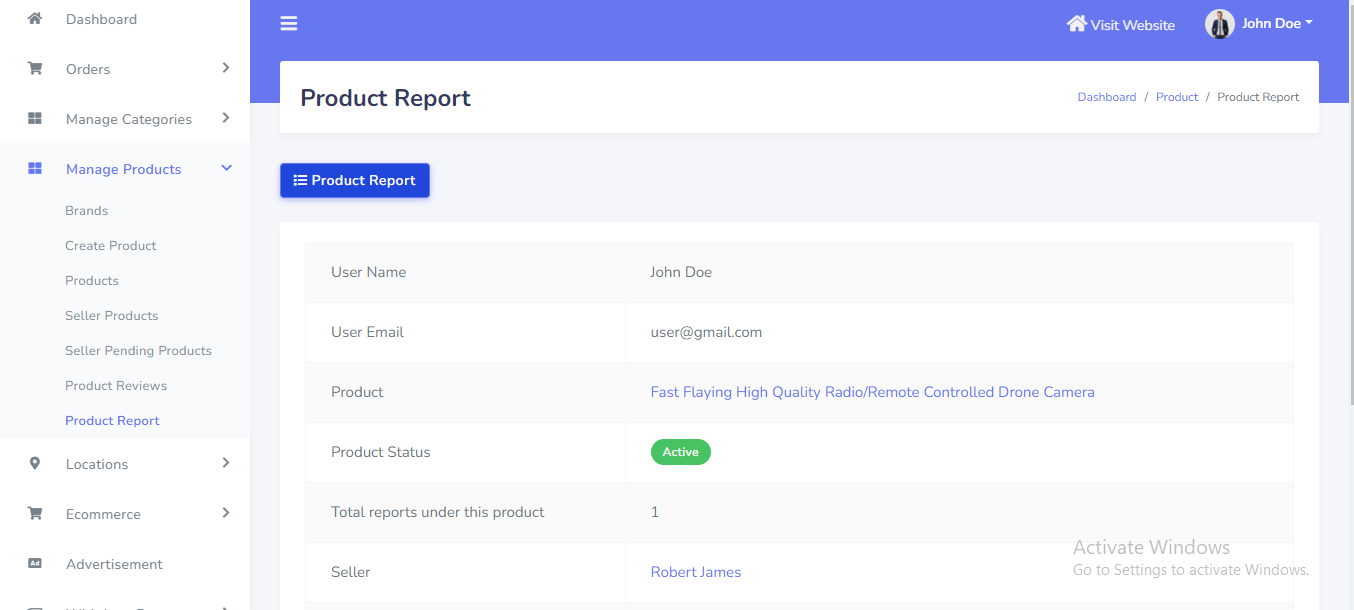
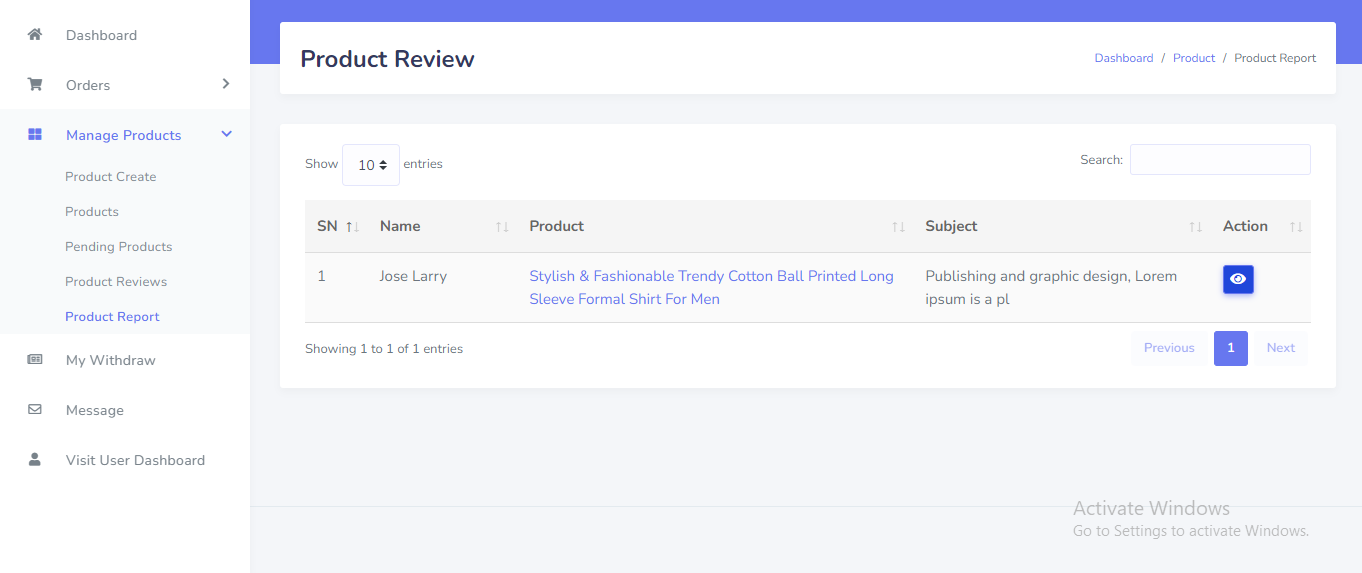
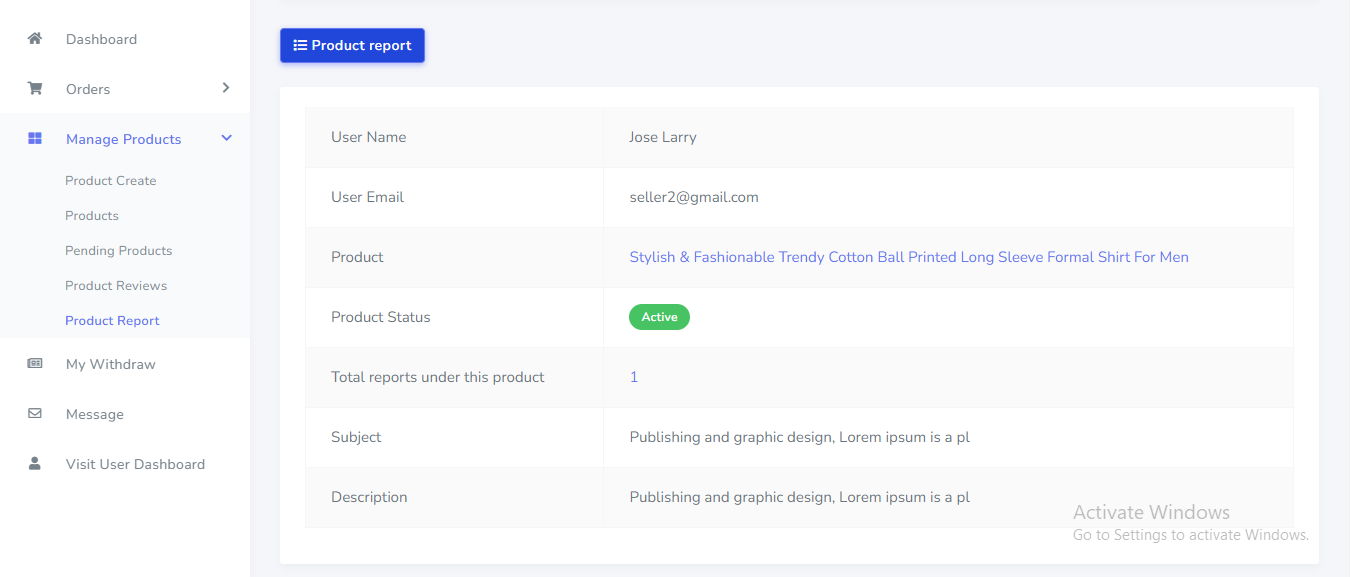
Product Report can be manage from the admin panel. Go to "Manage Products >> Product Report" from sidebar. See:
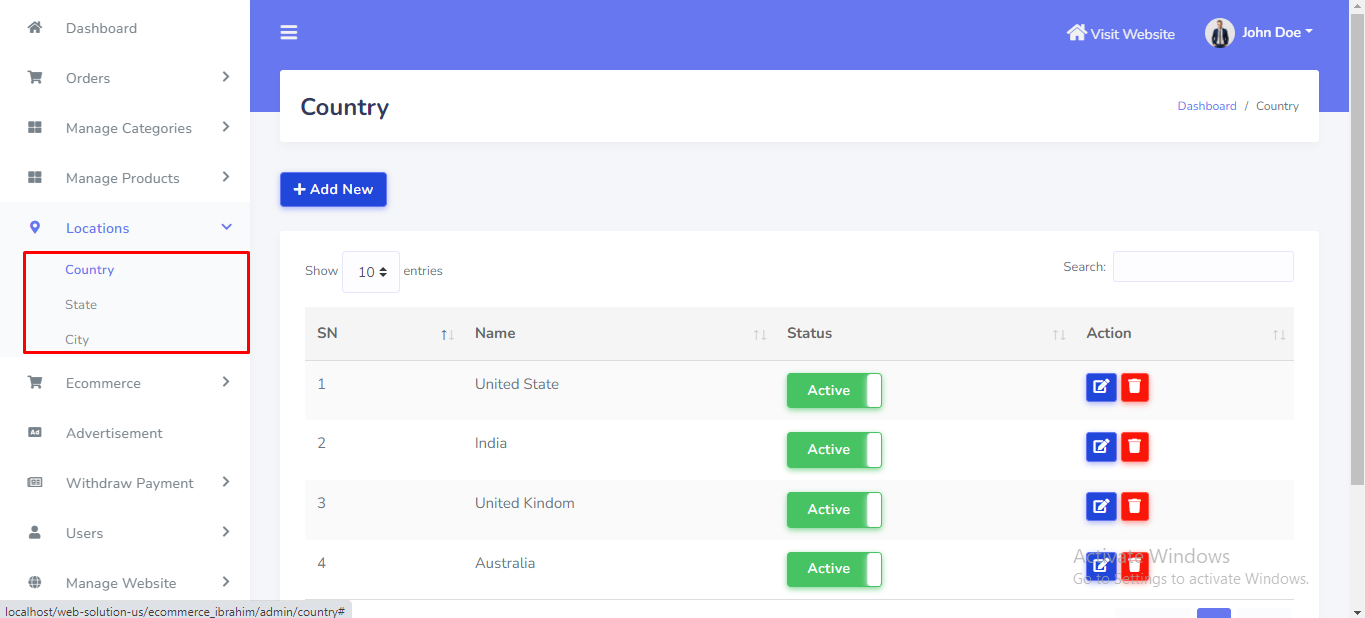
Location can be manage from the admin panel. Go to "Locations >> Country" from sidebar. See:
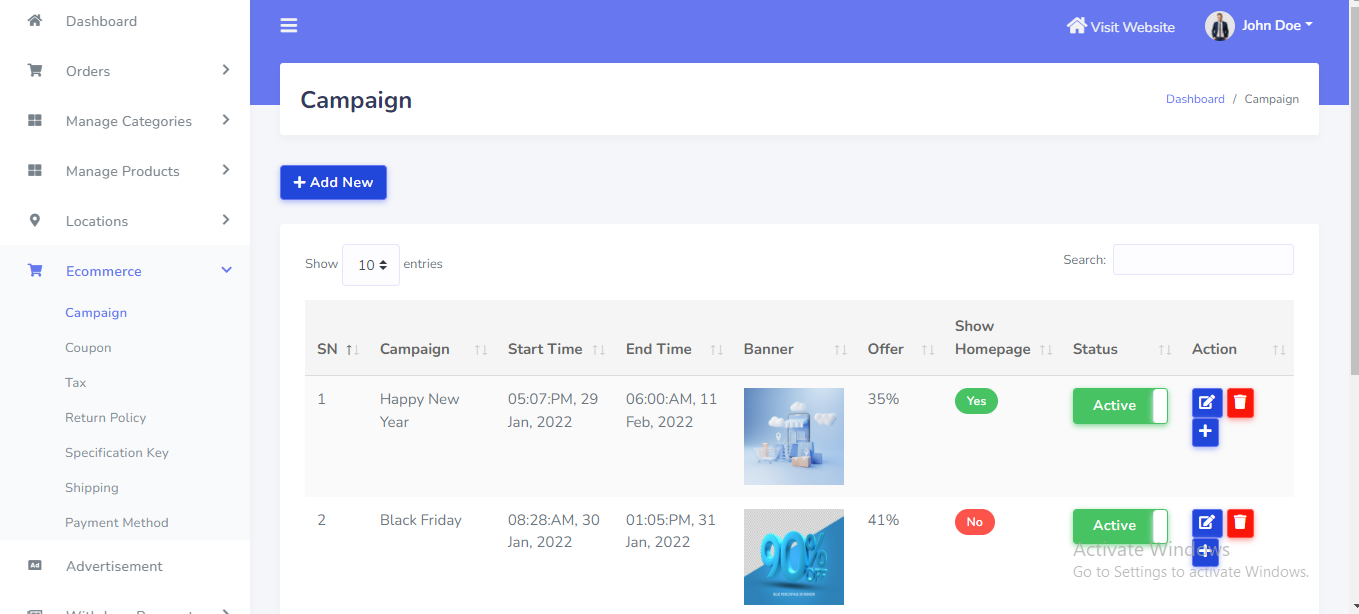
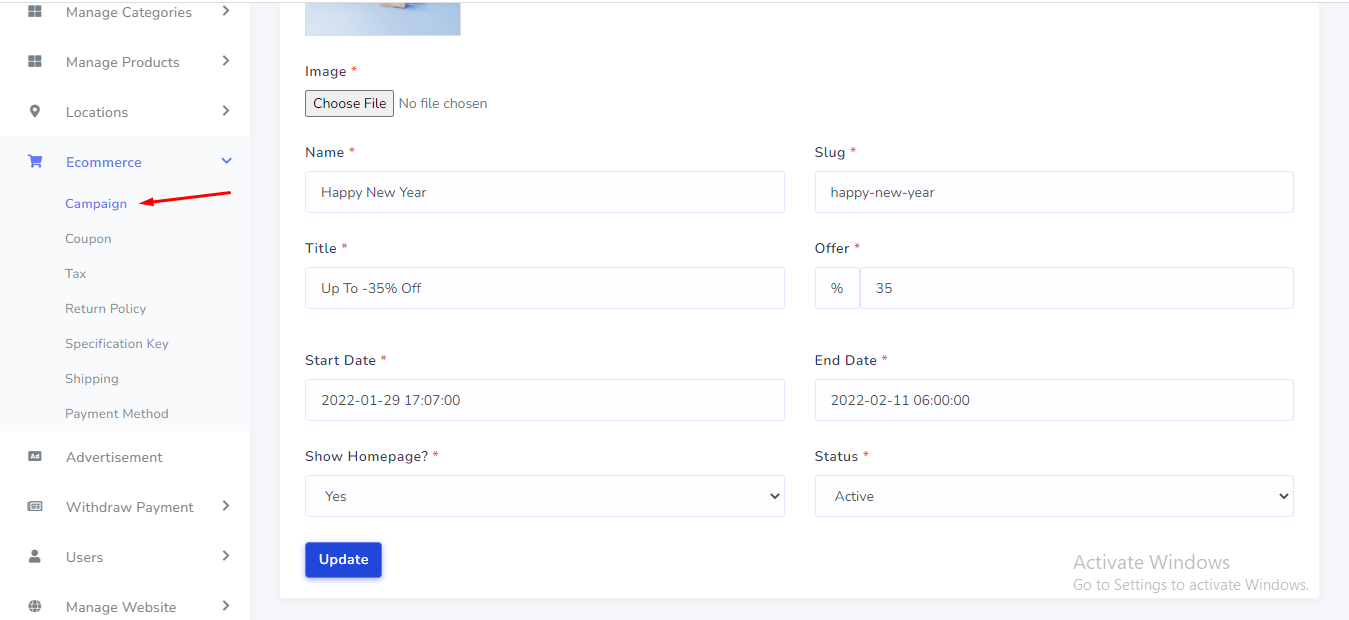
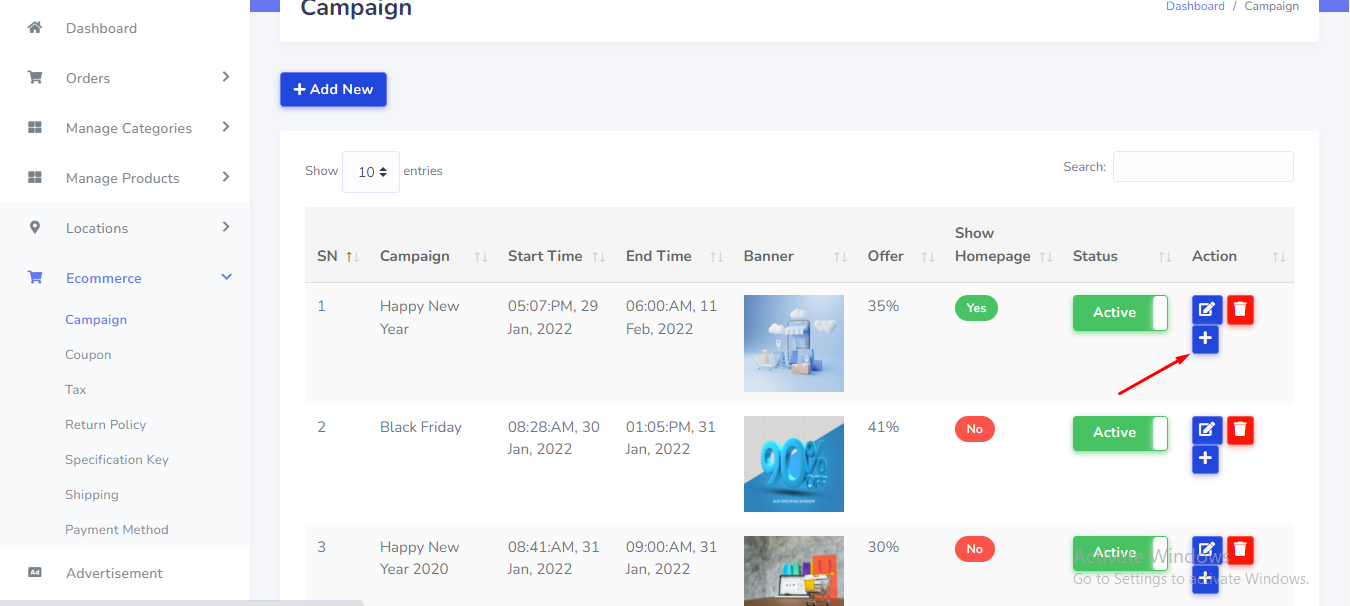
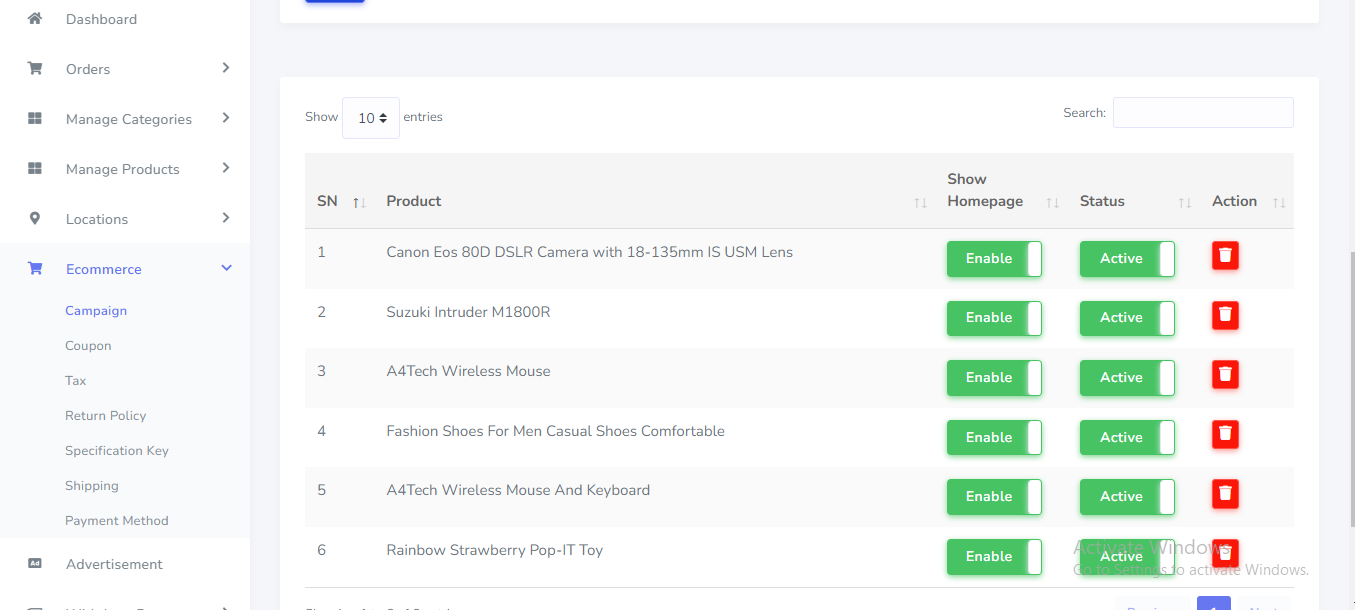
Campaign can be setup from the admin panel. Go to "Ecommerce >> Campaign" from sidebar. See:

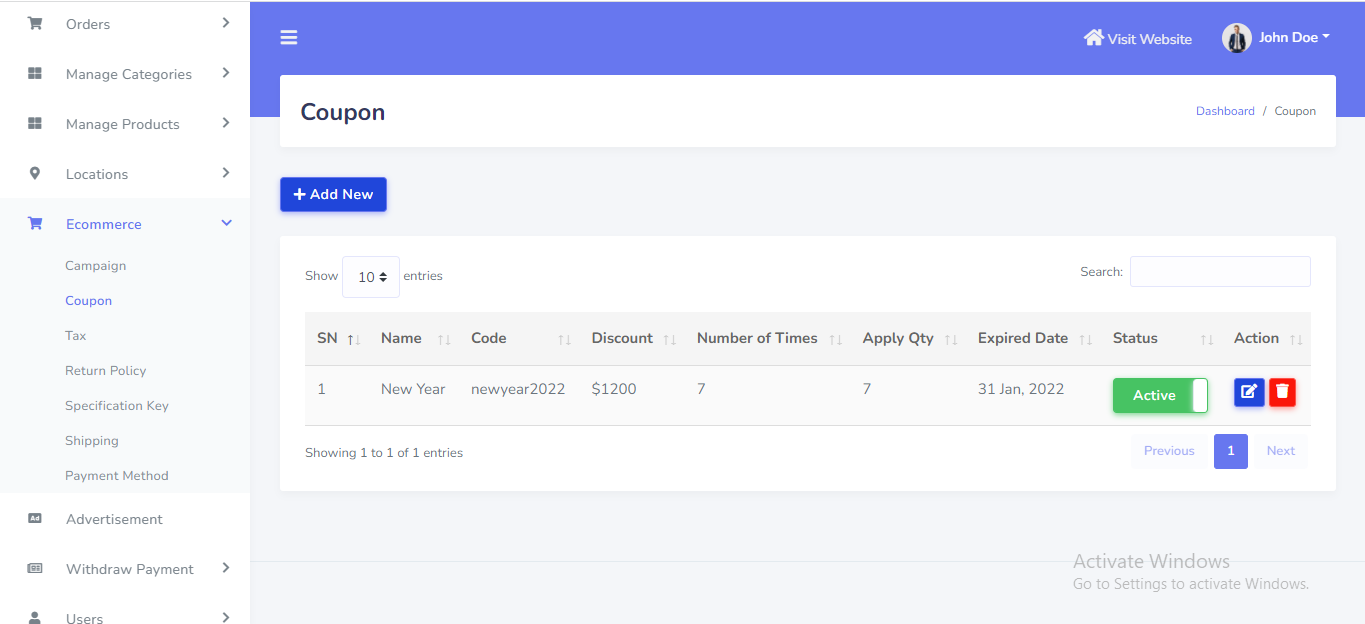
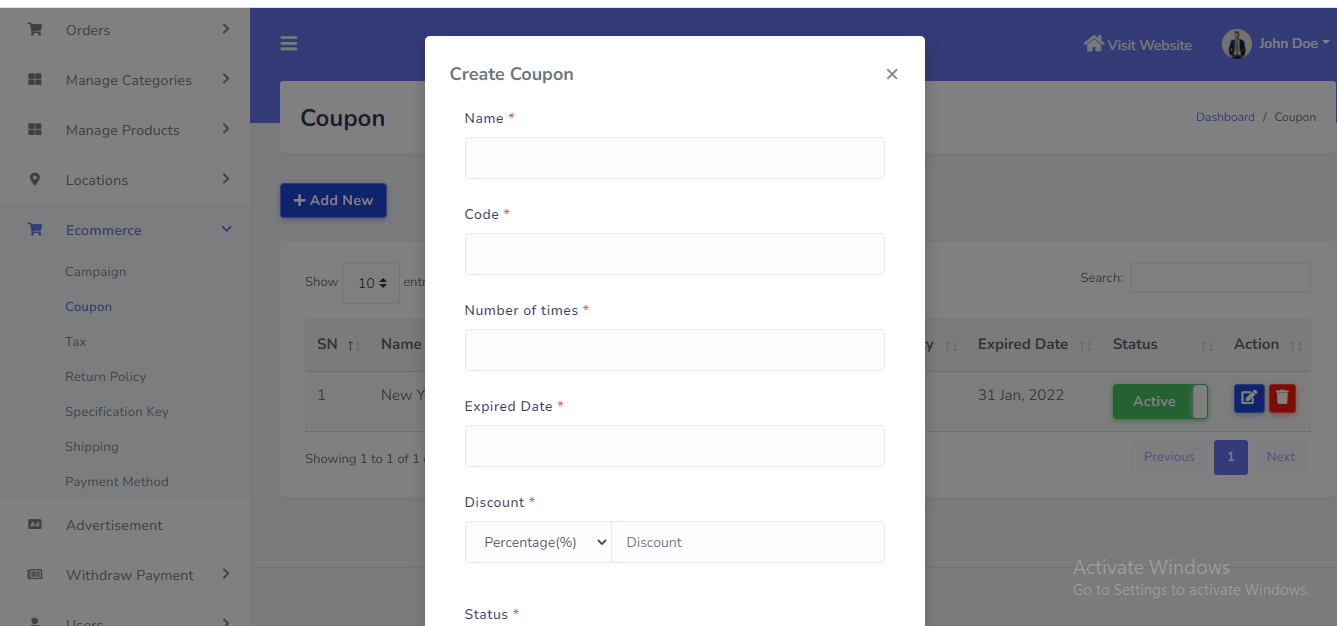
Coupon can be setup from the admin panel. Go to "Ecommerce >> Coupon" from sidebar. See:
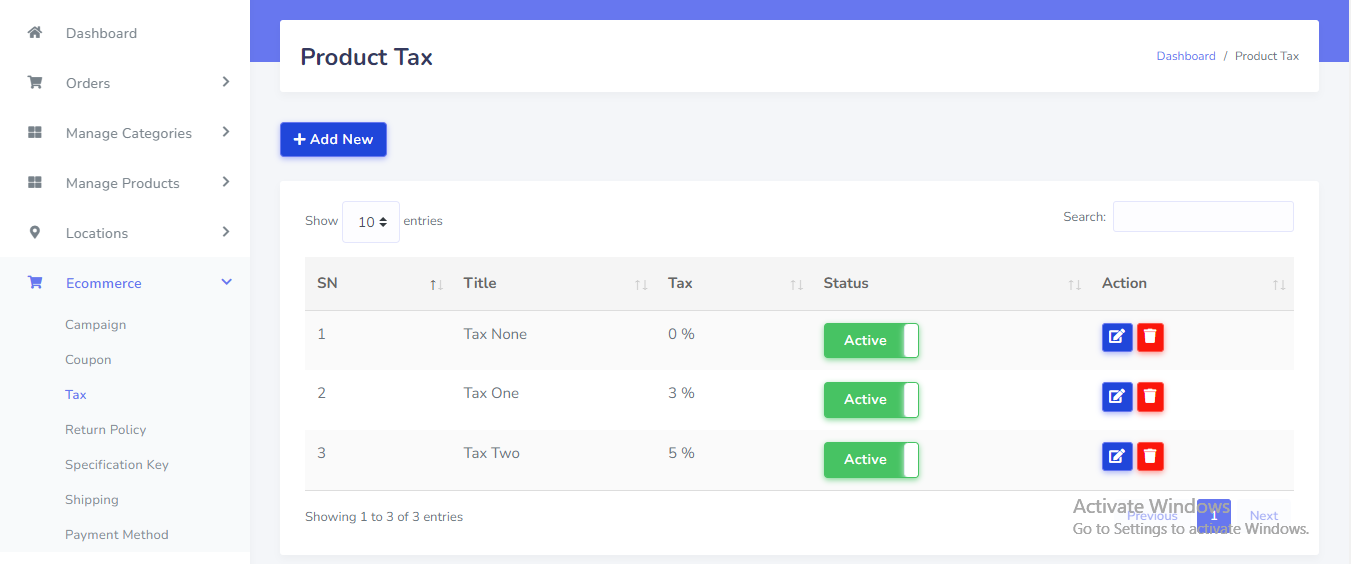
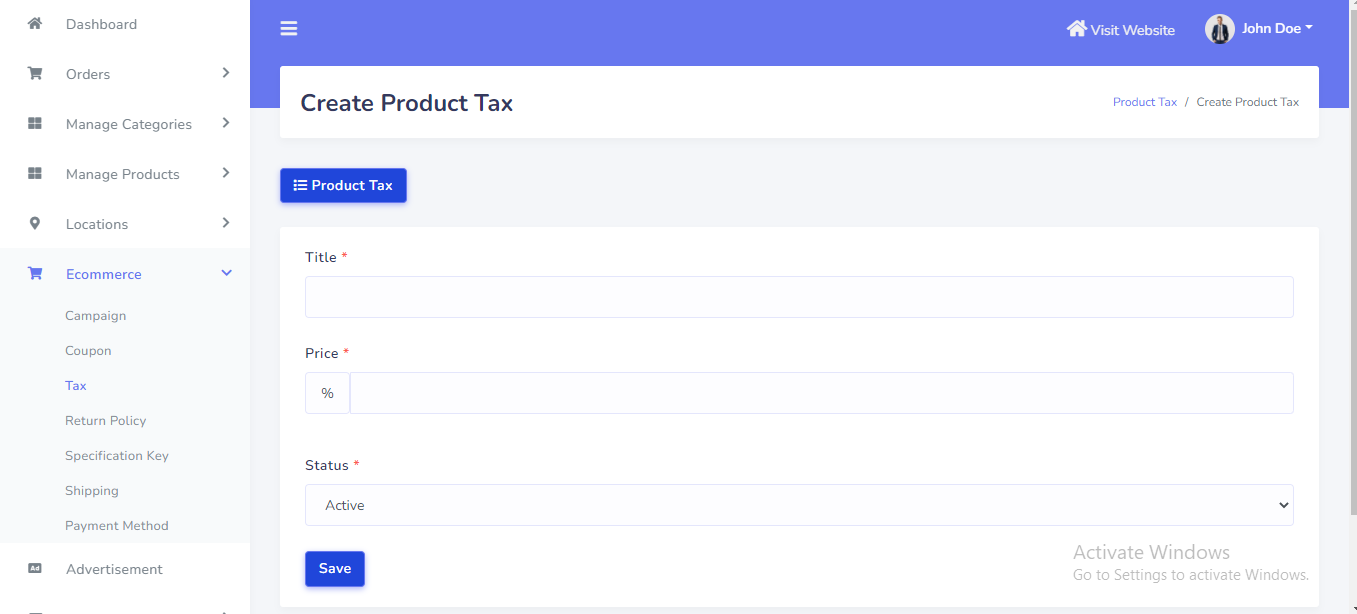
Tax can be setup from the admin panel. Go to "Ecommerce >> Tax" from sidebar. See:
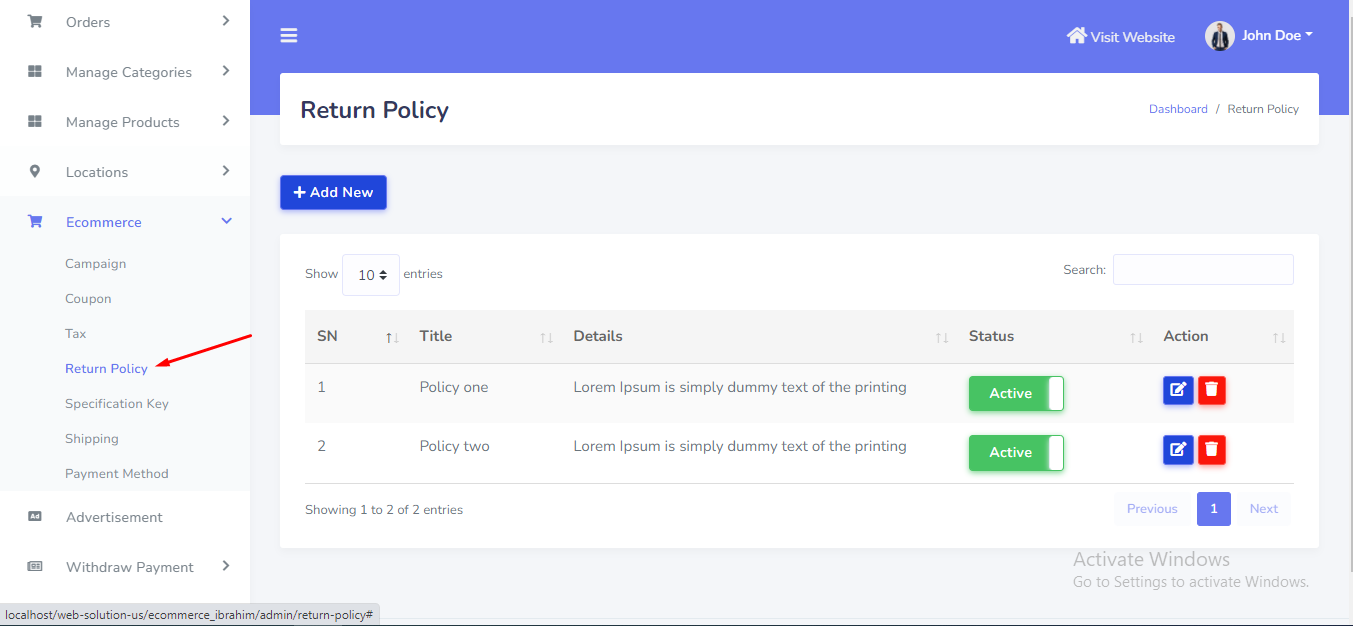
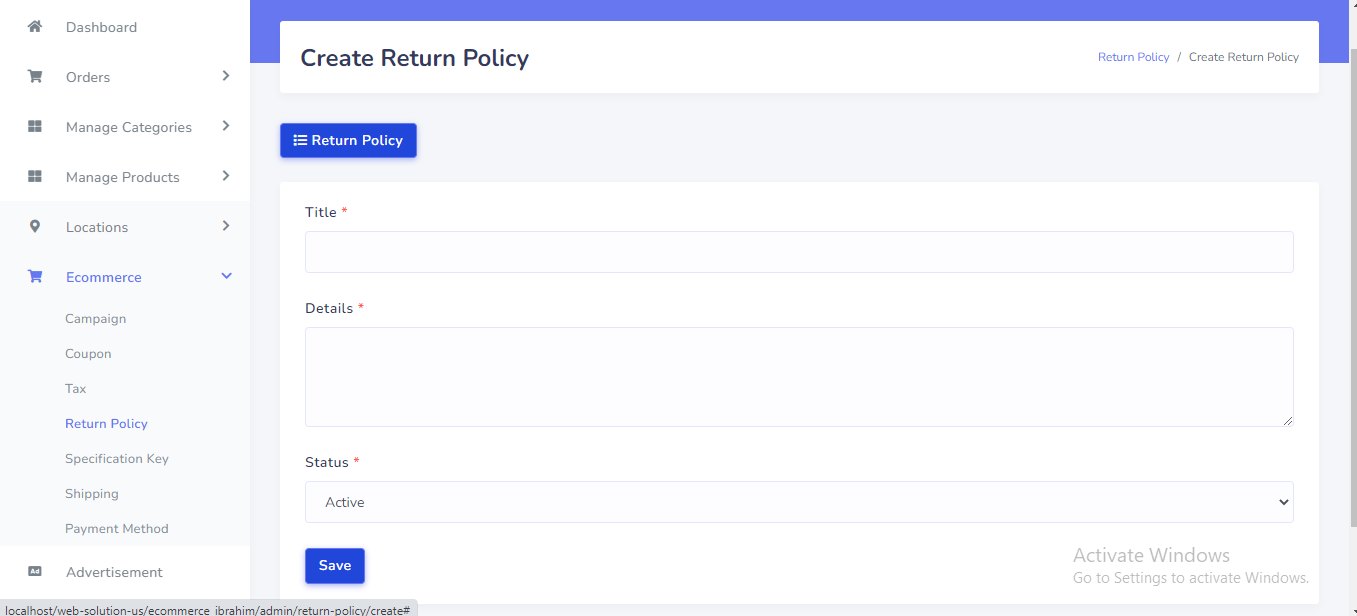
Return Policy can be setup from the admin panel. Go to "Ecommerce >> Return Policy" from sidebar. See:
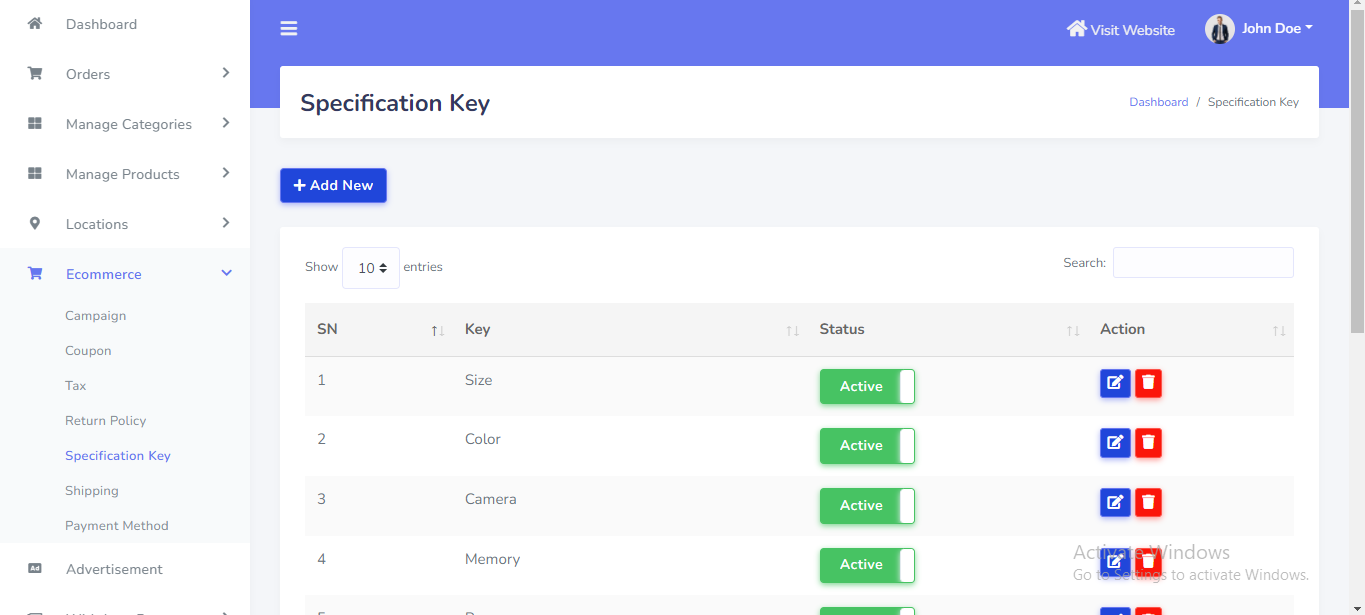
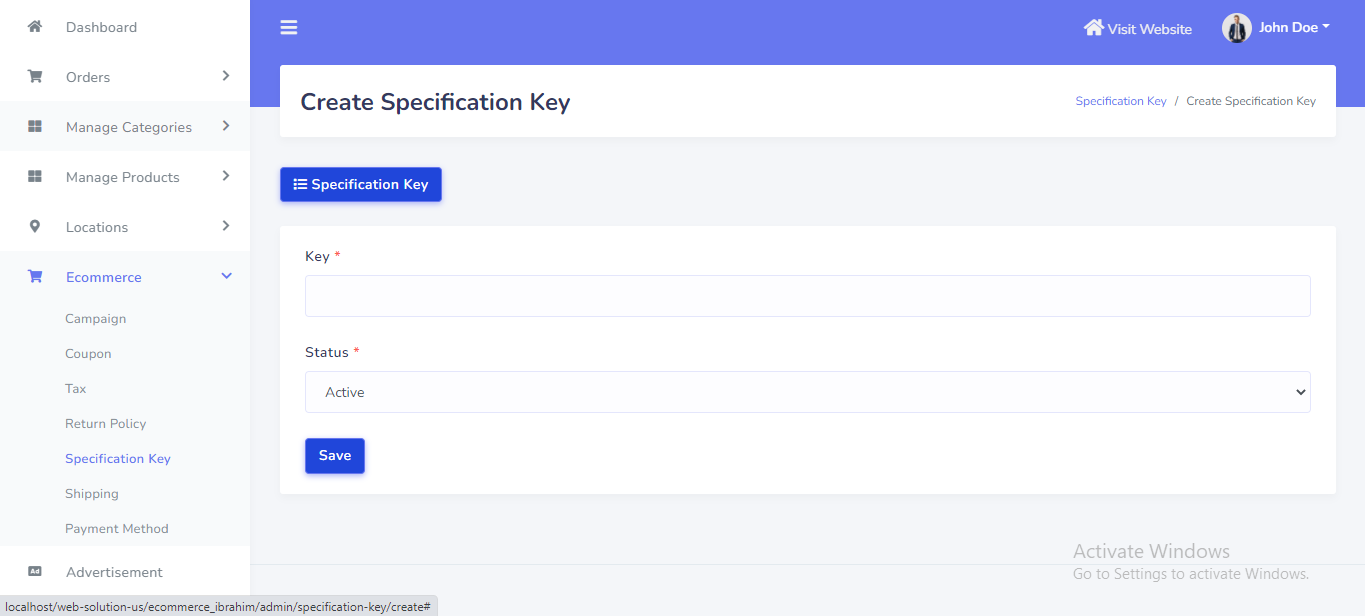
Specification key can be setup from the admin panel. Go to "Ecommerce >> Specification key" from sidebar. See:
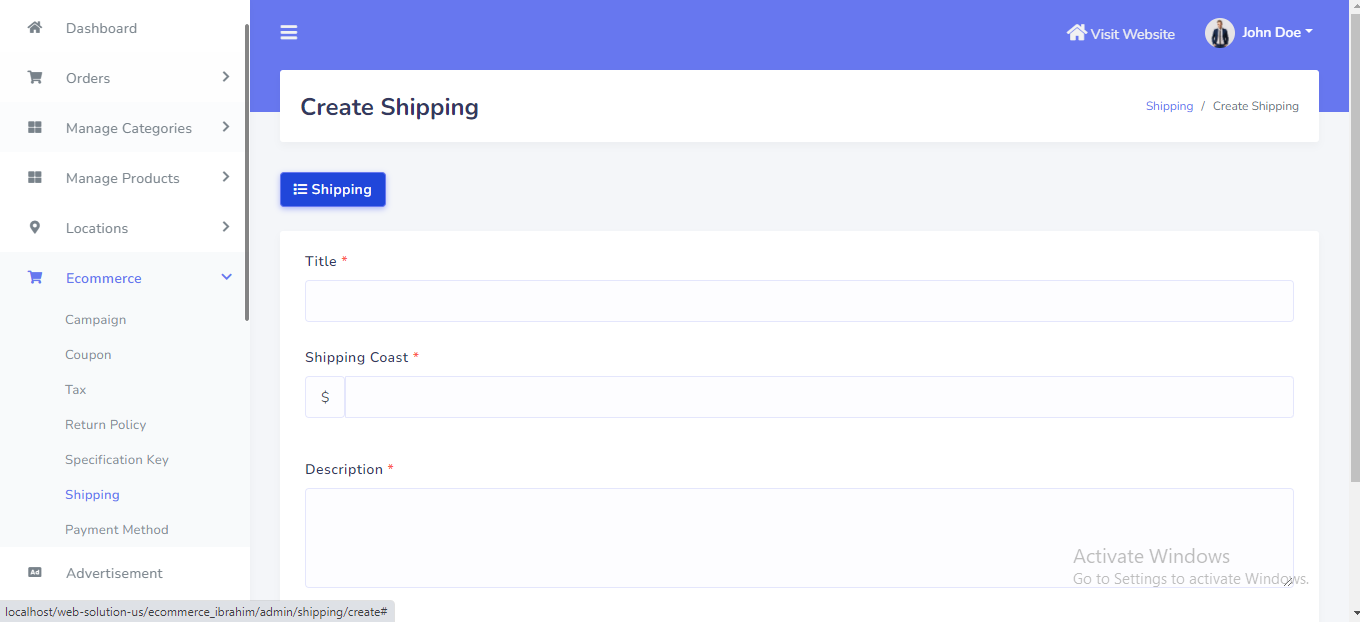
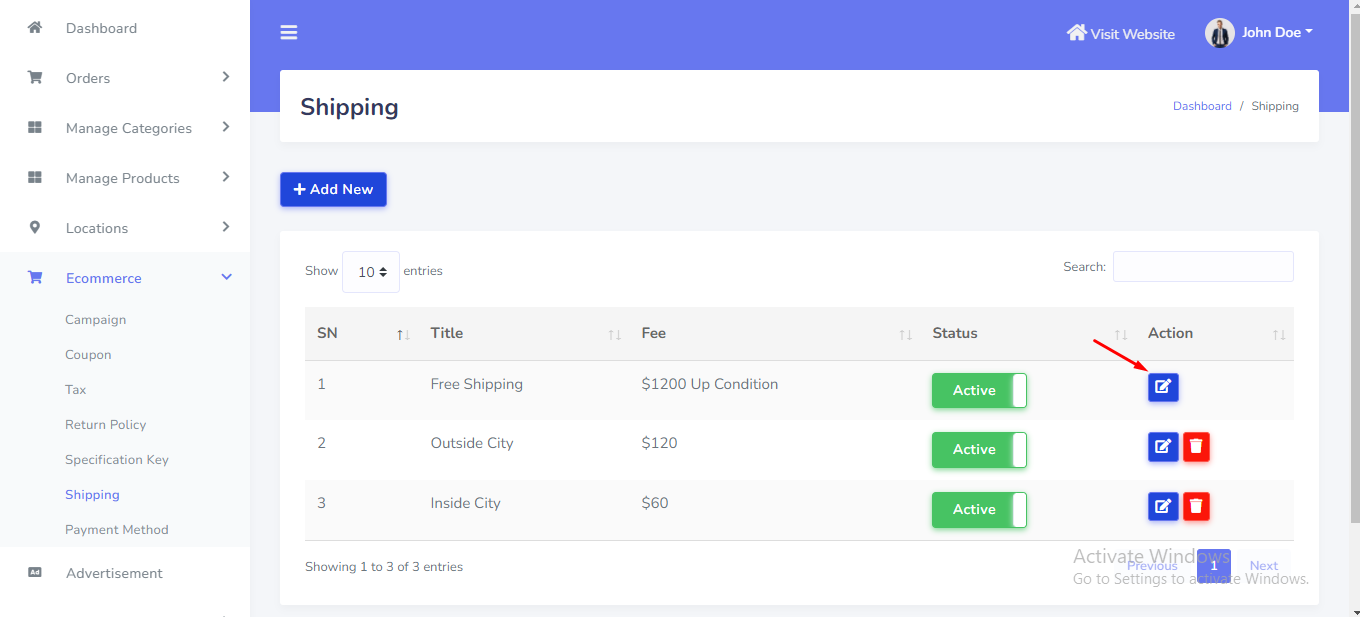
Shipping Method can be setup from the admin panel. Go to "Ecommerce >> Shipping" from sidebar. See:
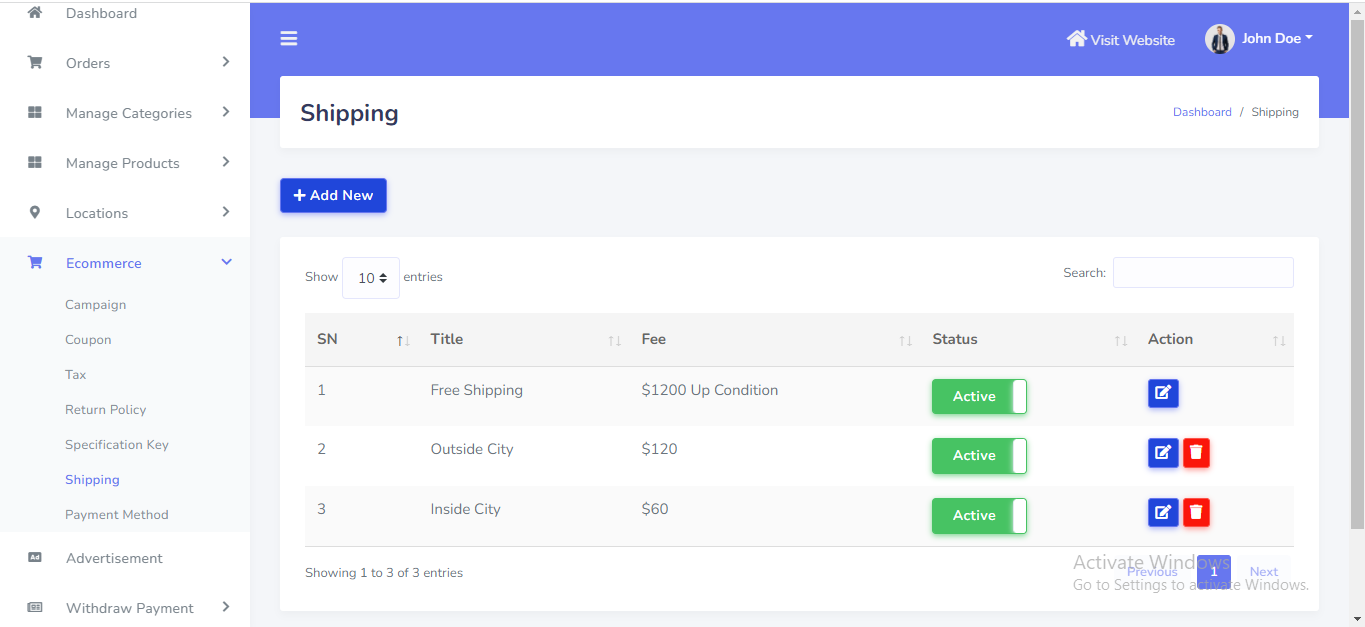
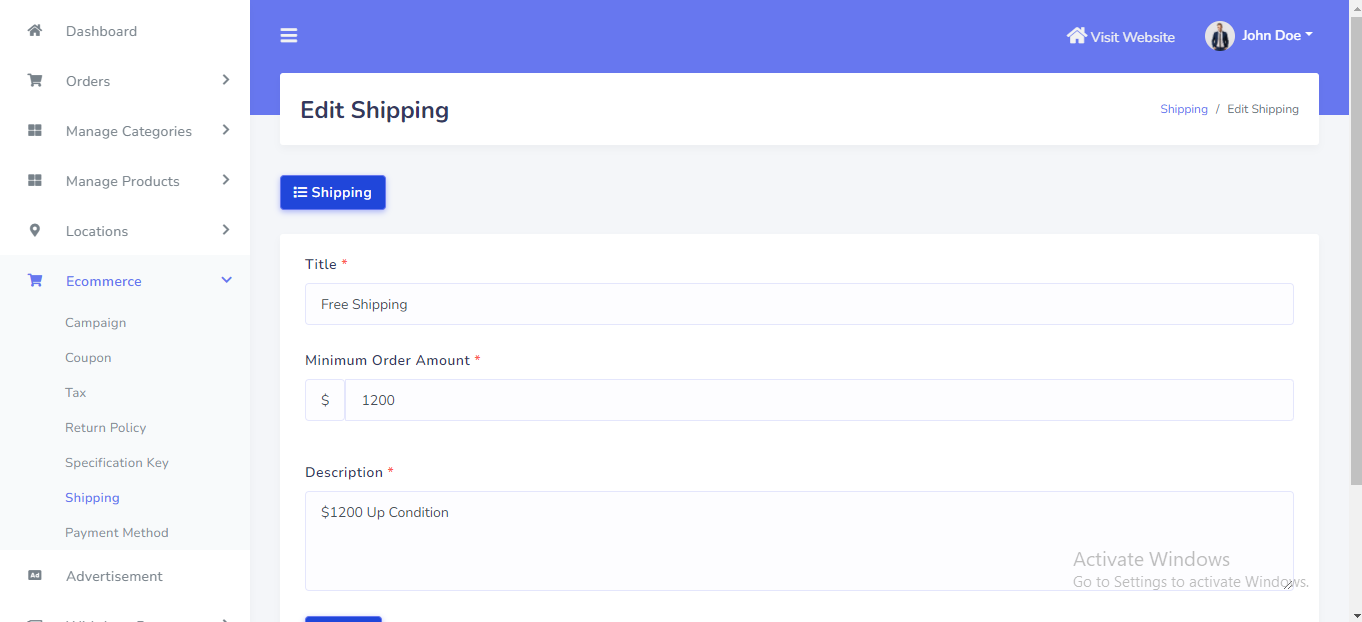
Free Shipping can be setup from the admin panel. Go to "Ecommerce >> Shipping" from sidebar. See:
Advertisement banner can be setup from the admin panel. Go to "Advatisement" from sidebar. See:

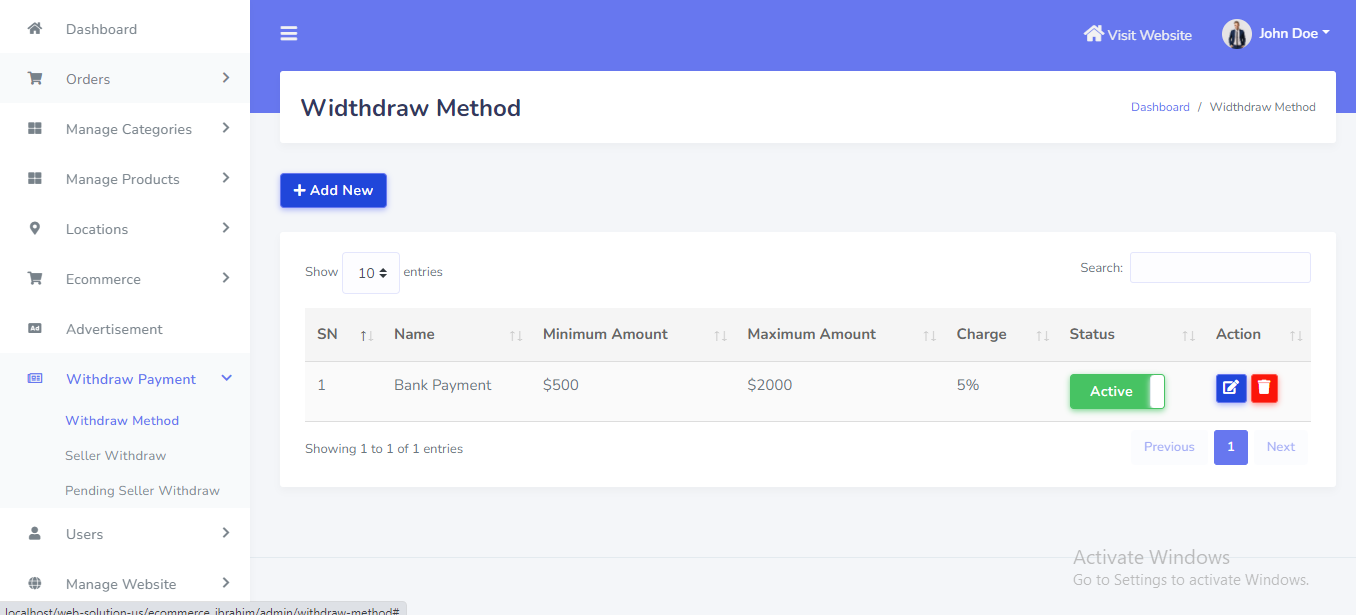
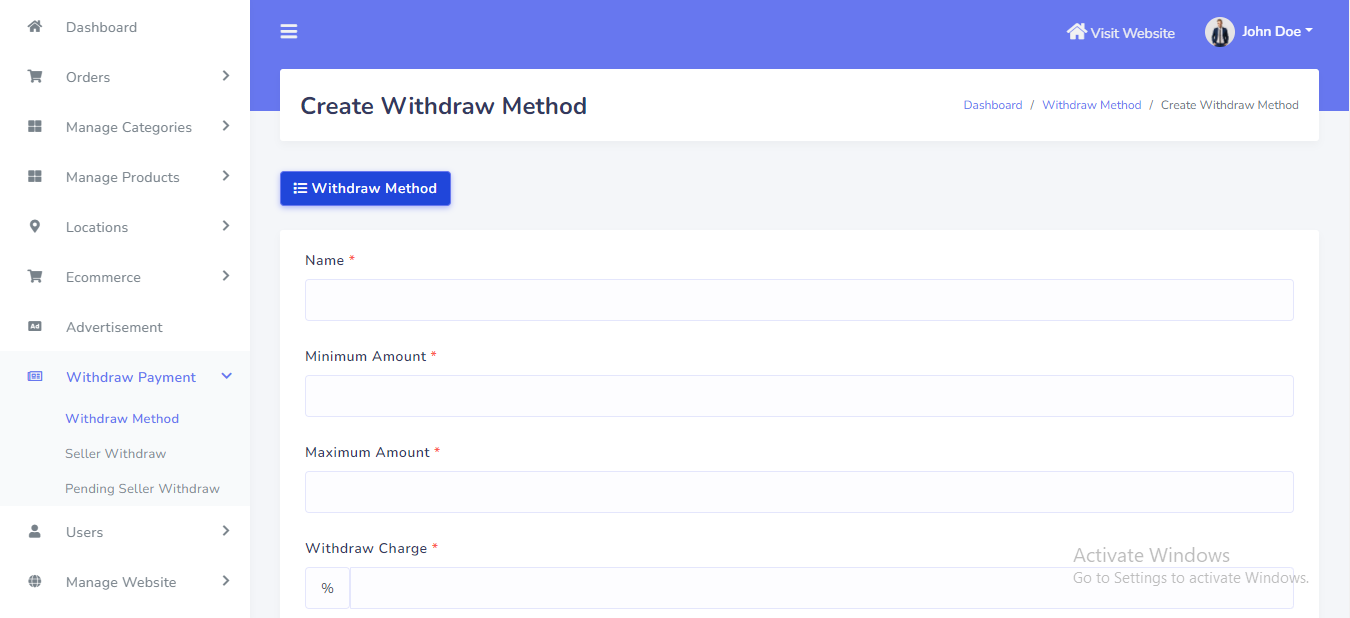
Withdraw Method can be setup from the admin panel. Go to "Withdraw Payment >> Withdraw method" from sidebar. See:
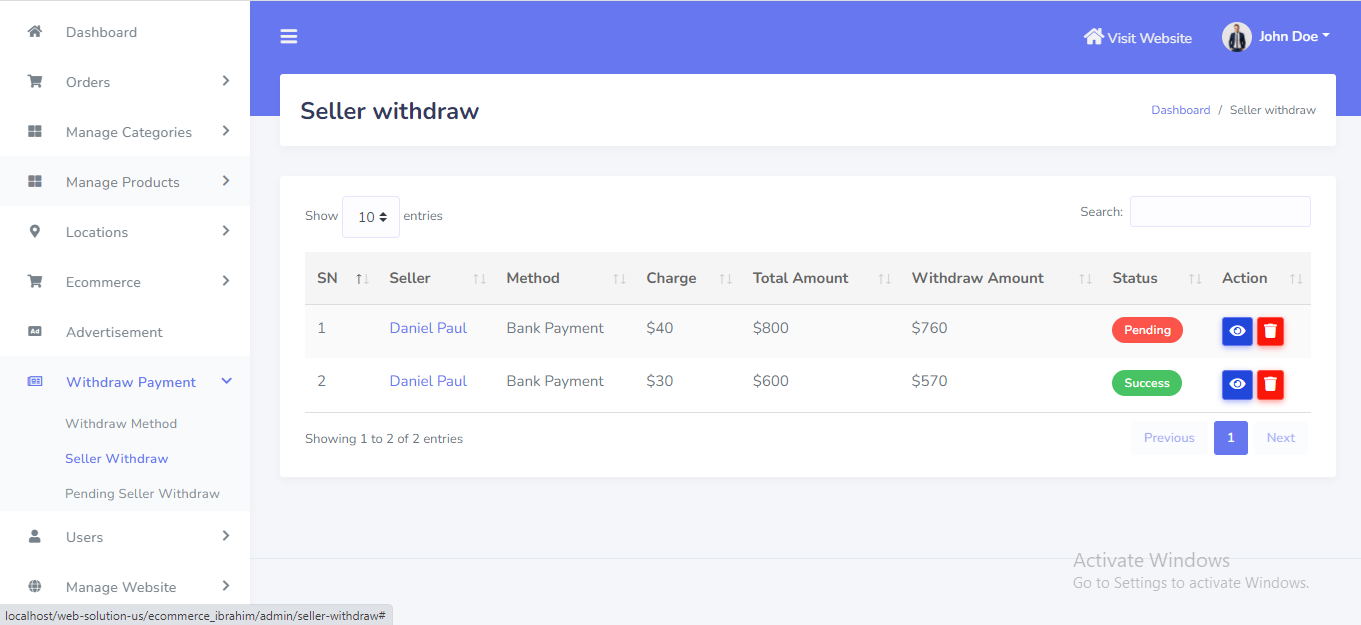
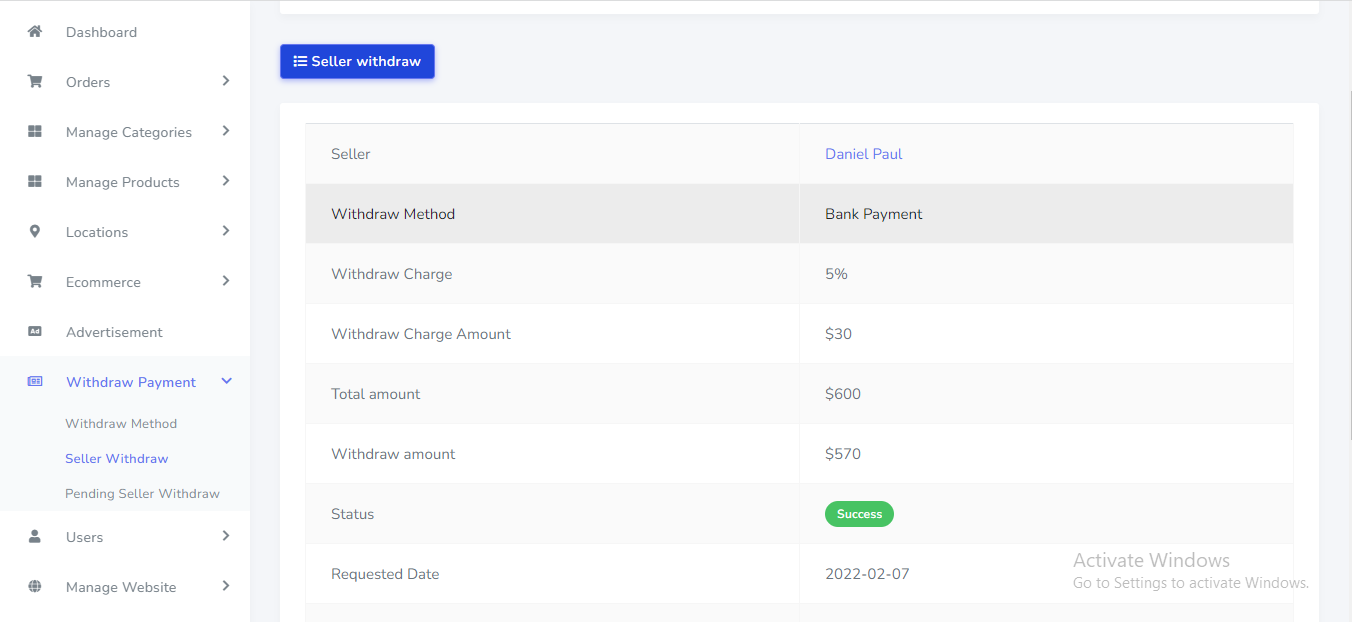
Seller withdraw can be manage from the admin panel. Go to "Withdraw Payment >> Seller withdraw" from sidebar. See:
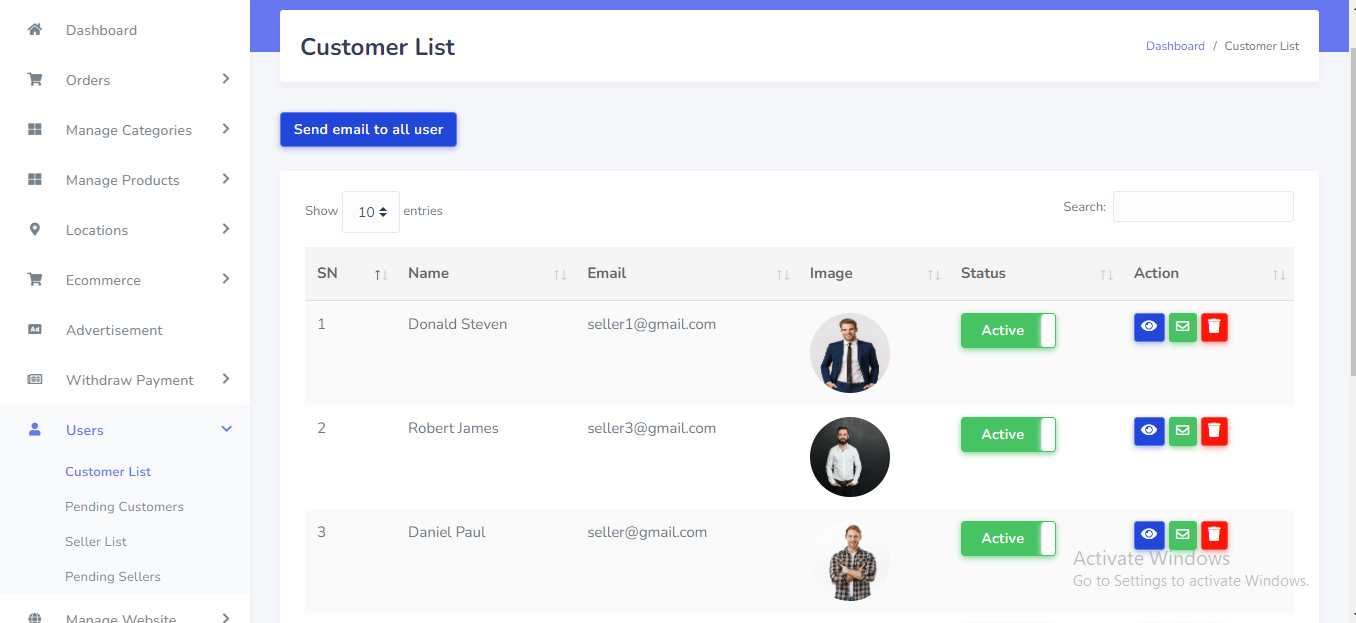
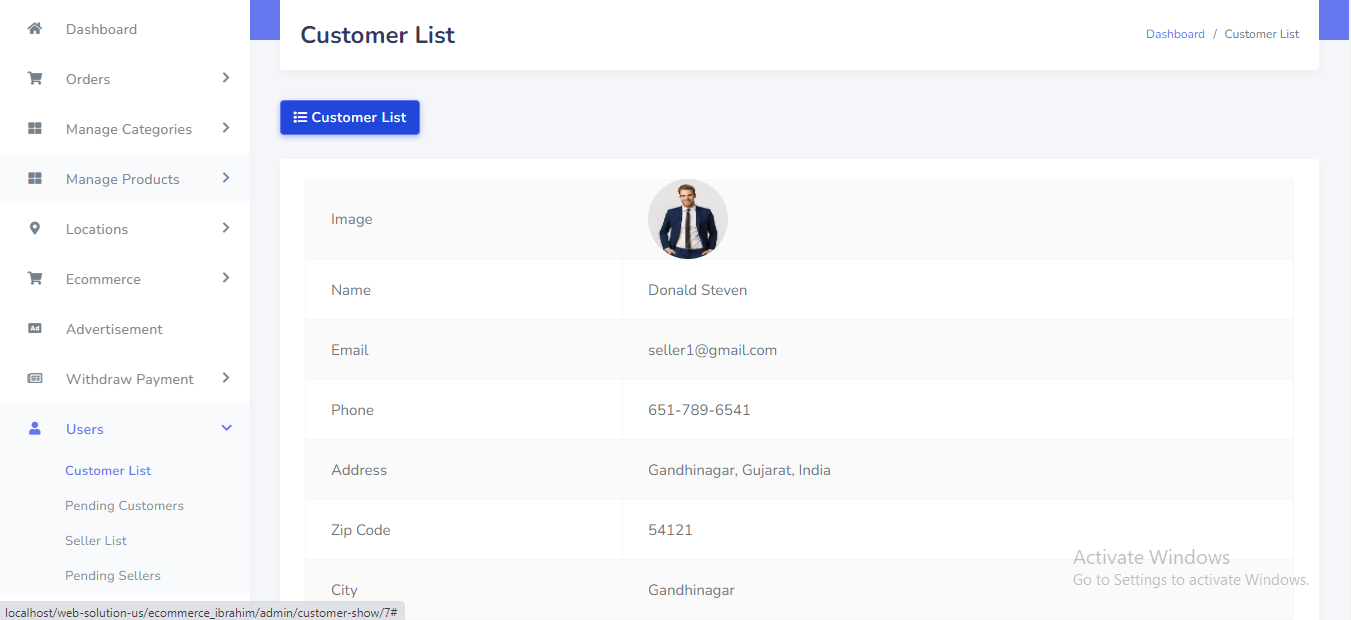
Customer can be manage from the admin panel. Go to "Users >> Customer List" from sidebar. See:
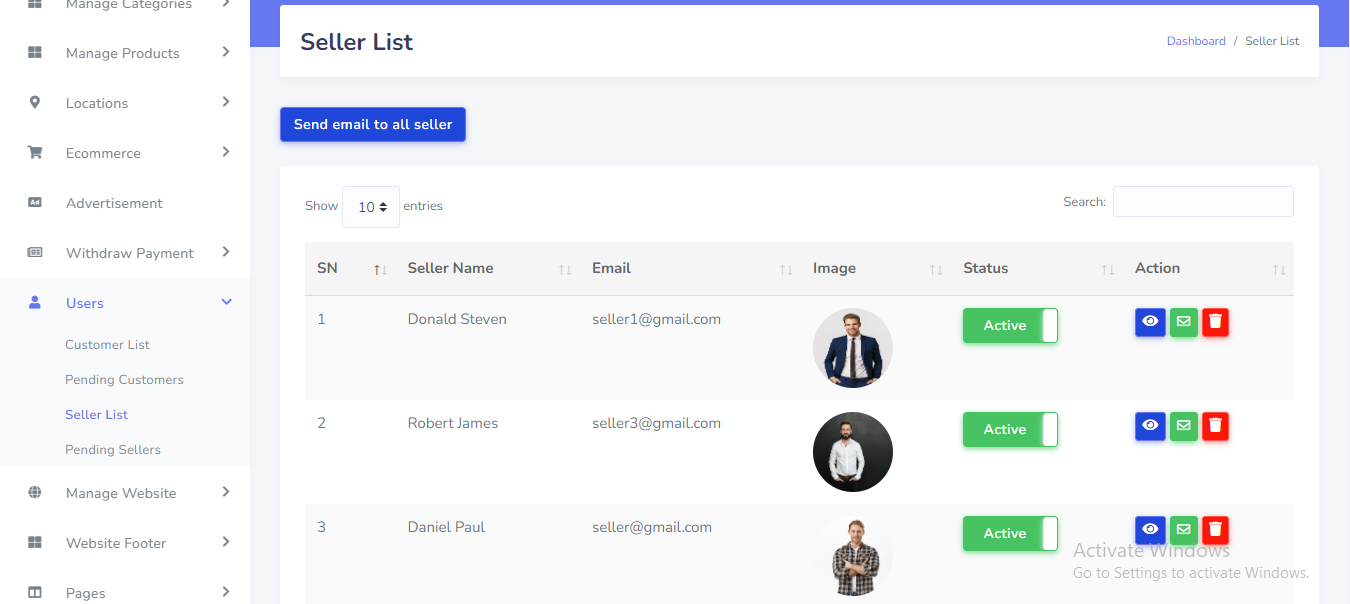
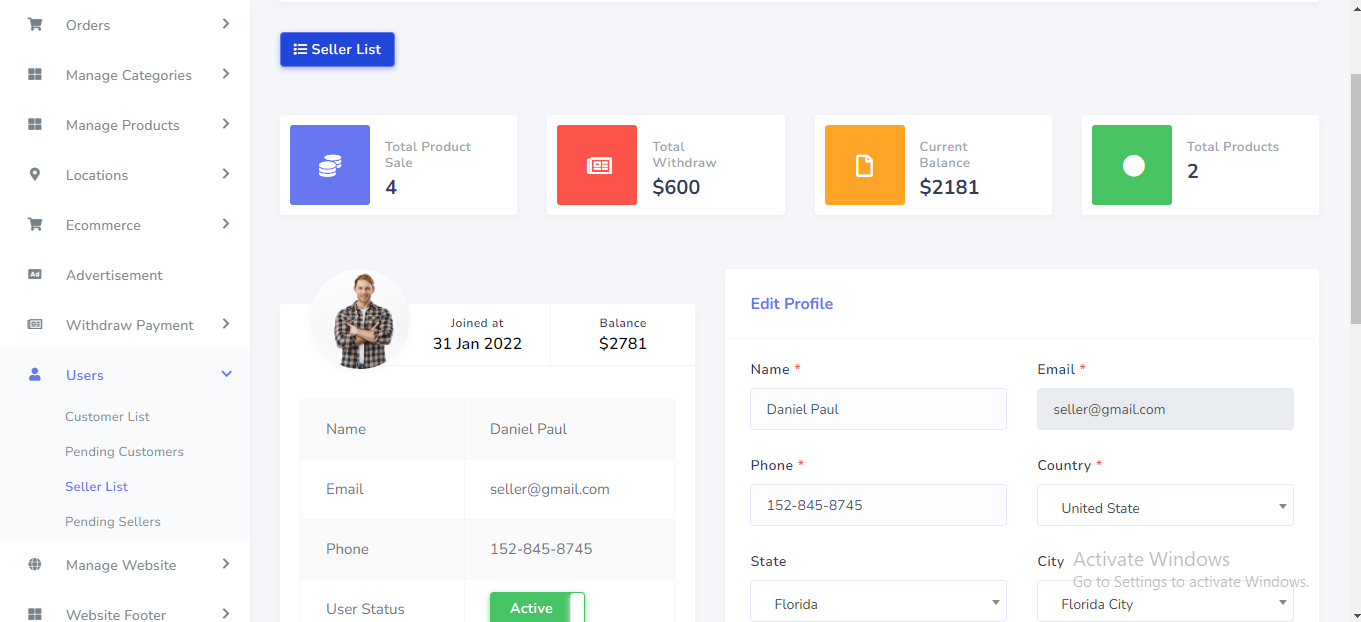
Seller can be manage from the admin panel. Go to "Users >> Seller List" from sidebar. See:
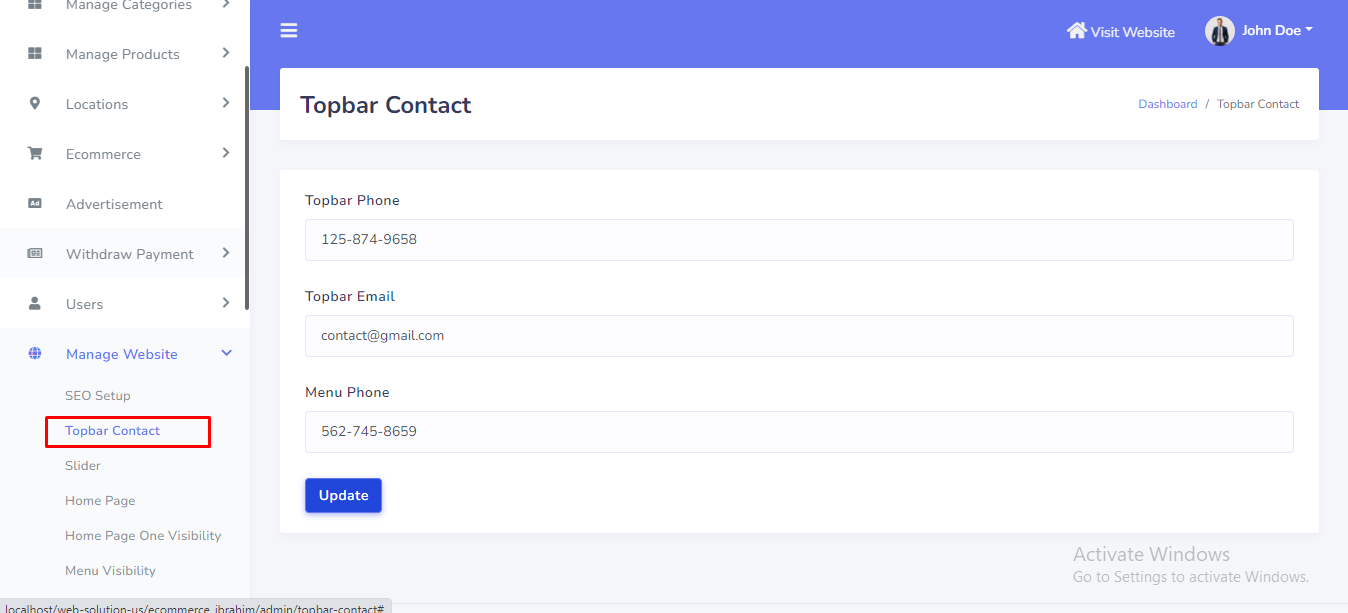
Topbar Contact can be manage from the admin panel. Go to "Manage website >> Topbar Contact" from sidebar. See:
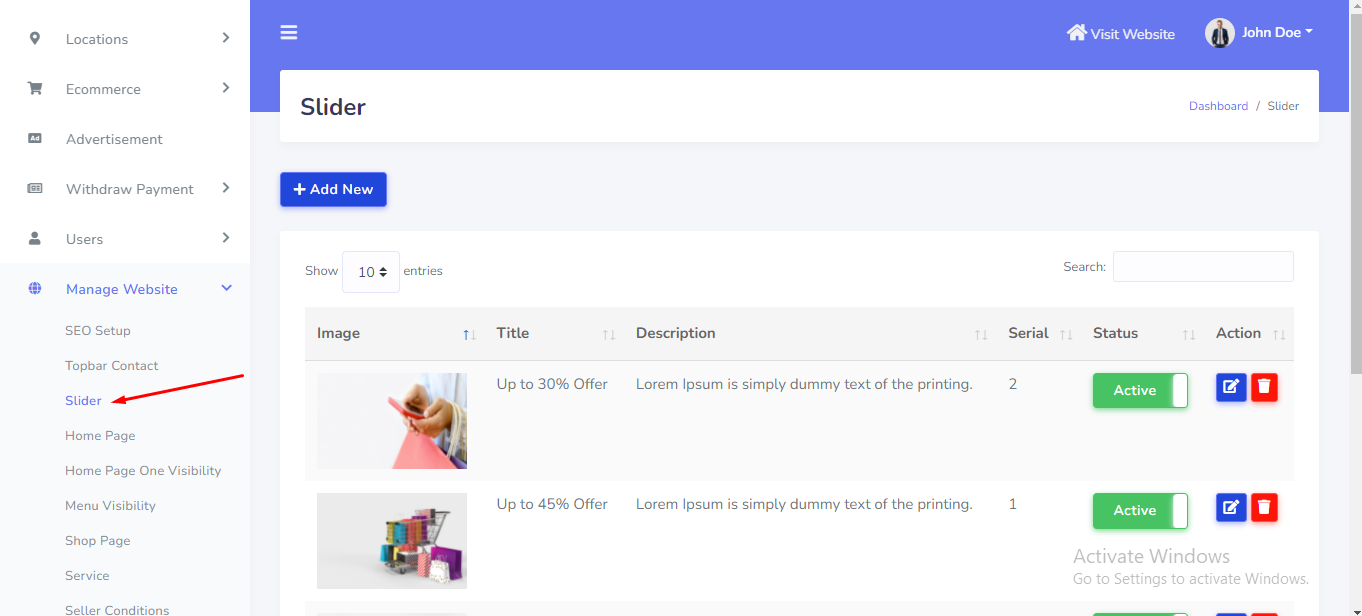
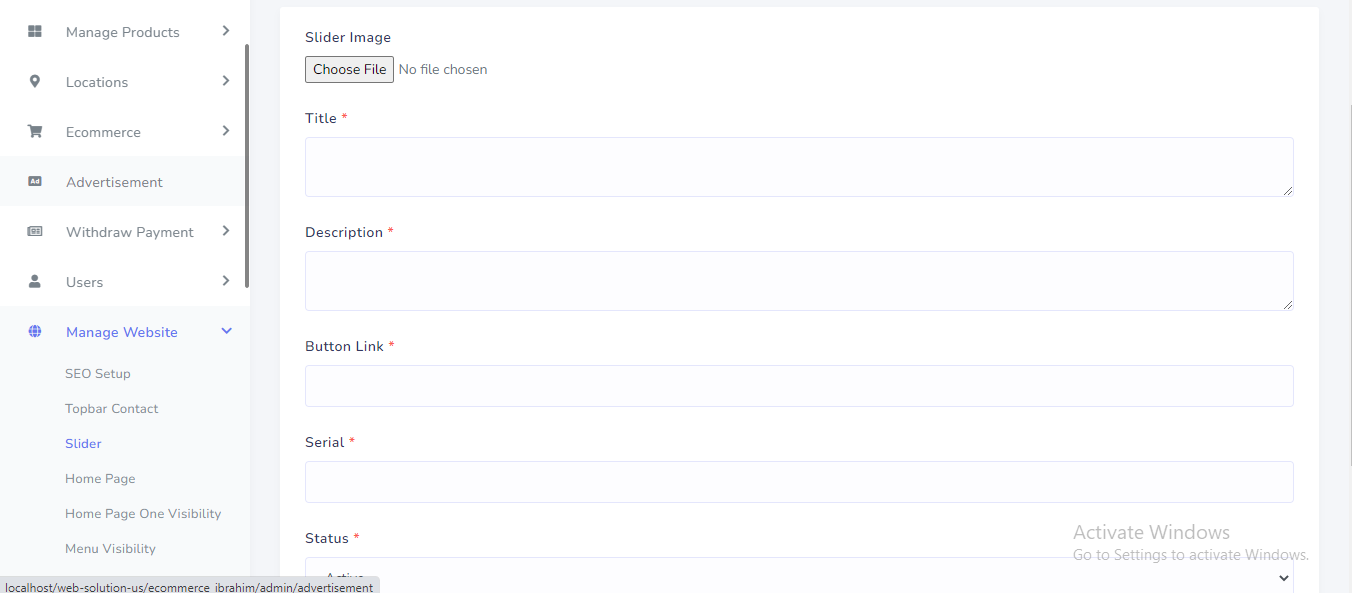
Slider can be manage from the admin panel. Go to "Manage website >> Slider" from sidebar. See:
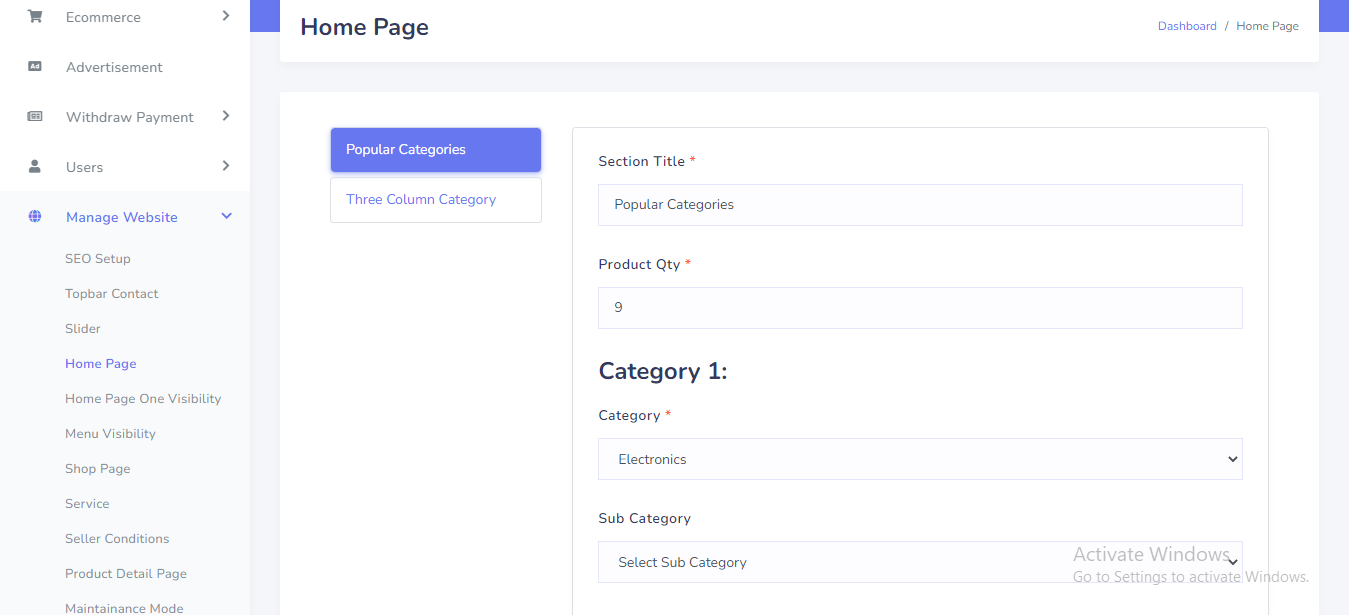
Home page popular category can be manage from the admin panel. Go to "Manage website >> Home page" from sidebar. See:
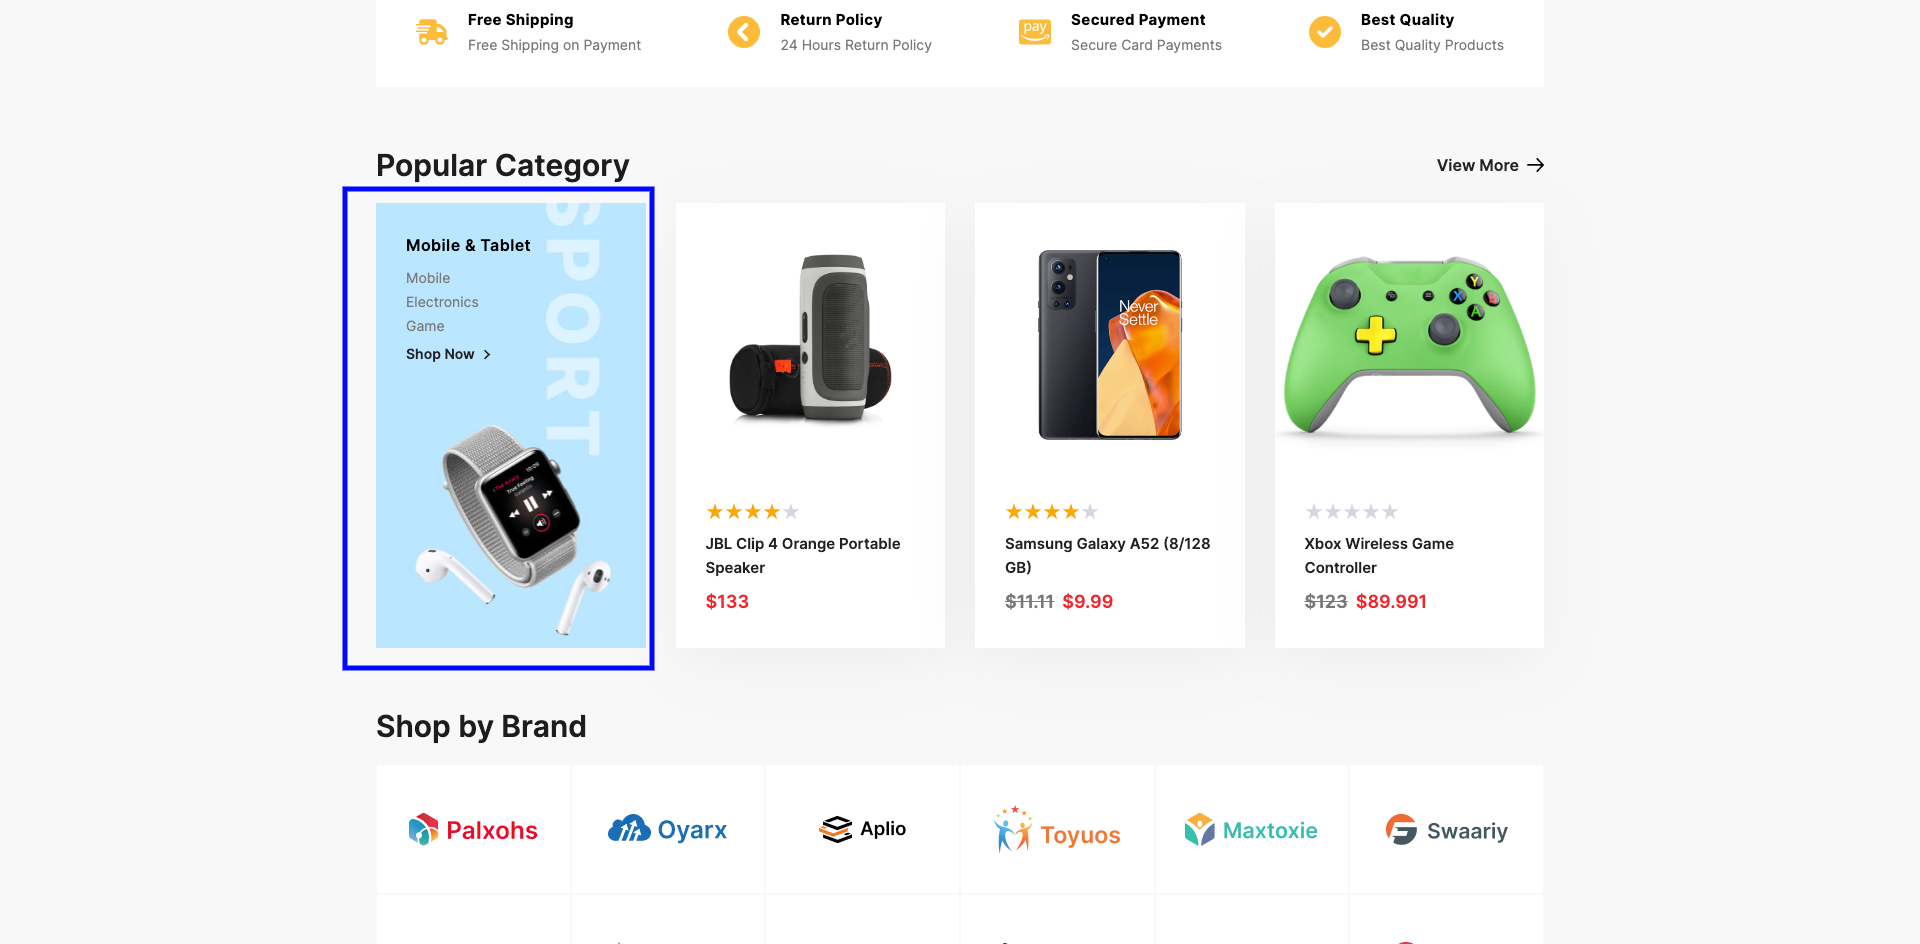
In the front end, the categories will be shown like this. See:
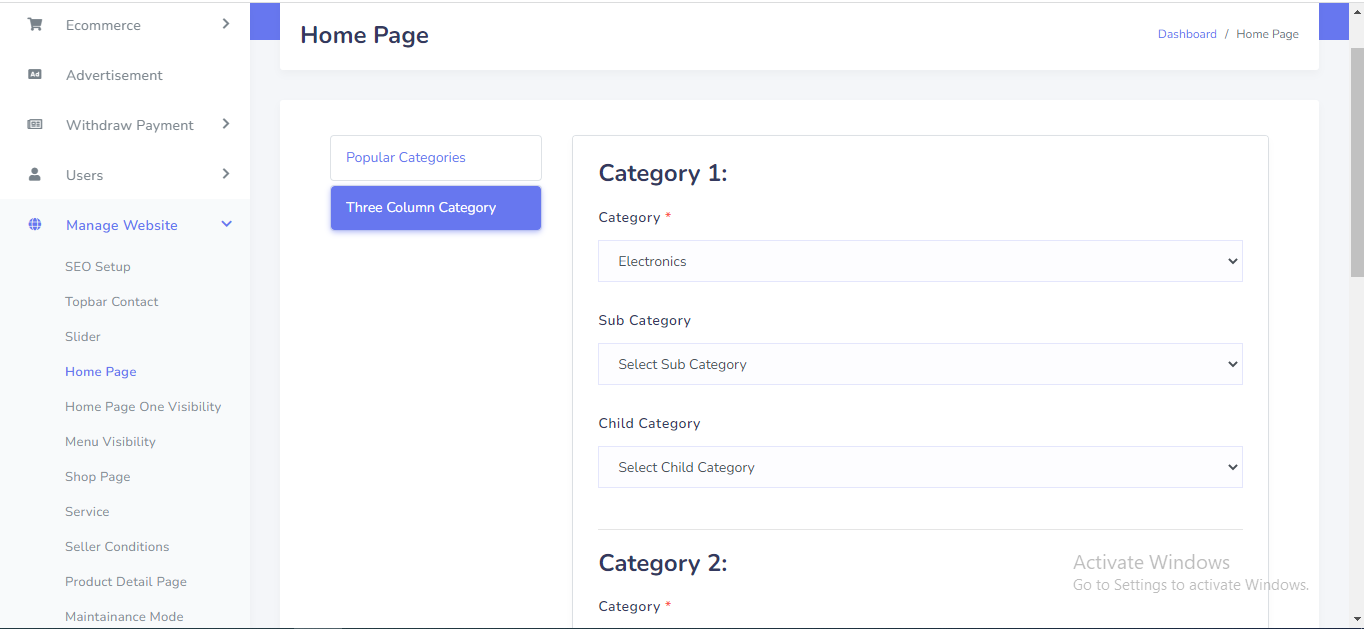
Home page three column category can be manage from the admin panel. Go to "Manage website >> Home page" from sidebar. See:
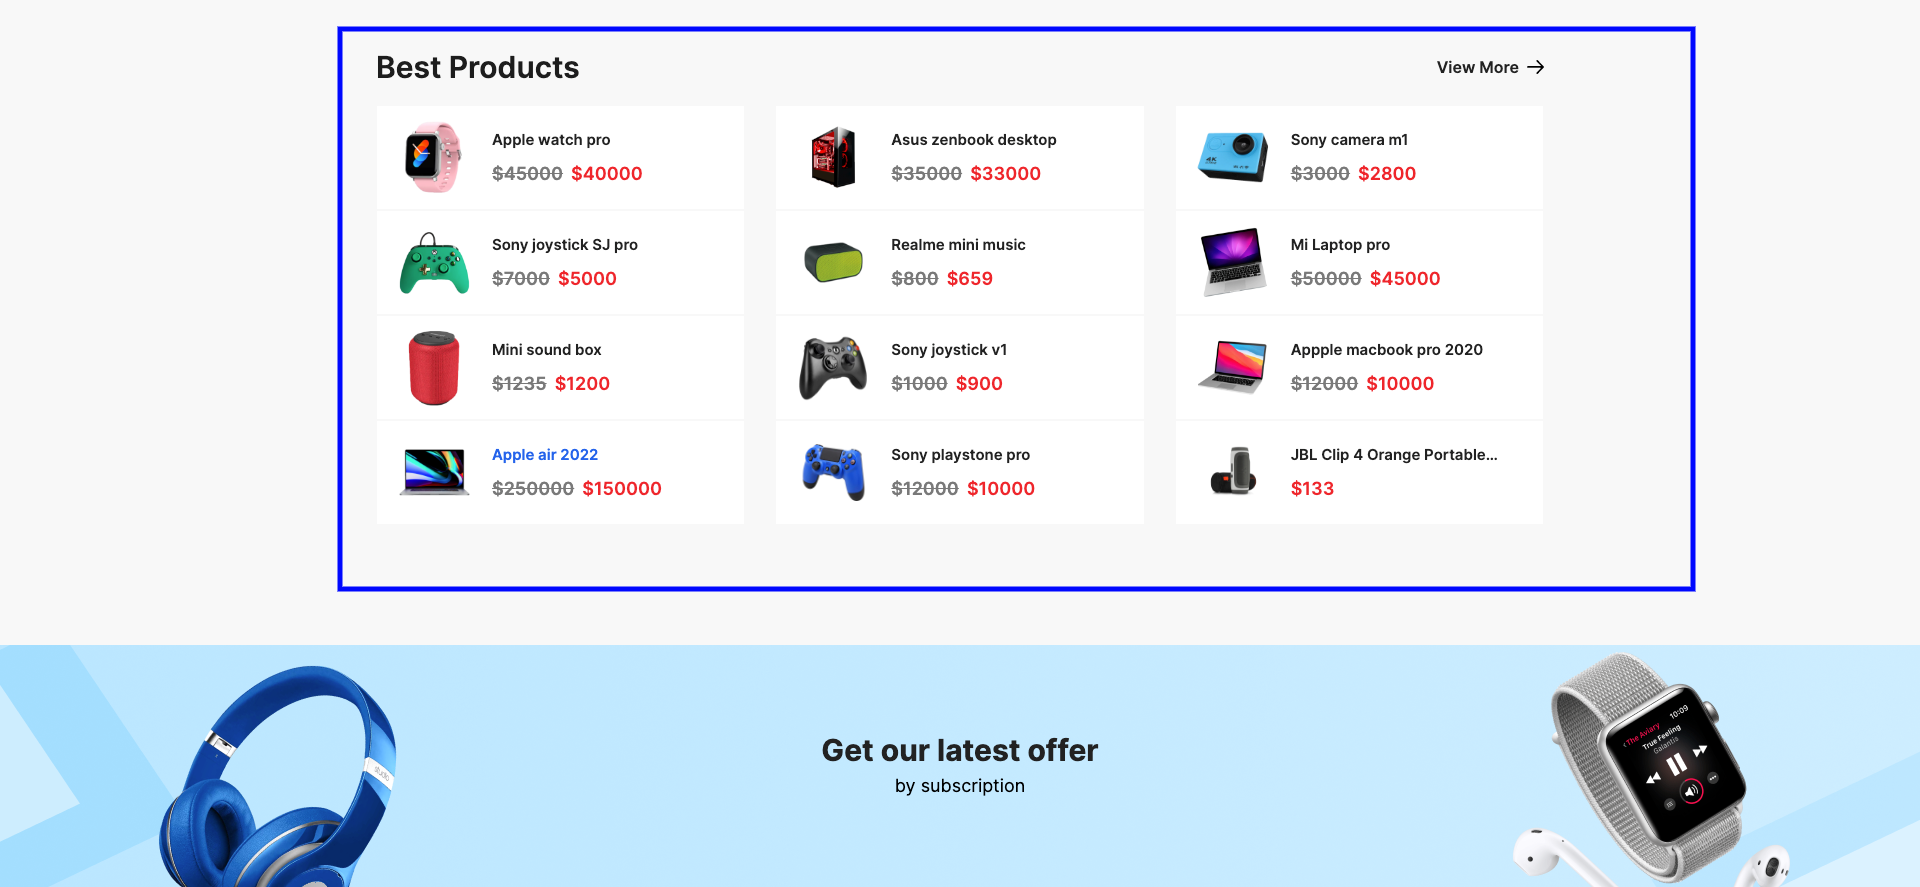
In the front end, the categories will be shown like this. See:
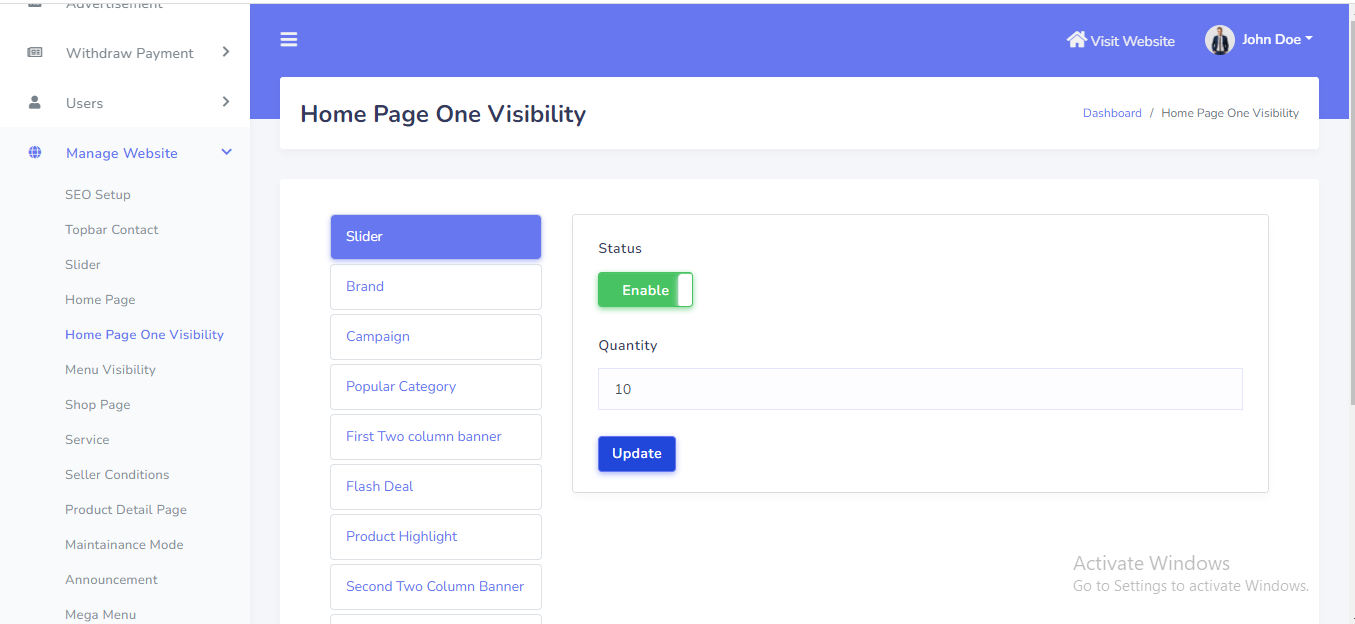
Home page each section visibility can be manage from the admin panel. Go to "Manage website >> Home page One Visibility" from sidebar. See:
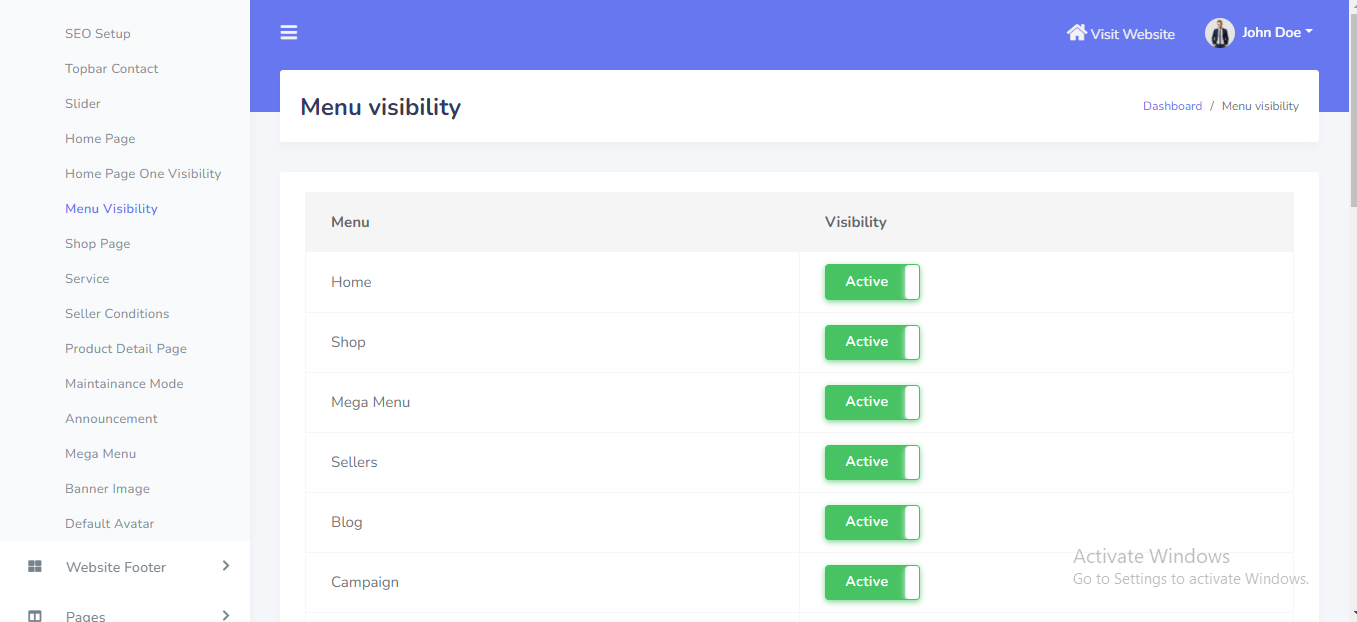
Each menu visibility can be manage from the admin panel. Go to "Manage website >> Menu Visibility" from sidebar. See:
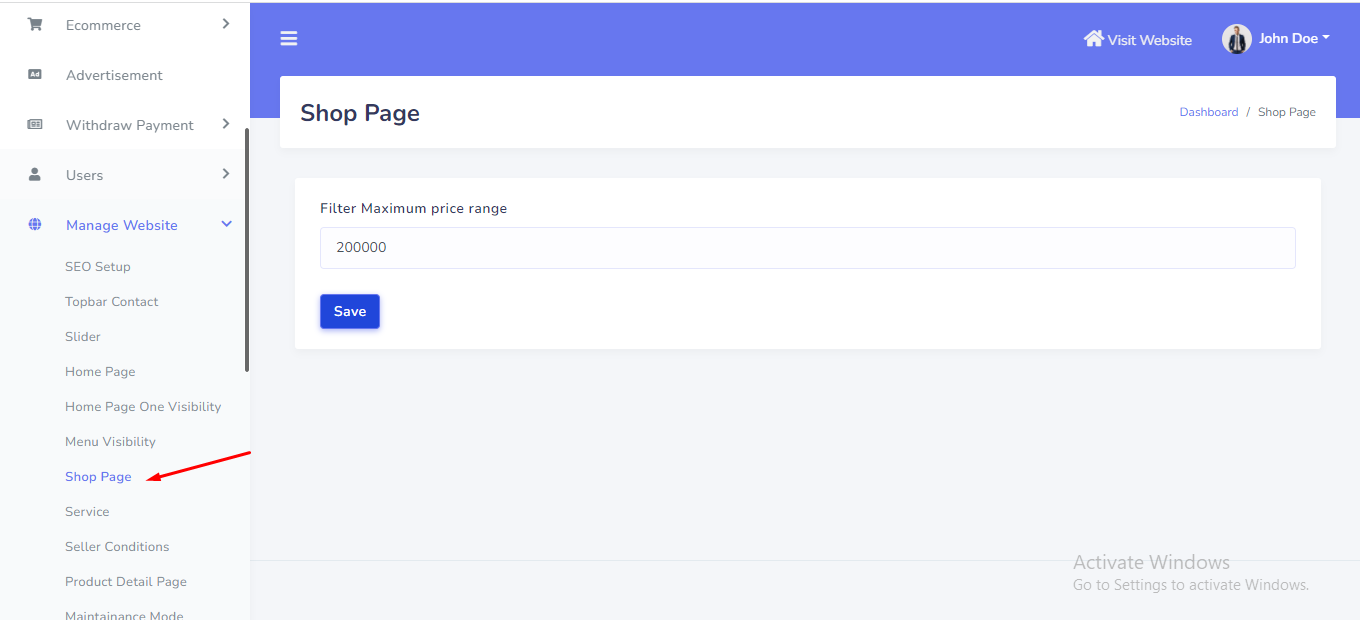
Shop page filter price can be manage from the admin panel. Go to "Manage website >> Shop page" from sidebar. See:
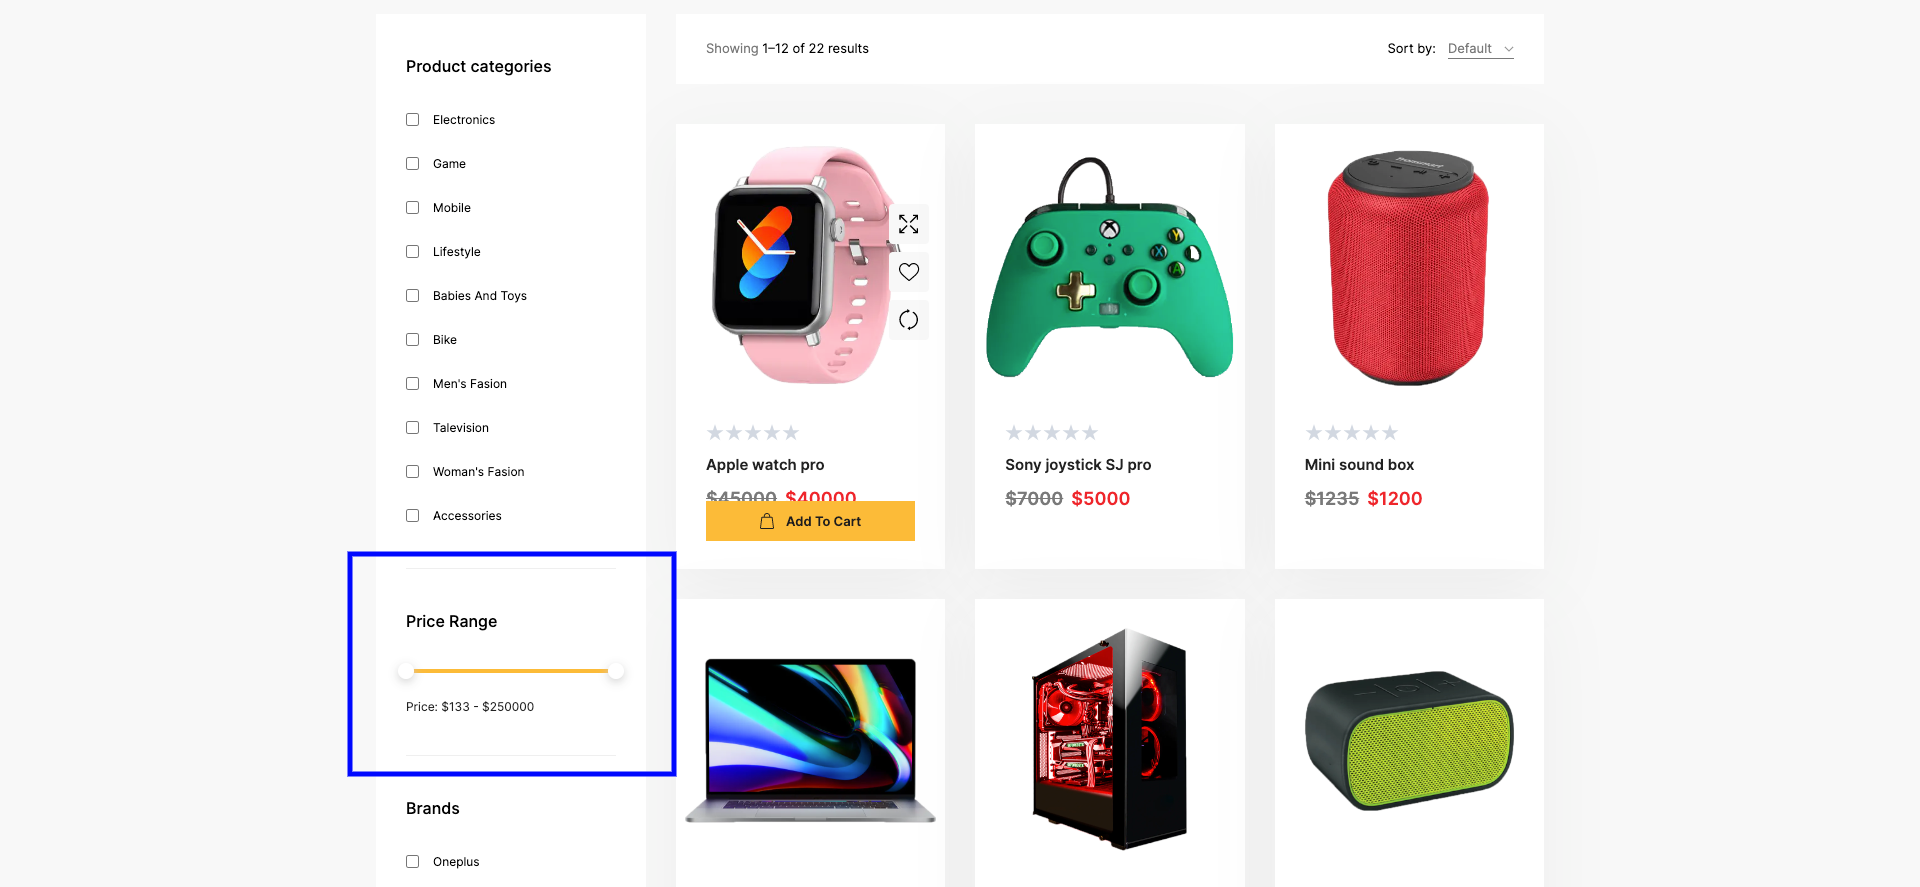
In the front end, the data will be shown like this. See:
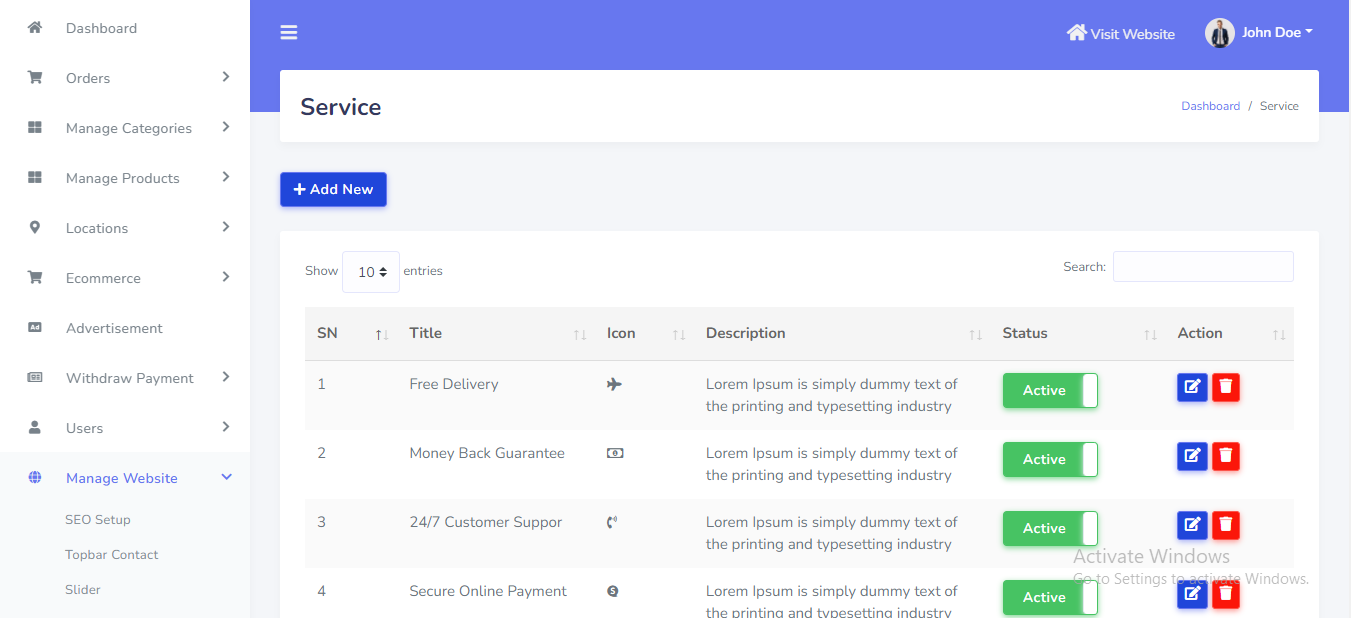
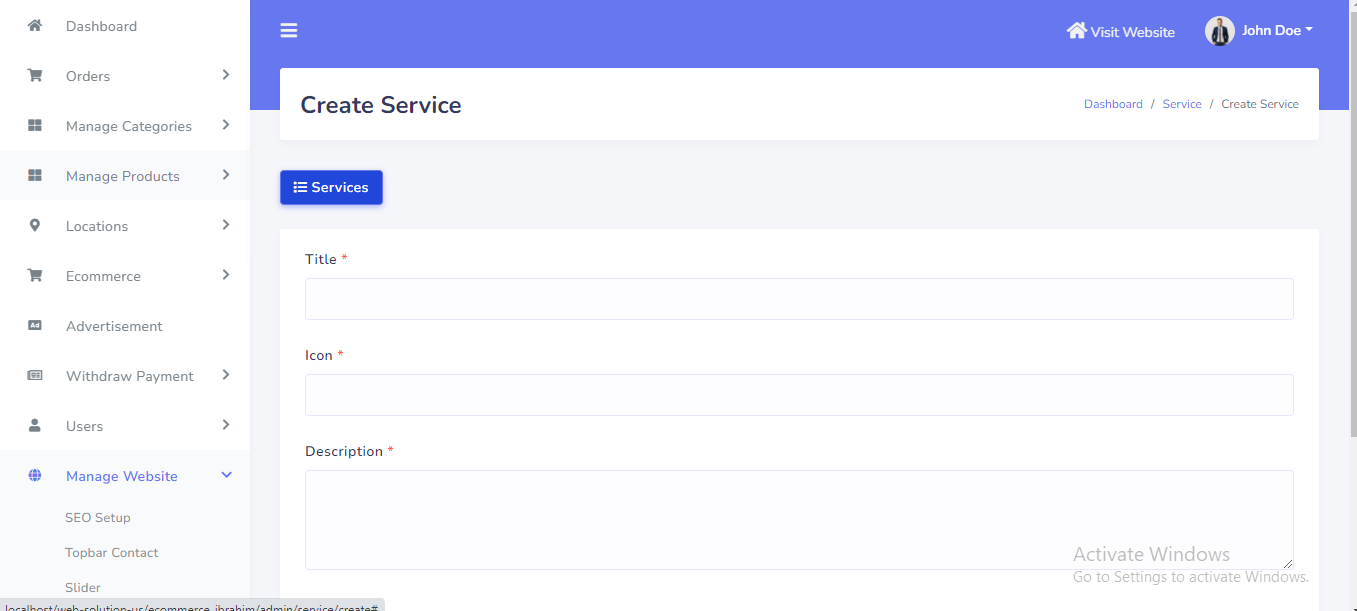
Service can be manage from the admin panel. Go to "Manage website >> Service" from sidebar. See:
Seller Terms and conditions can be manage from the admin panel. Go to "Manage website >> Seller Condition" from sidebar. See:
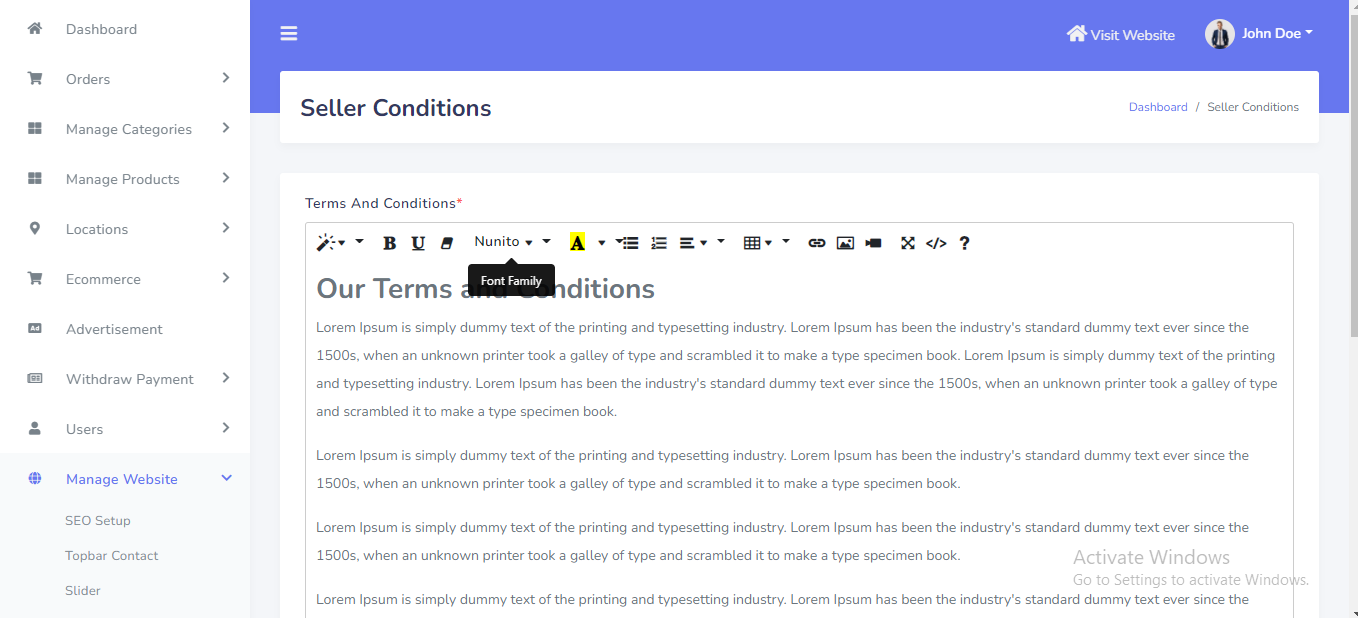
In the front end, the data will be shown like this. See:

Product stock quantity visibility can be manage from the admin panel. If you want to show stock quantity in product detail page, please enable this button. Go to "Manage website >> Product Detail Page" from sidebar. See:
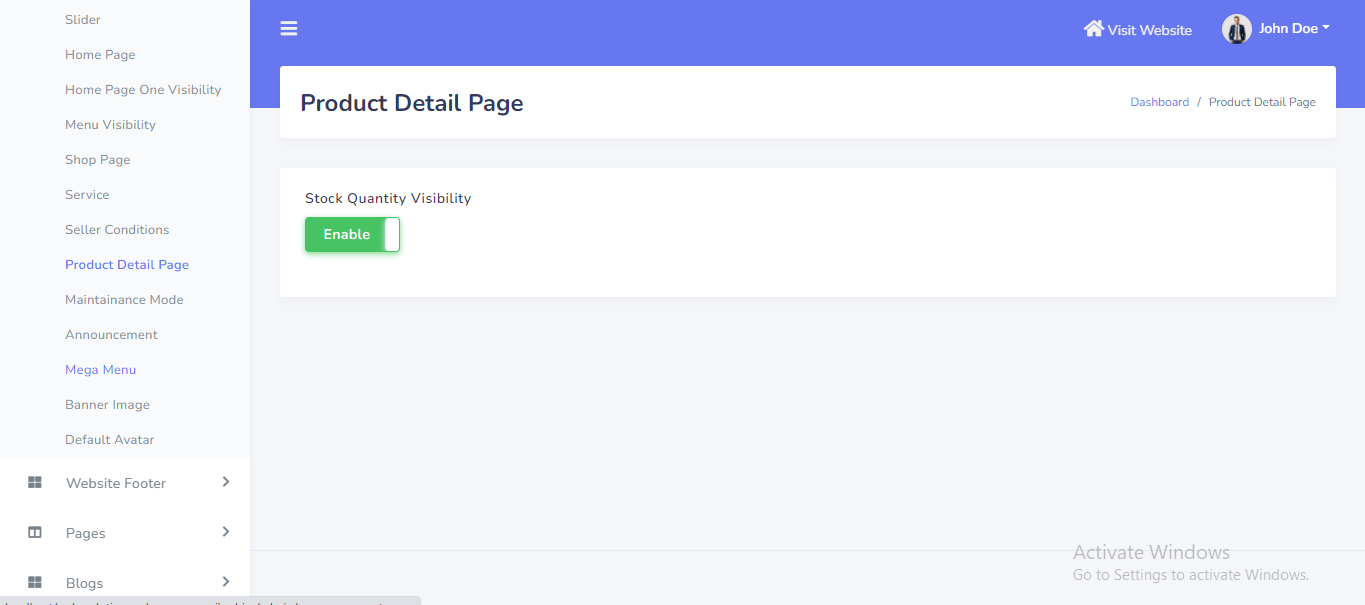
In the front end, the quantity will be shown like this. See:

Website maintainance mode can be manage from the admin panel. Go to "Manage website >> Maintainace mode" from sidebar. See:
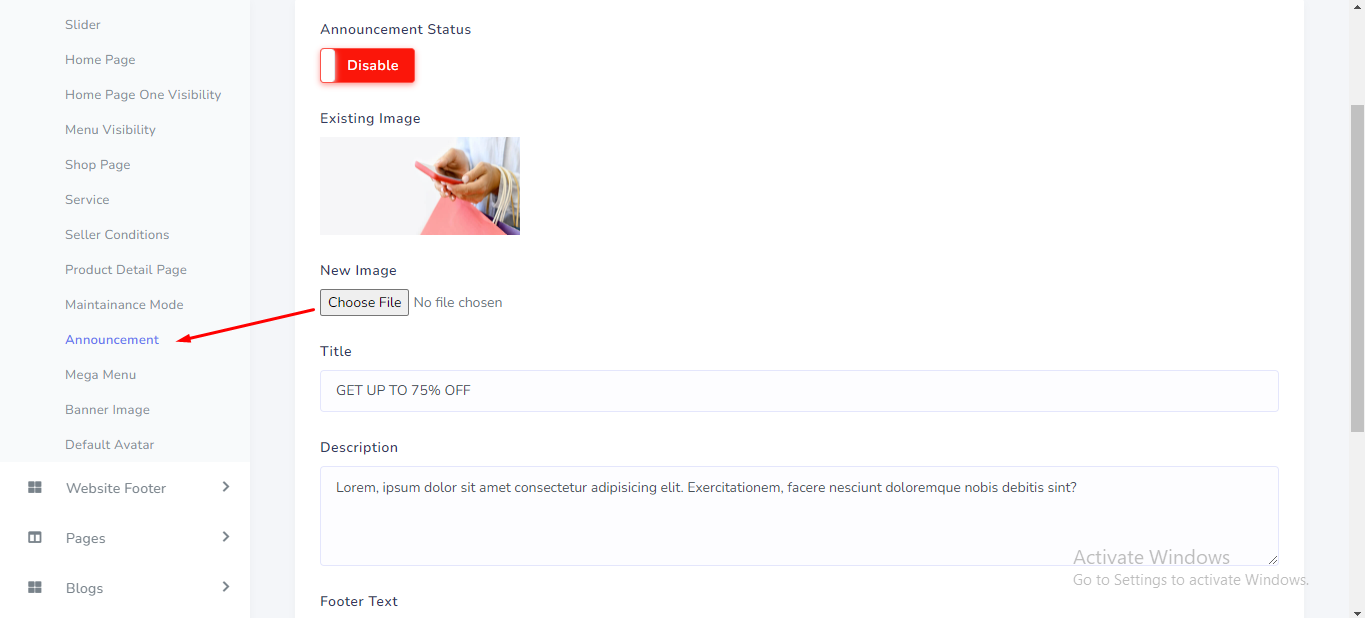
Announcement modal can be manage from the admin panel. Go to "Manage website >> Announcement" from sidebar. See:
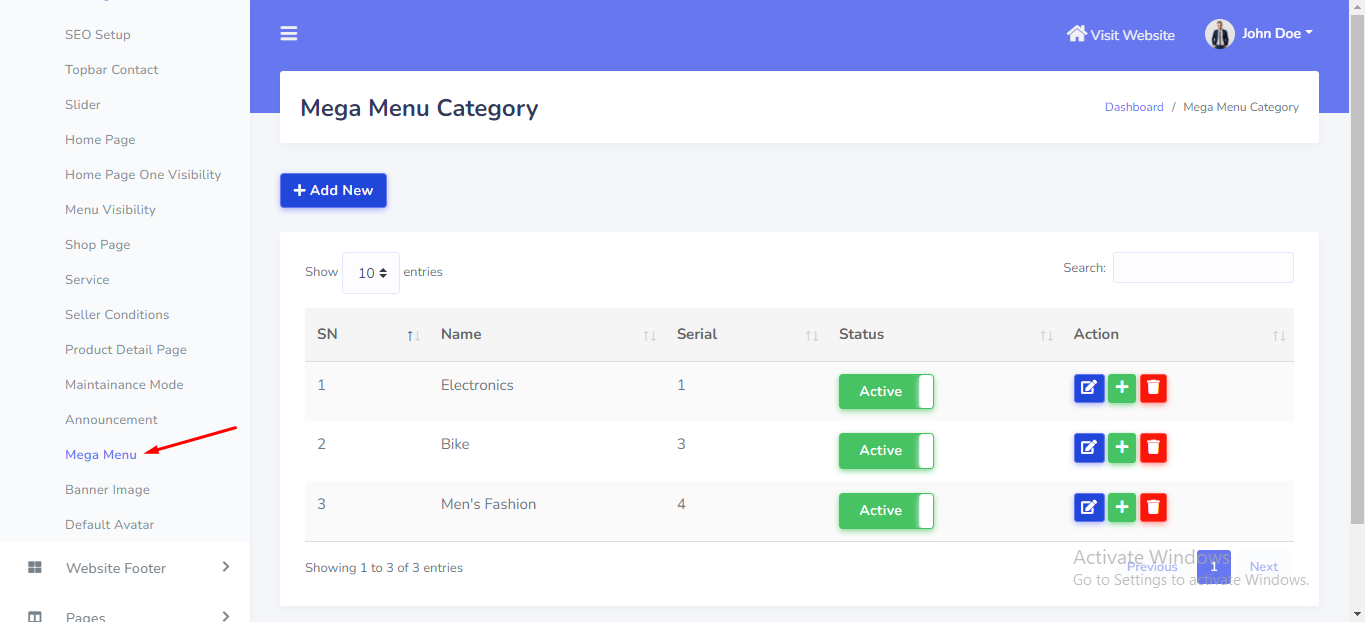
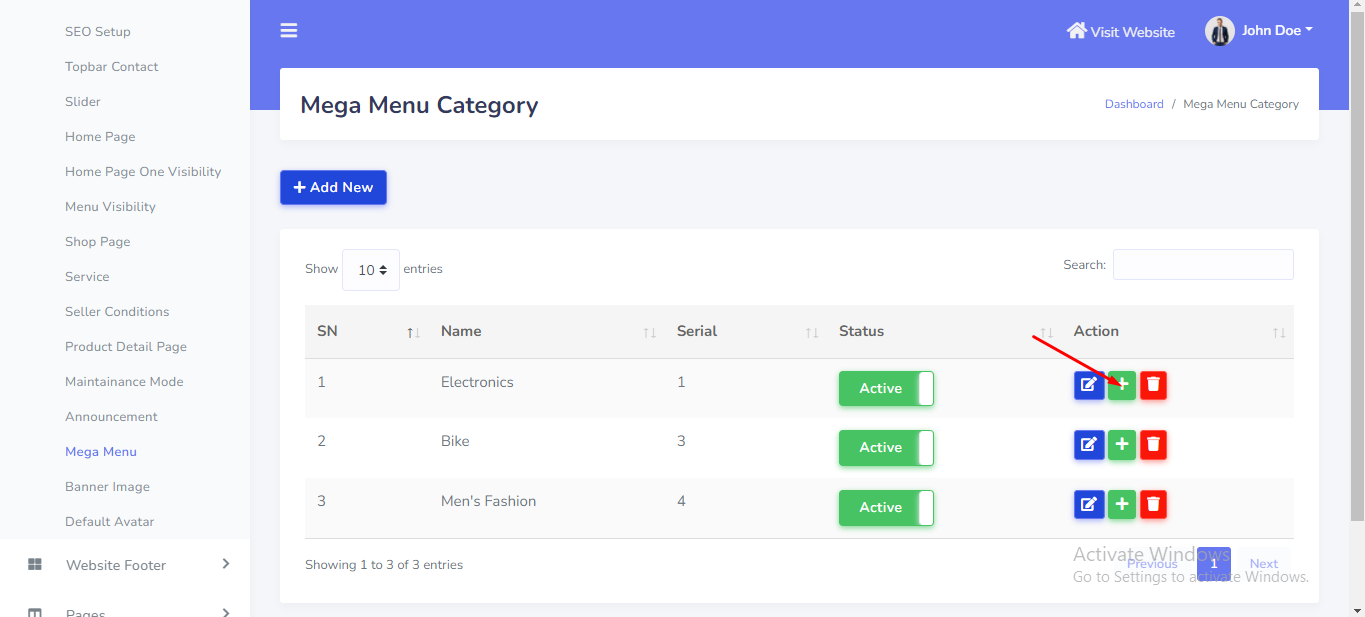
Mega menu category can be manage from the admin panel. Go to "Manage website >> Mega menu" from sidebar. See:
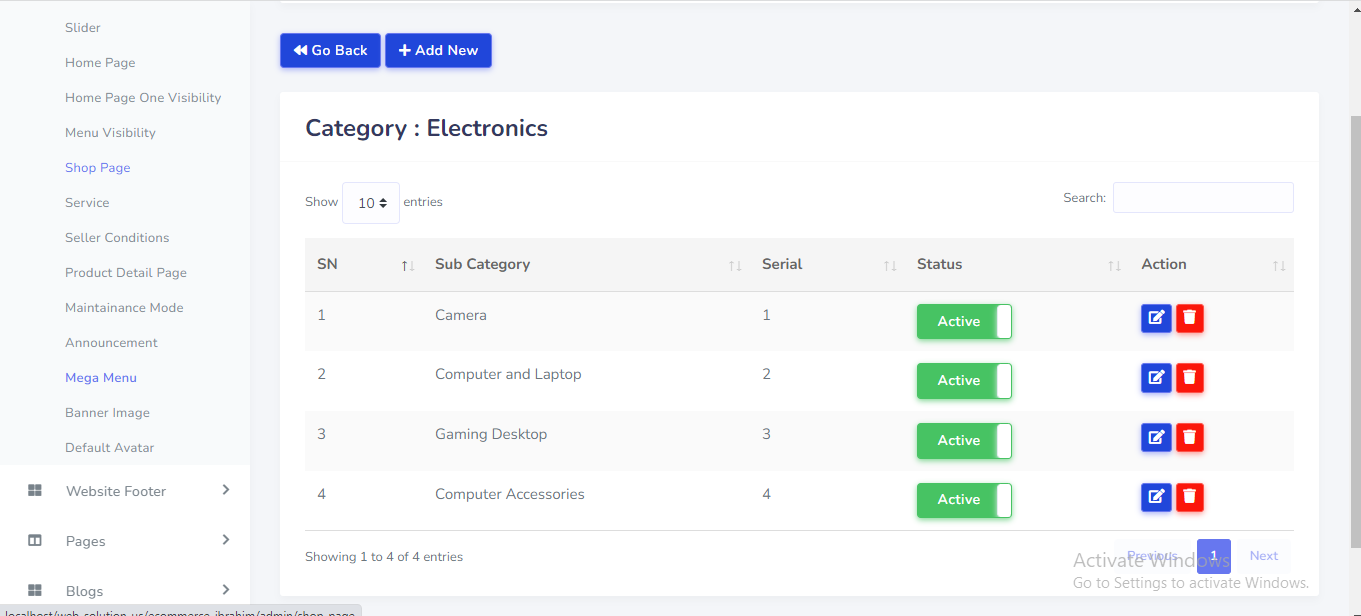
Mega menu sub category can be manage from the admin panel. Go to "Manage website >> Mega menu" from sidebar. See:
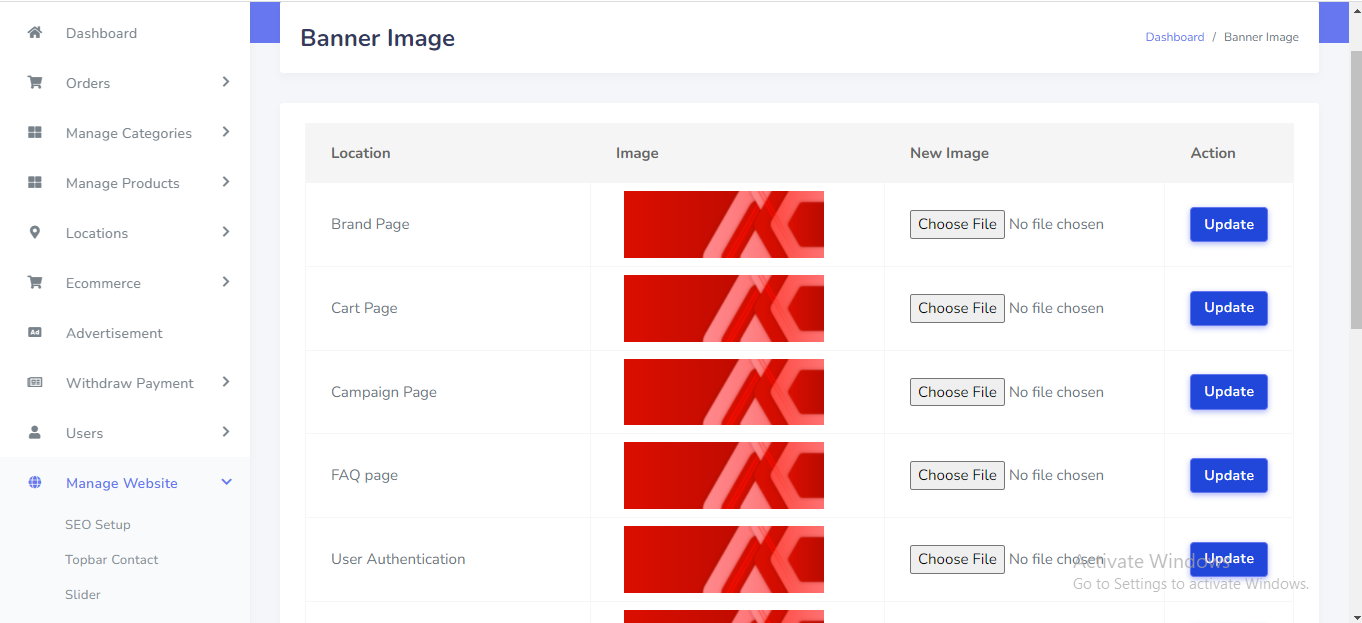
Breadcrumb banner image can be manage from the admin panel. Go to "Manage website >> Banner Image" from sidebar. See:
Default avatar can be manage from the admin panel. Go to "Manage website >> Default avatar" from sidebar. See:
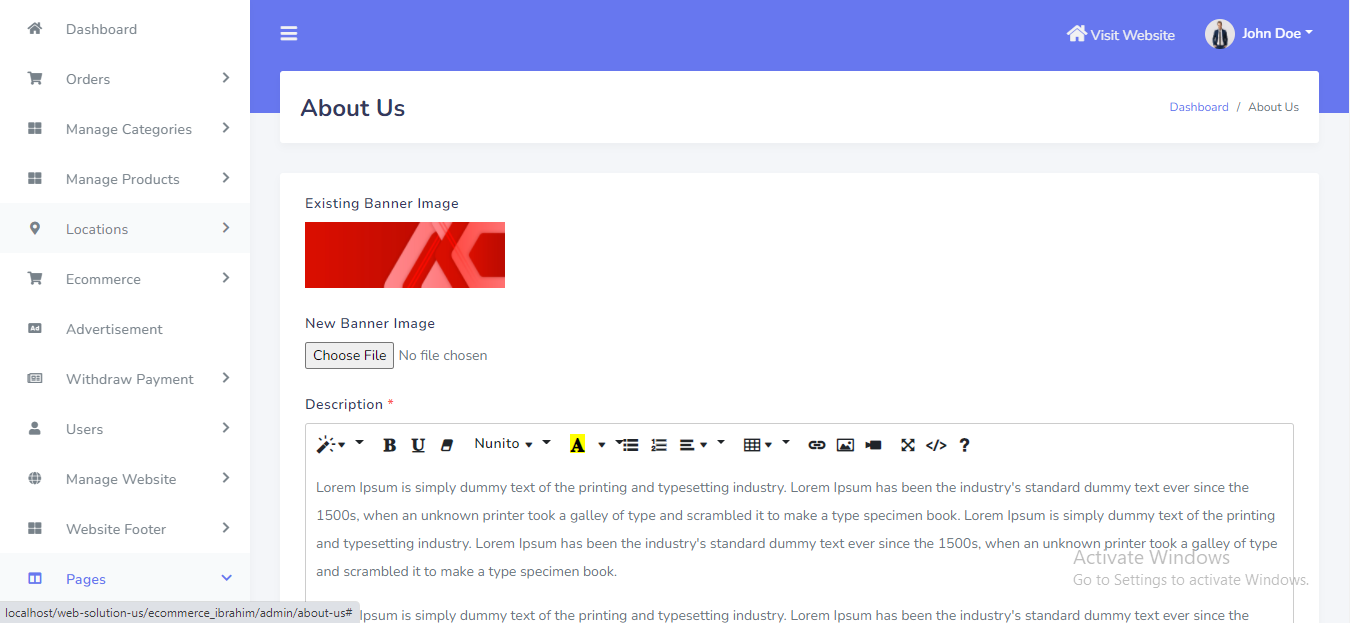
About Us page can be manage from the admin panel. Go to "Pages >> About us" from sidebar. See:
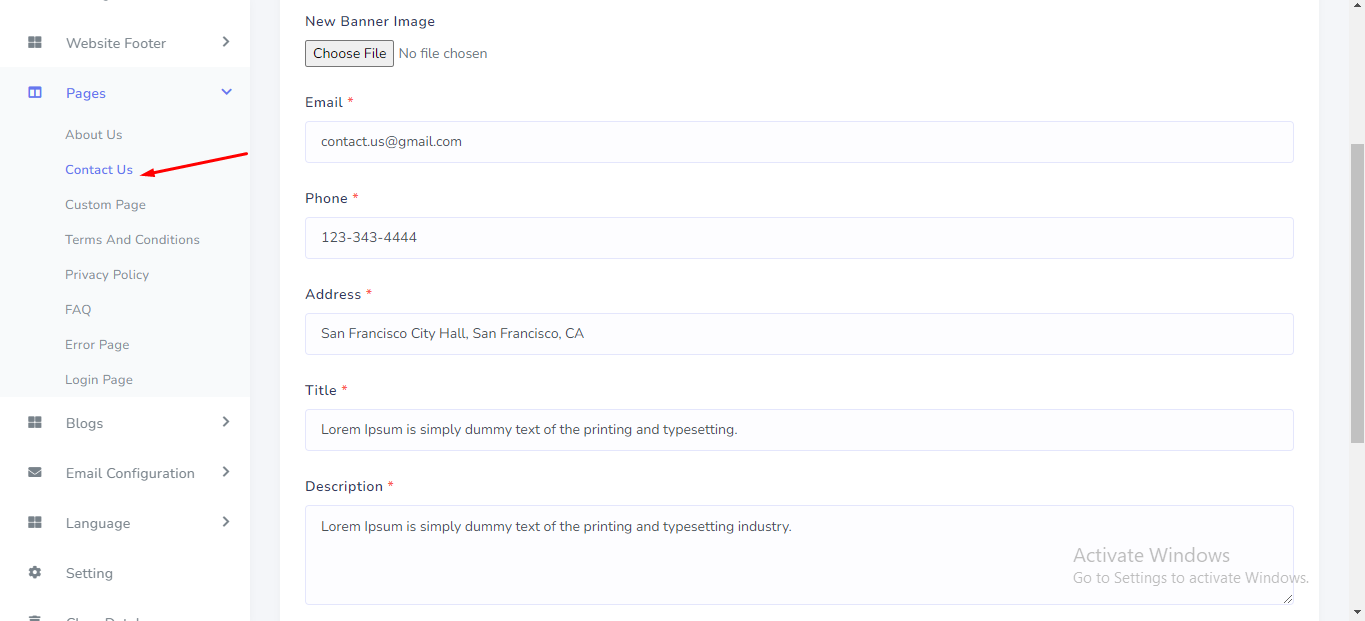
Contact Us page can be manage from the admin panel. Go to "Pages >> Contact Us" from sidebar. See:
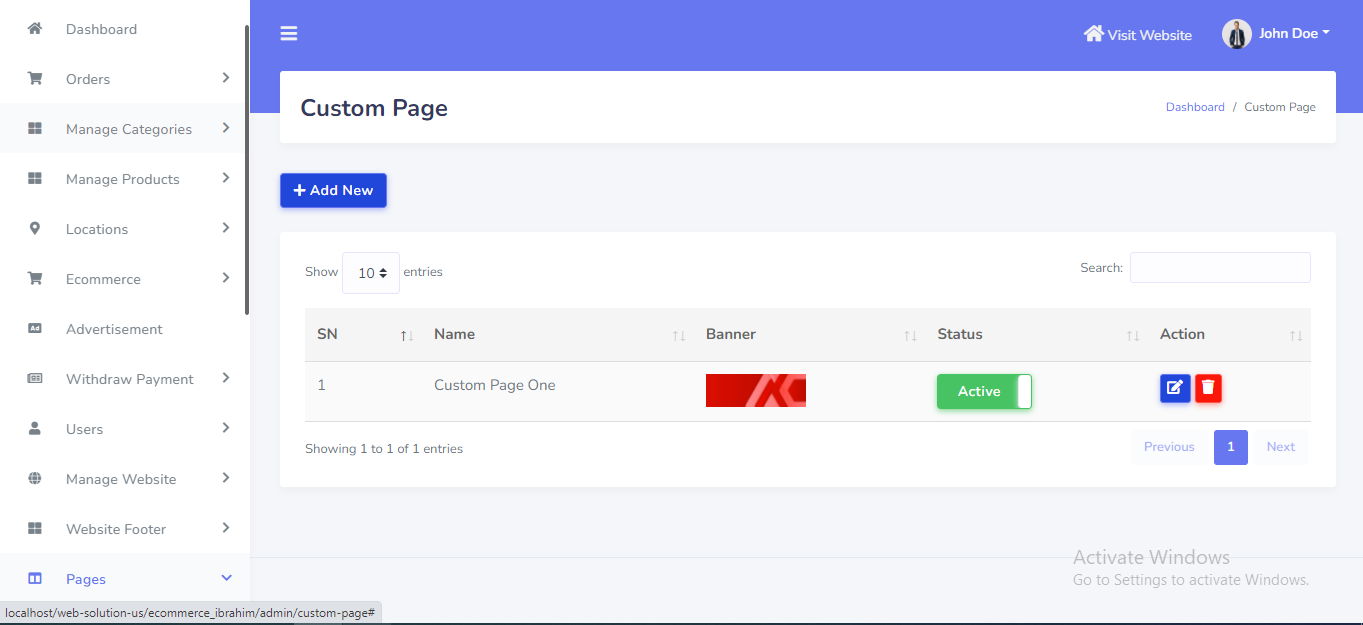
Custom Page can be manage from the admin panel. Go to "Pages >> Custom Page" from sidebar. See:
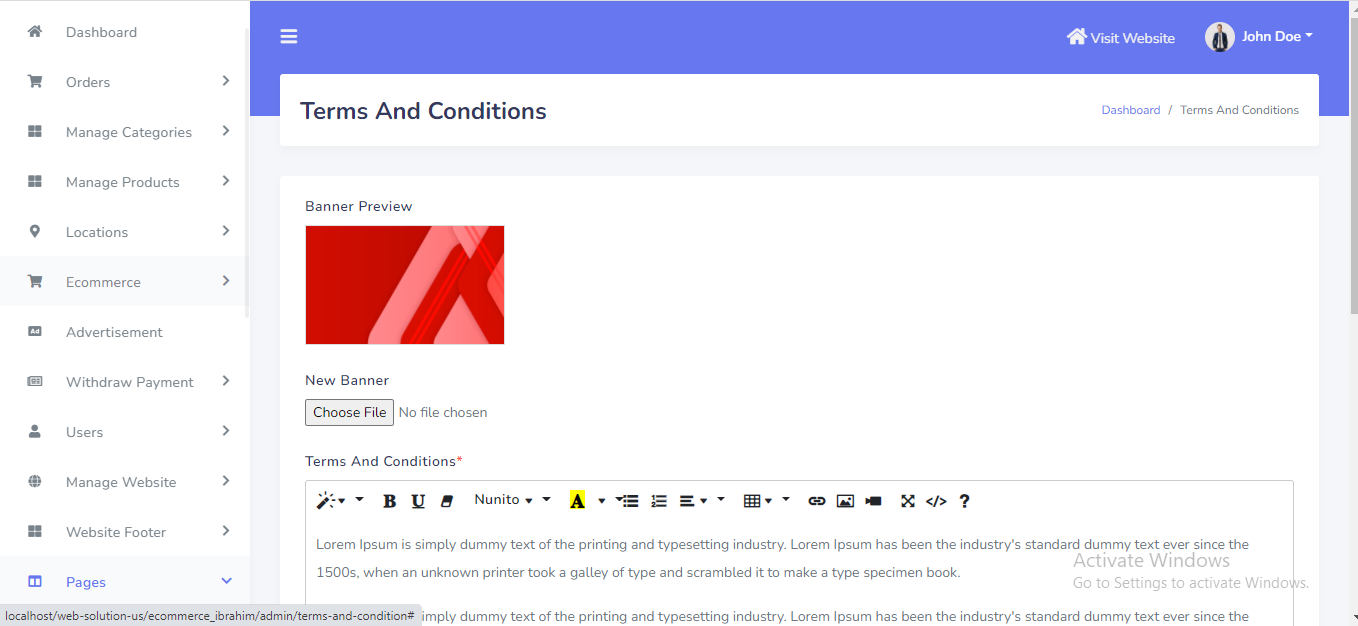
Terms and Conditions Page can be manage from the admin panel. Go to "Pages >> Terms and Conditions" from sidebar. See:
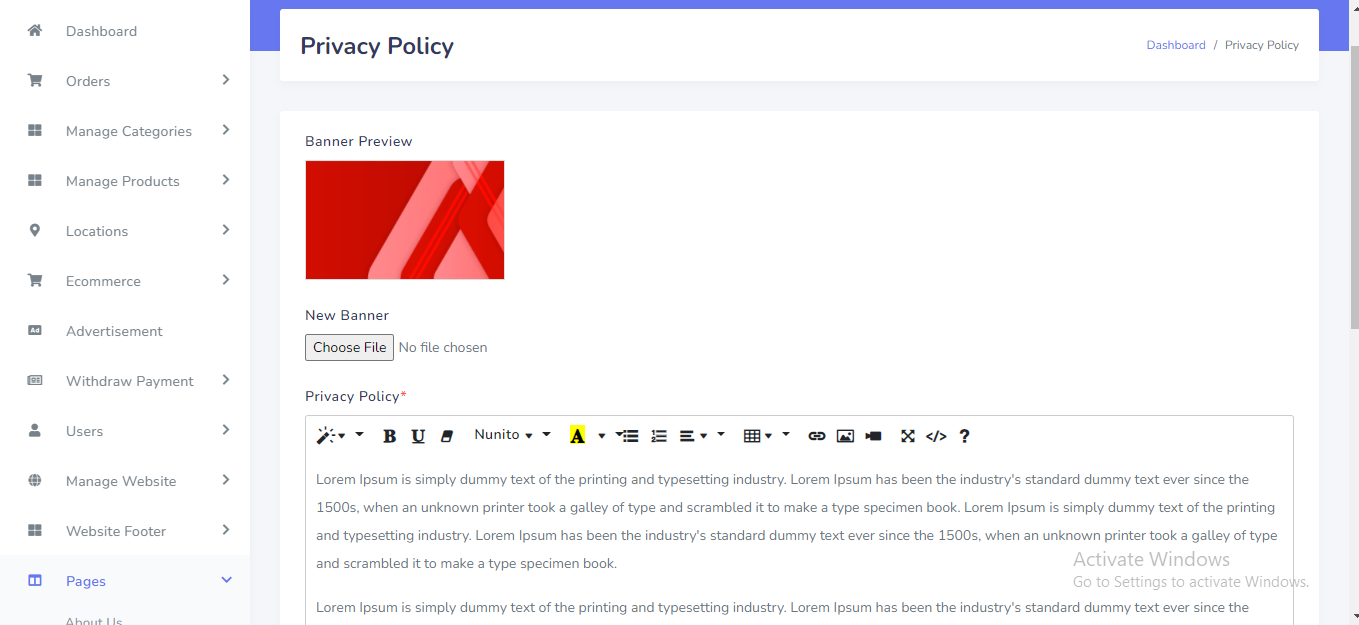
Privacy Policy Page can be manage from the admin panel. Go to "Pages >> Privacy Policy" from sidebar. See:
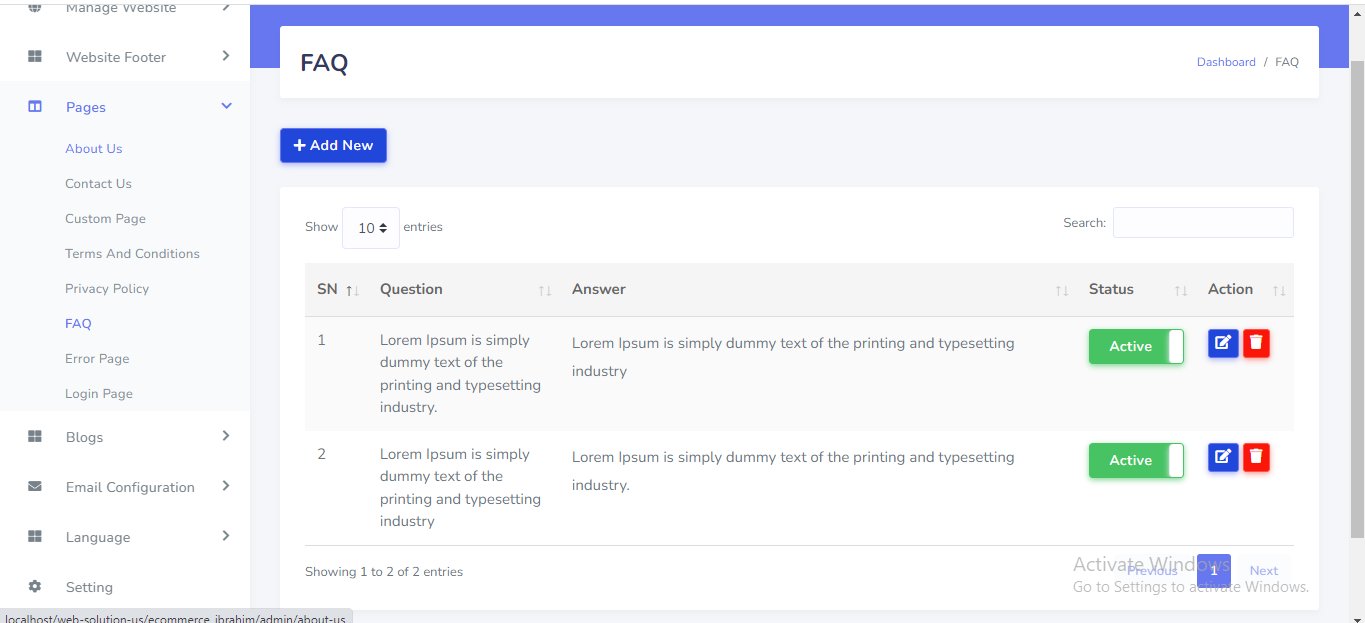
FAQ Page can be manage from the admin panel. Go to "Pages >> FAQ" from sidebar. See:
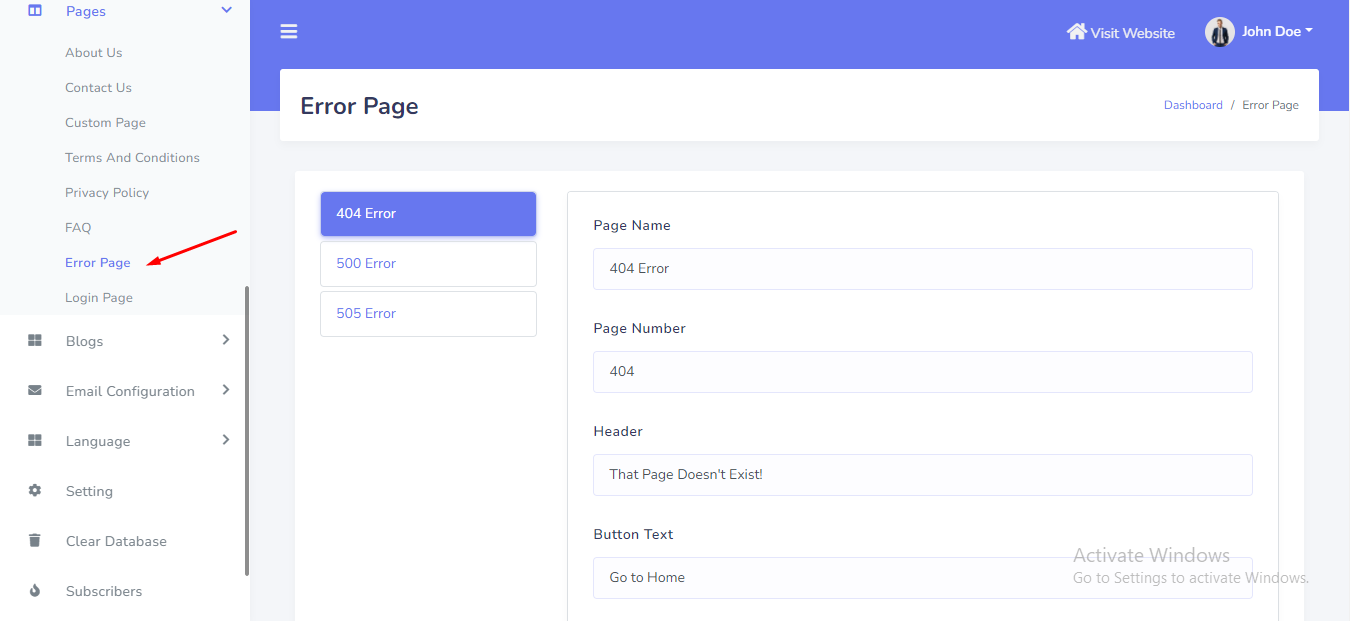
Error Page can be manage from the admin panel. Go to "Pages >> Error Page" from sidebar. See:
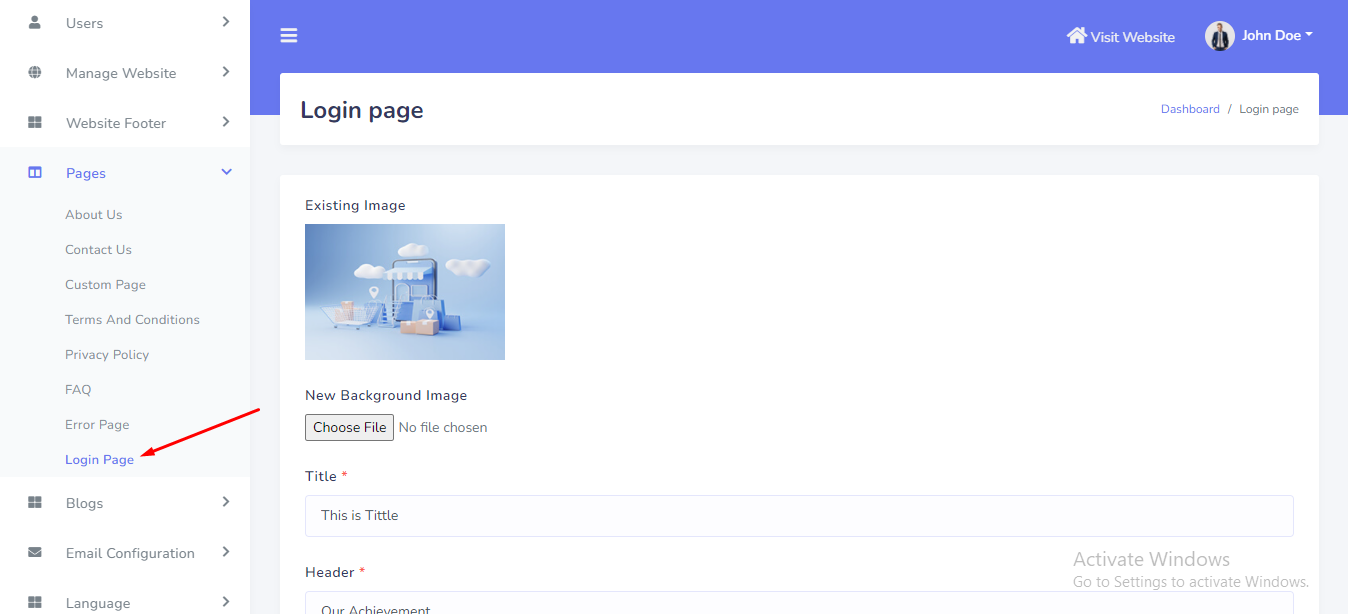
Login Page can be manage from the admin panel. Go to "Pages >> Login Page" from sidebar. See:
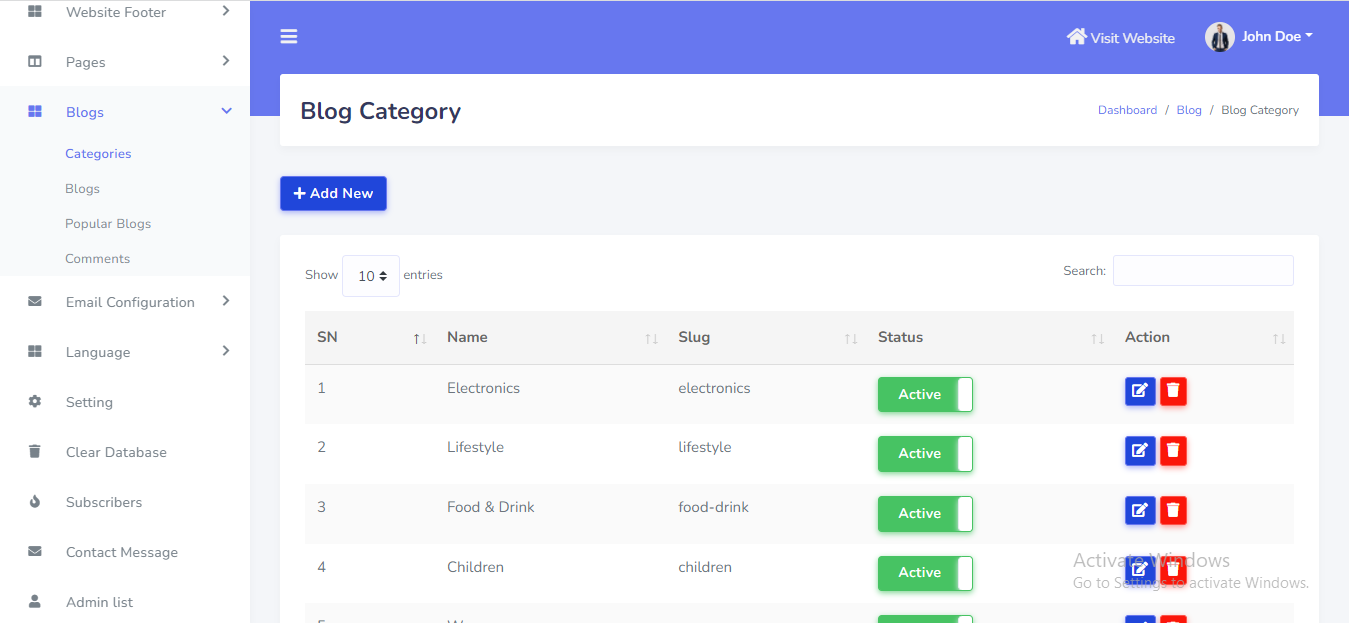
Blog Category can be setup from the admin panel. Go to "Blogs >> Blog Category" from sidebar. See:
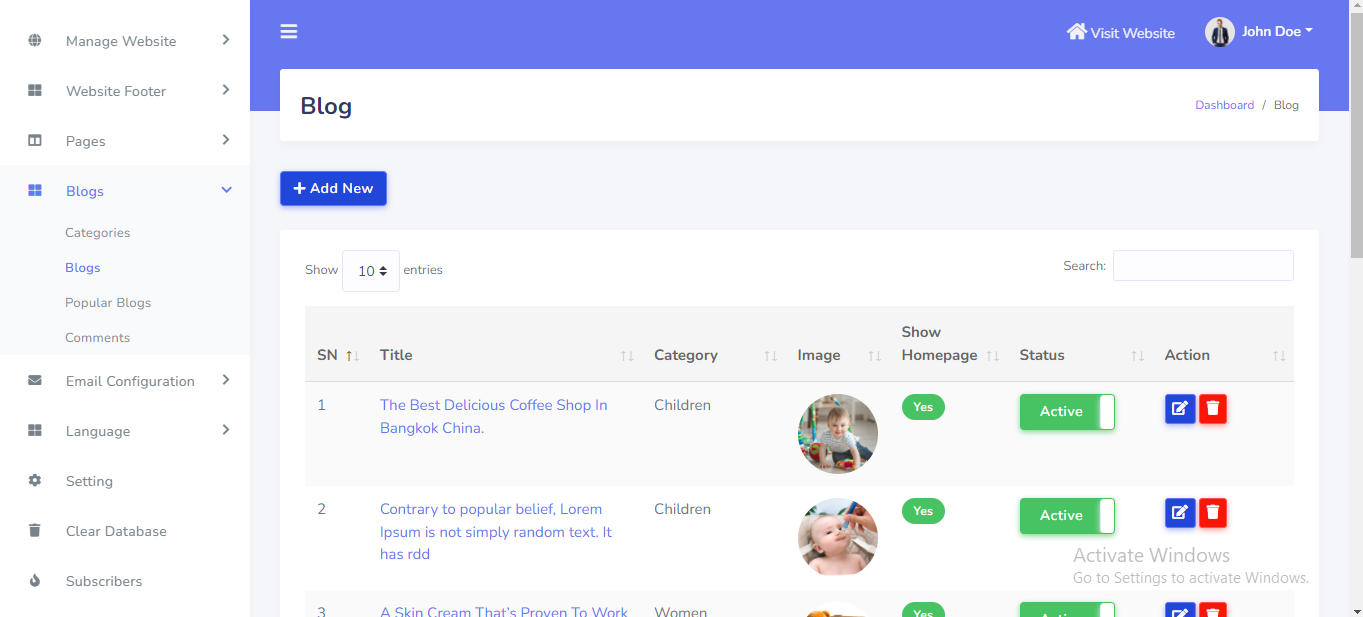
Blog can be setup from the admin panel. Go to "Blogs >> Blog" from sidebar. See:
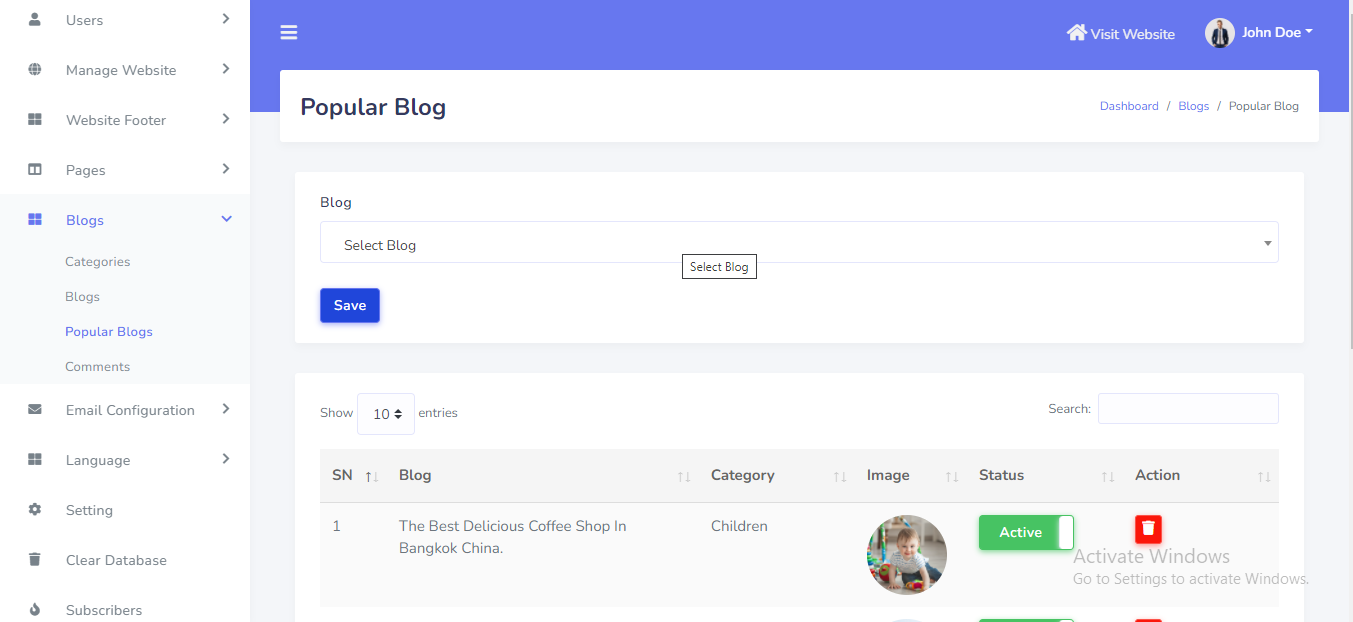
Popular Blogs can be setup from the admin panel. Go to "Blogs >> Popular Blogs" from sidebar. See:
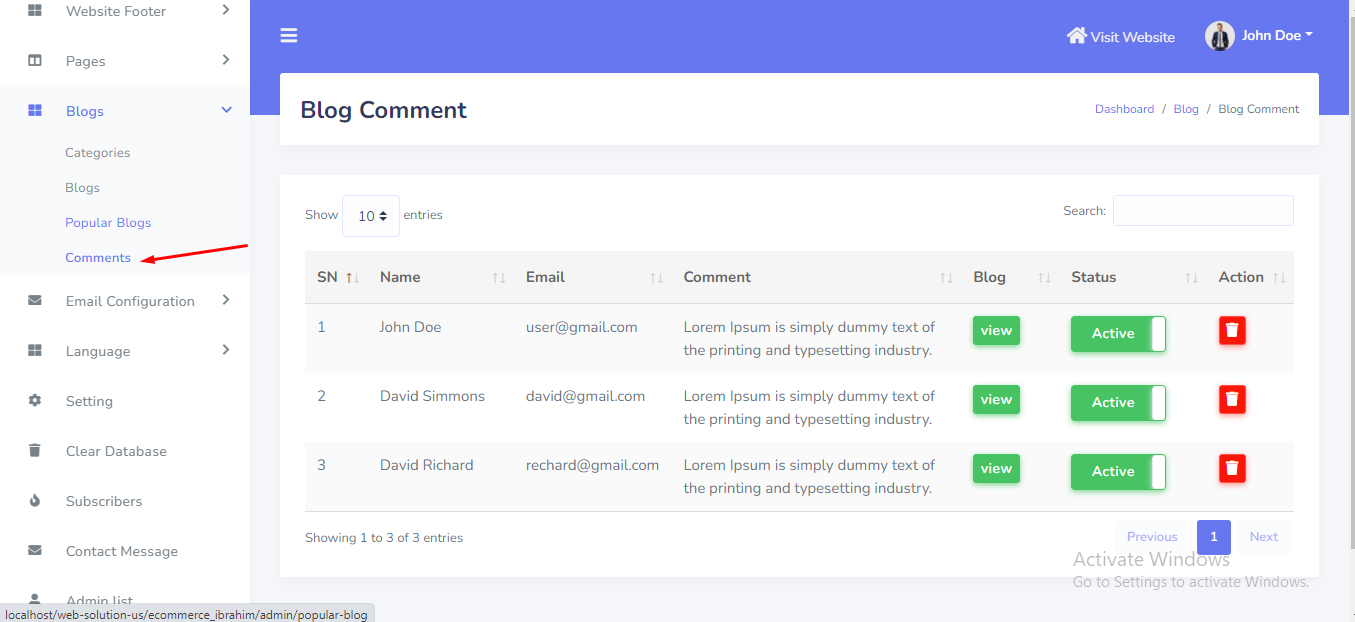
Blog Comment can be manage from the admin panel. Go to "Blogs >> Comments" from sidebar. See:
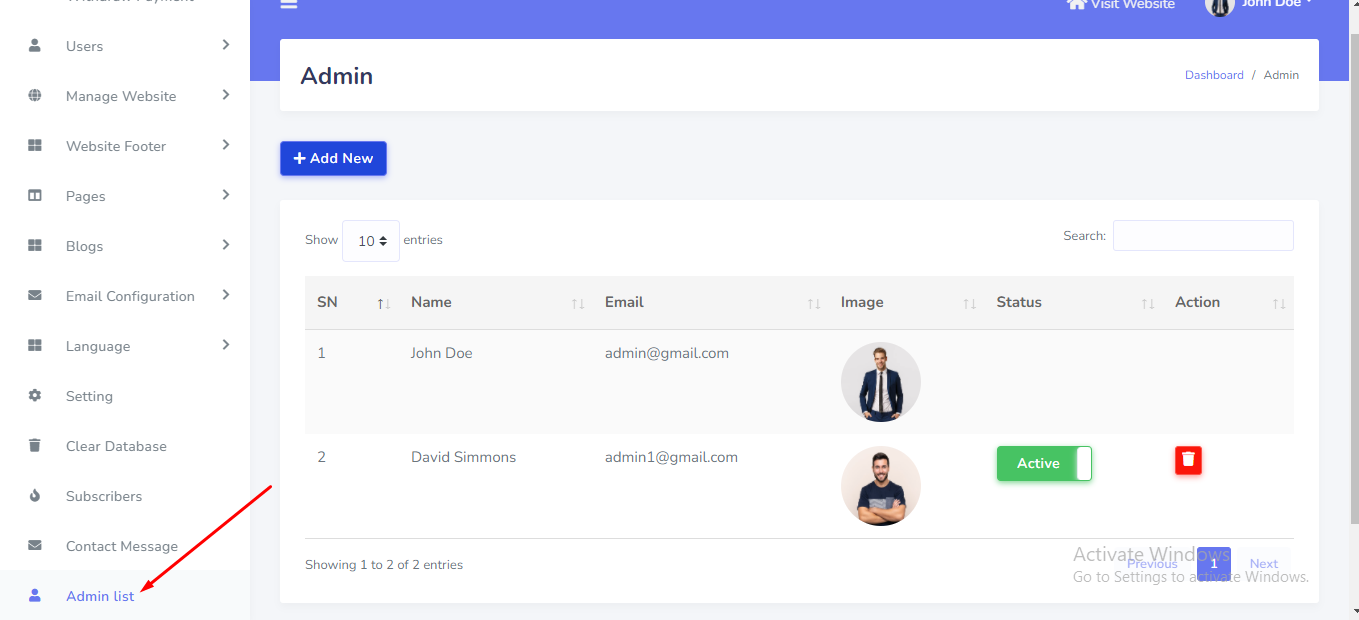
The main Admin can add more admins into the system. Other admins can not delete the main admin. But the main admin can delete other created admins in this system. Go to "Admin List" from sidebar. See:
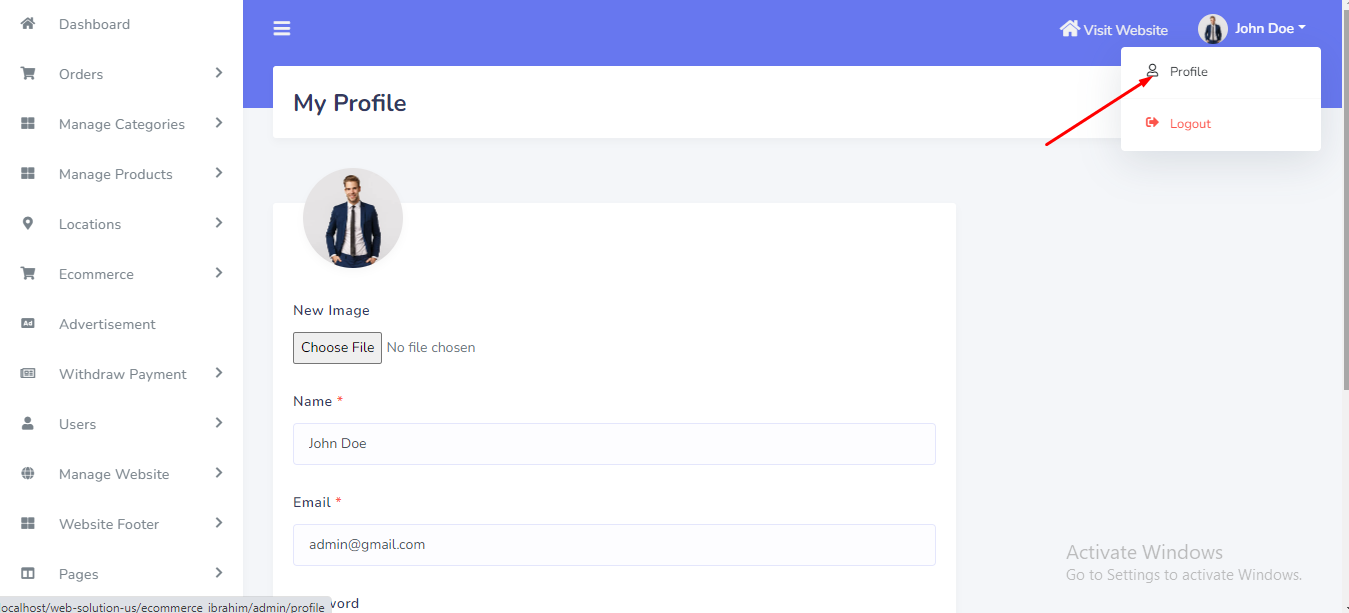
Admin can change personal information and password from topbar. See:
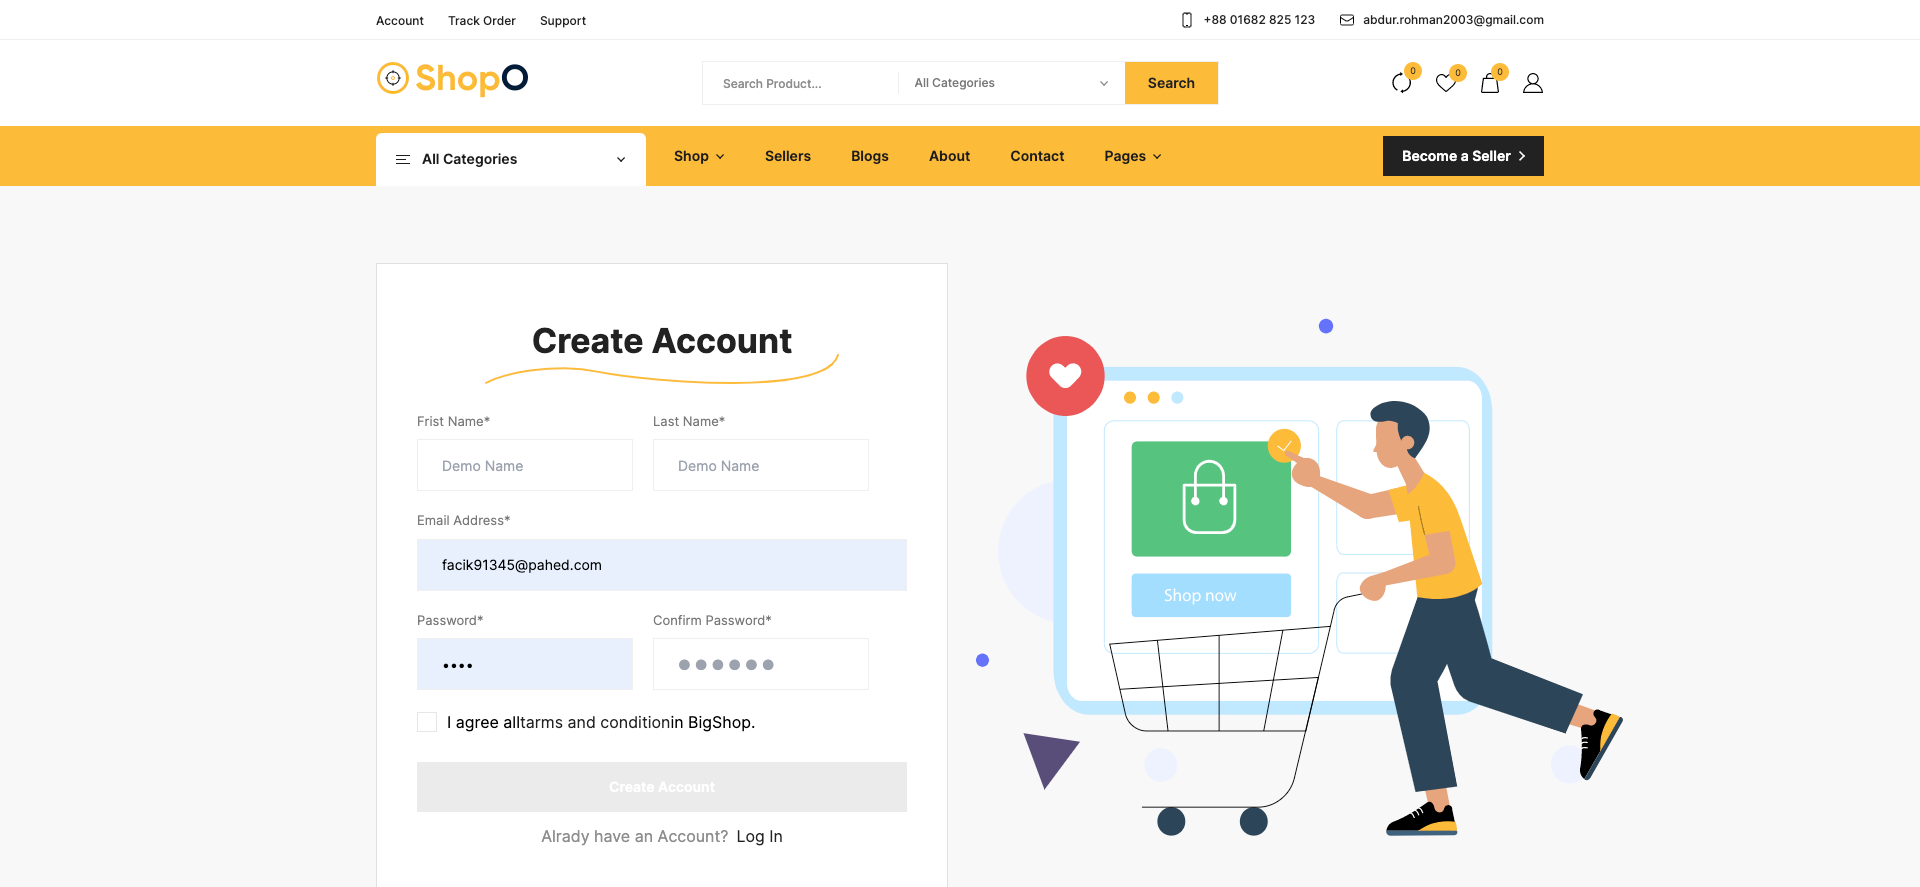
From the top menu, User can click on registration.
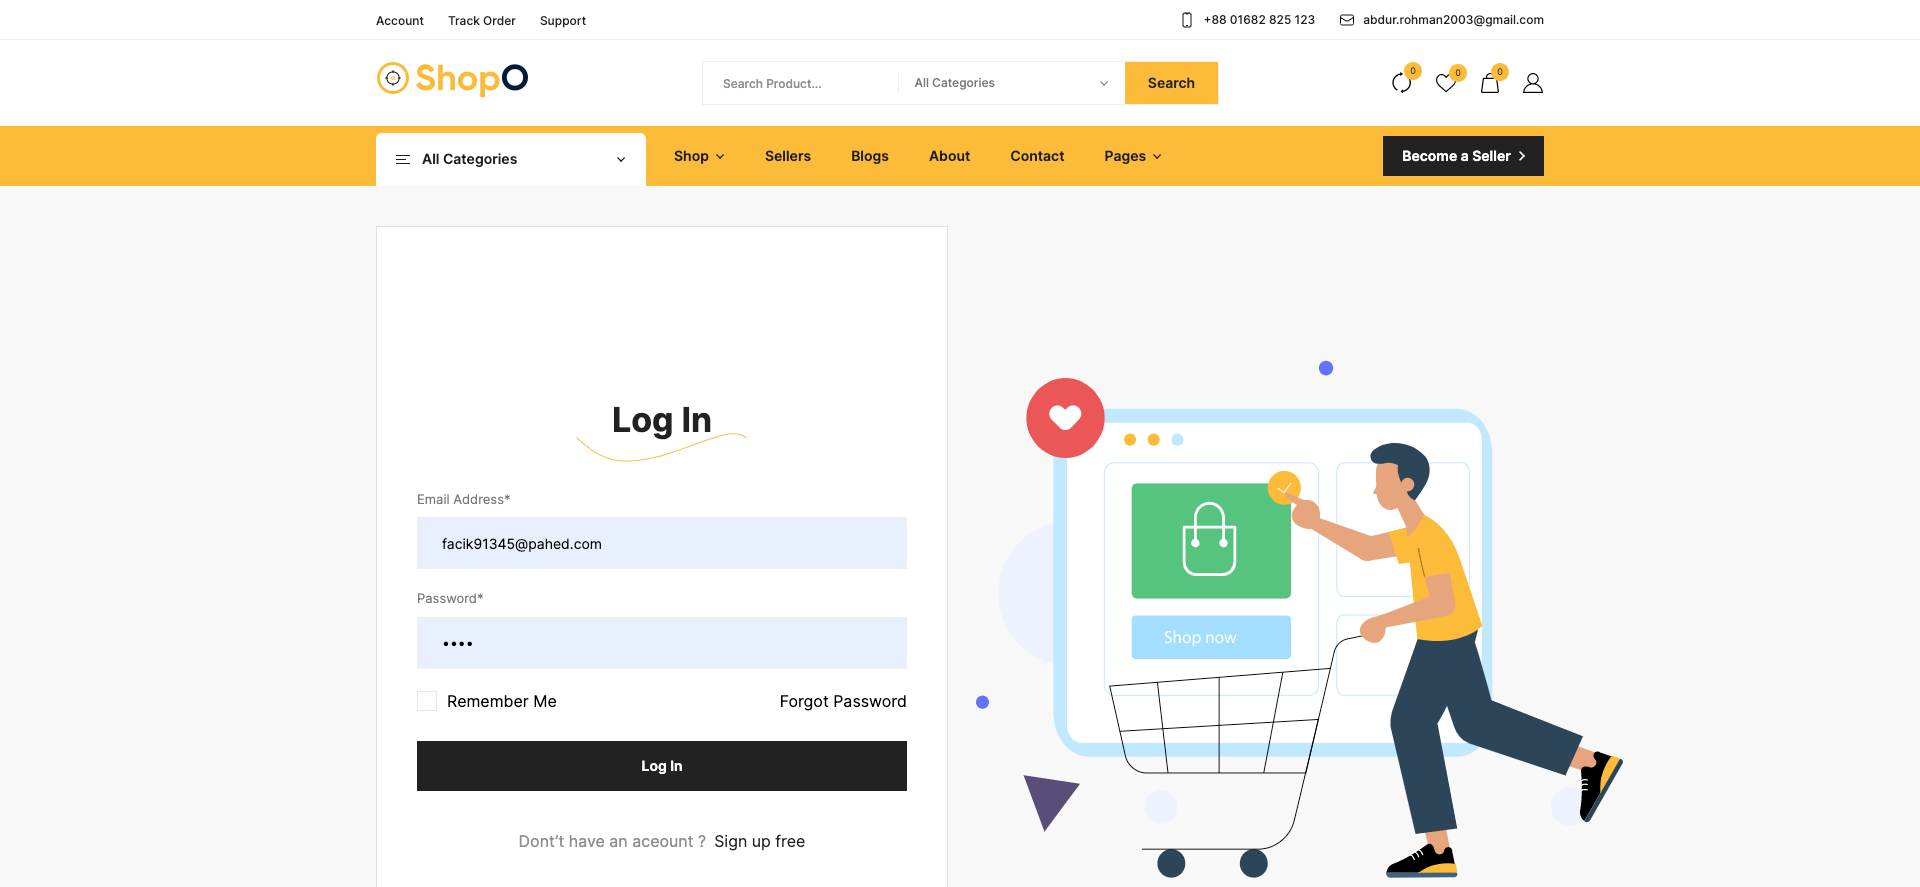
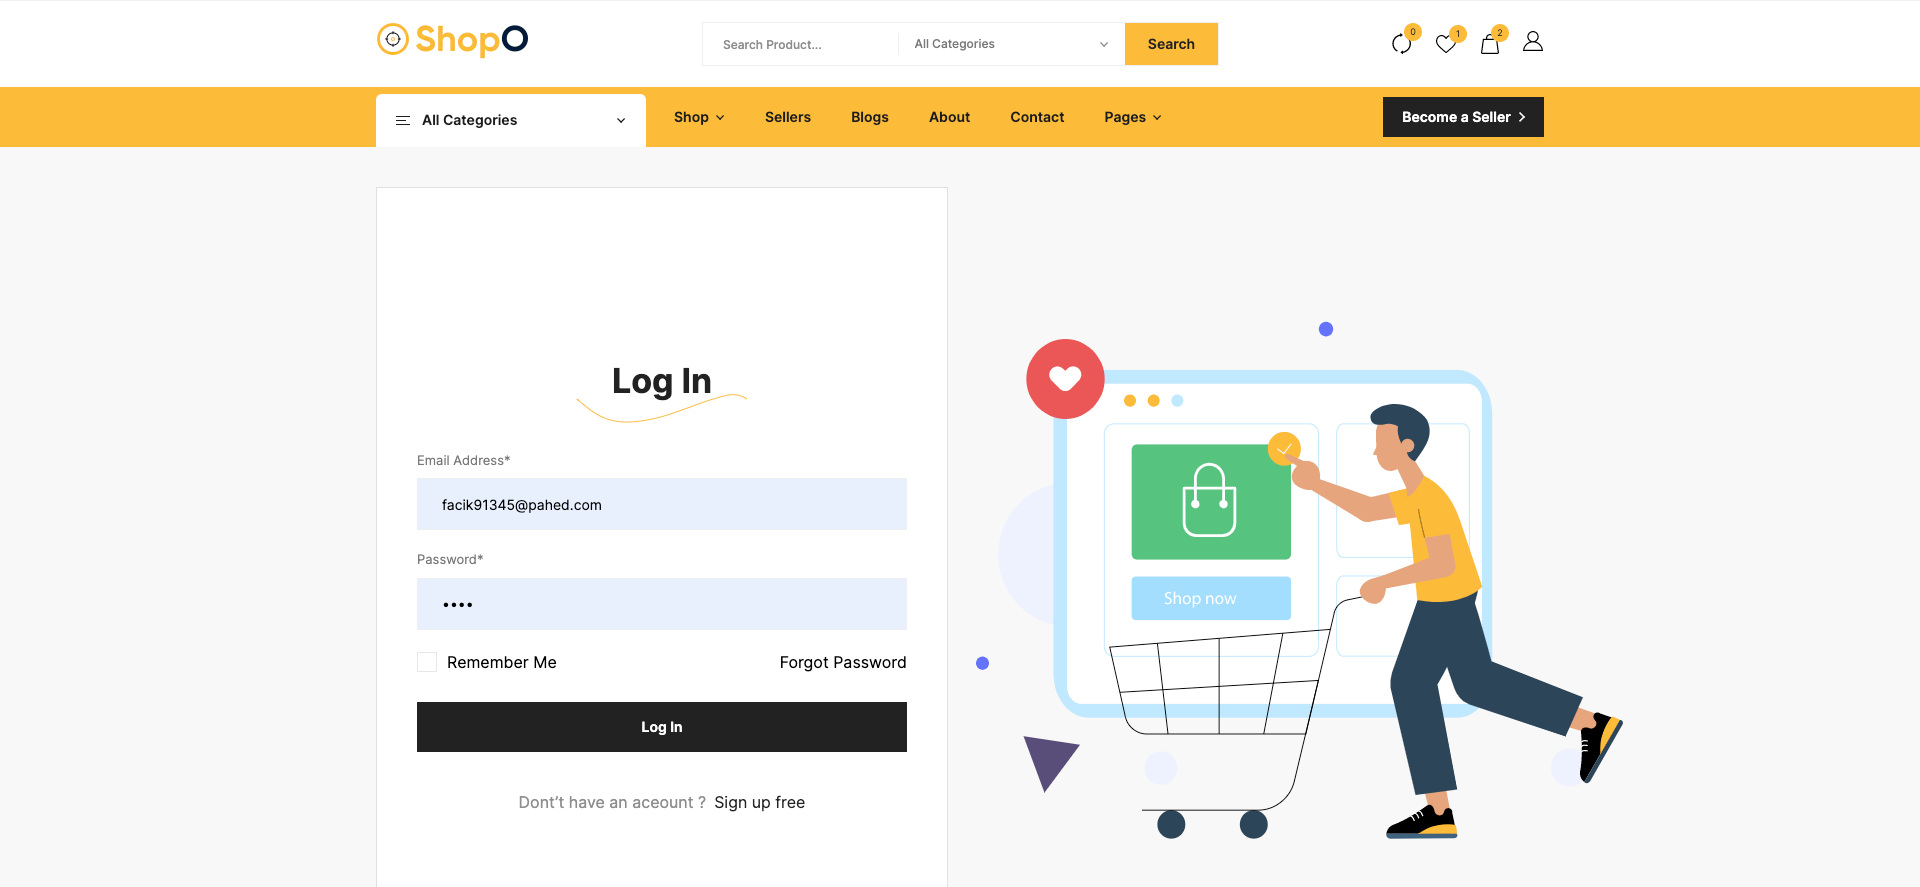
In the login page, there is a link to reset the password if user forgets the existing password.

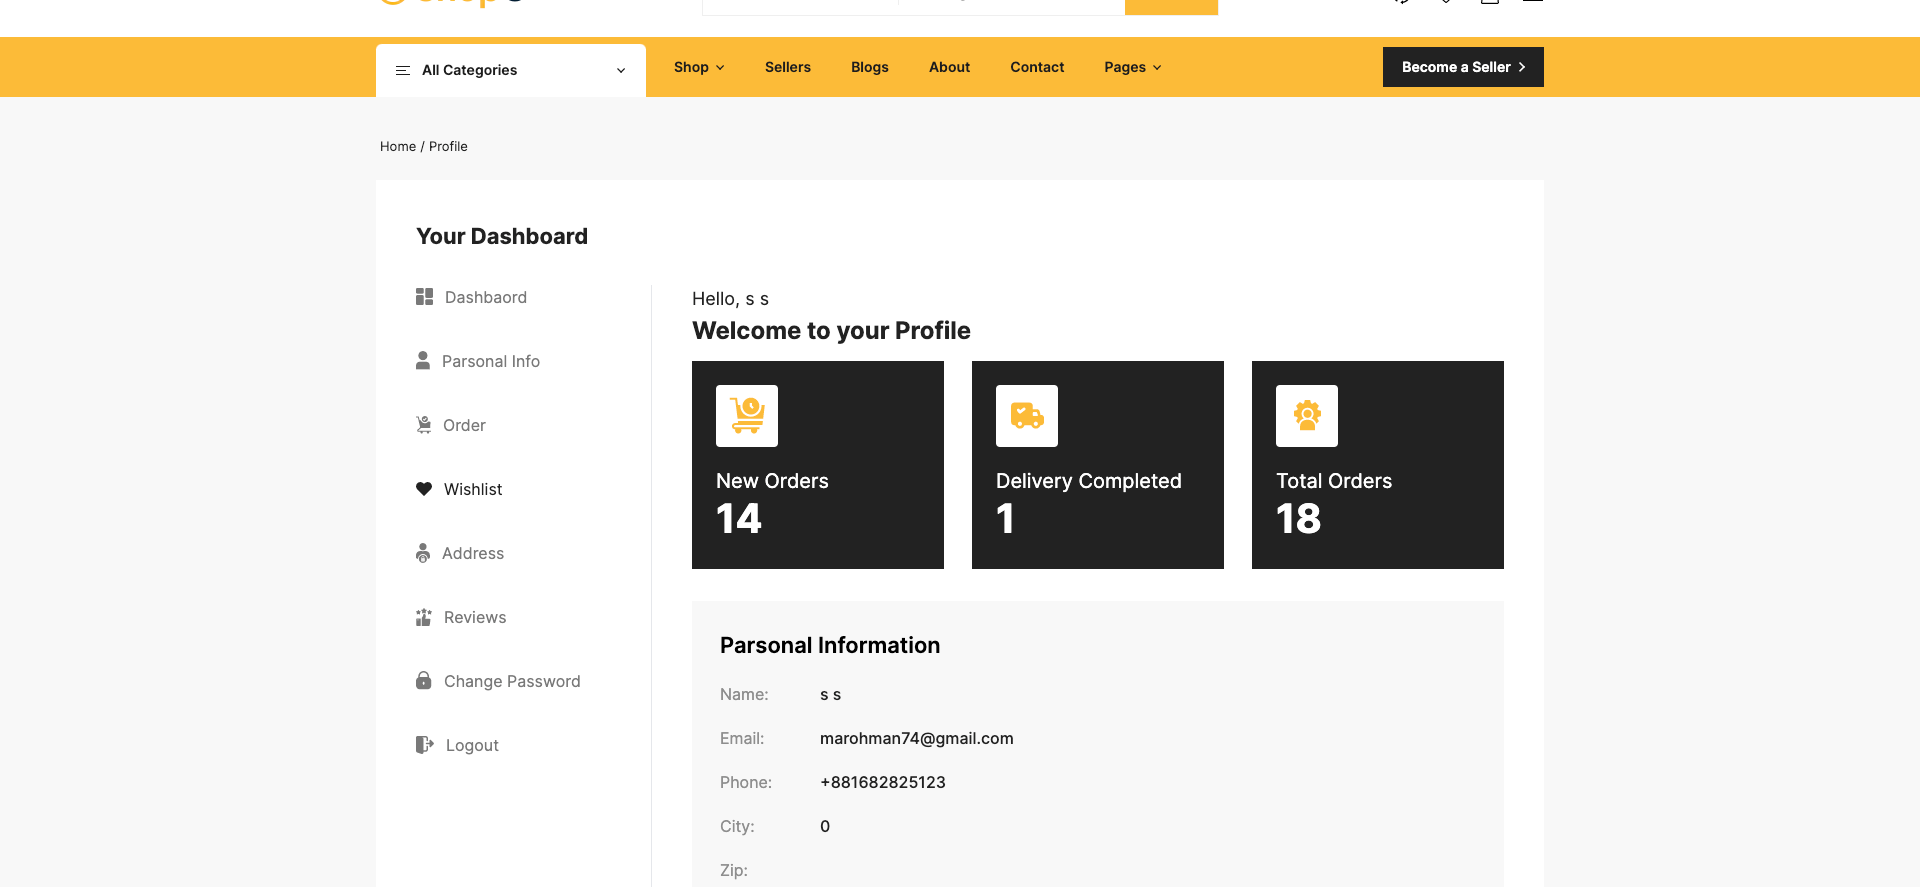
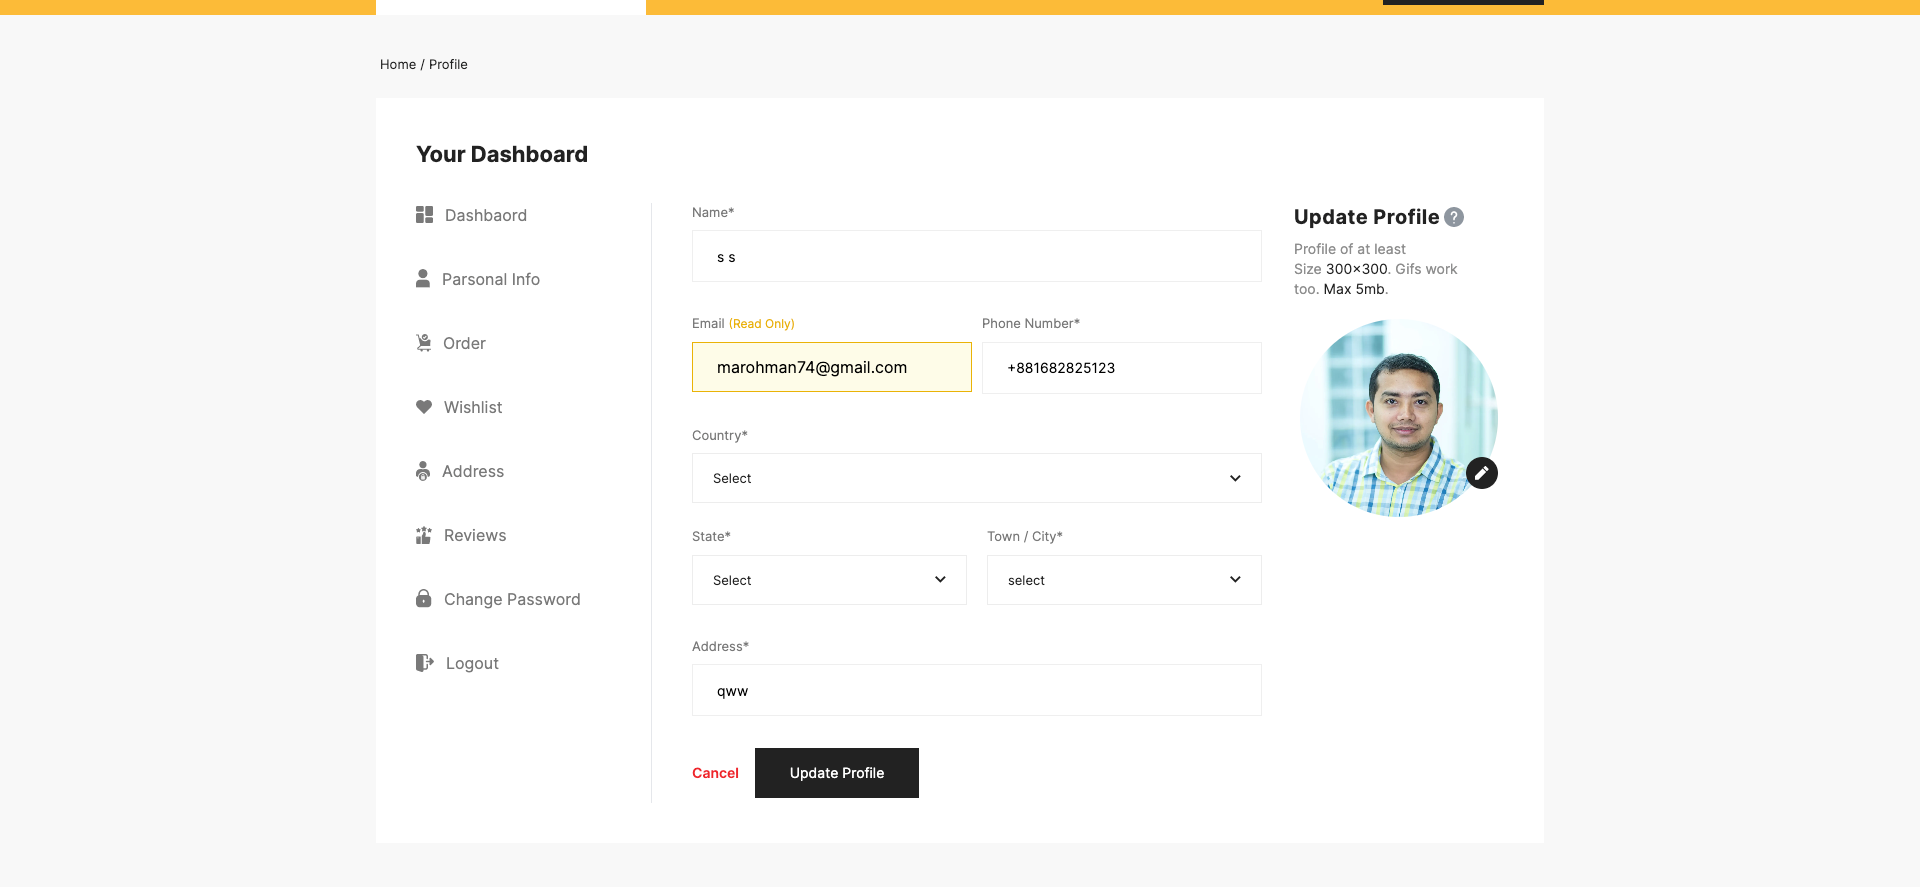
After login, User will see his dashboard. See:
User can edit his profile from sidebar. See..
User can edit his password from sidebar. See...

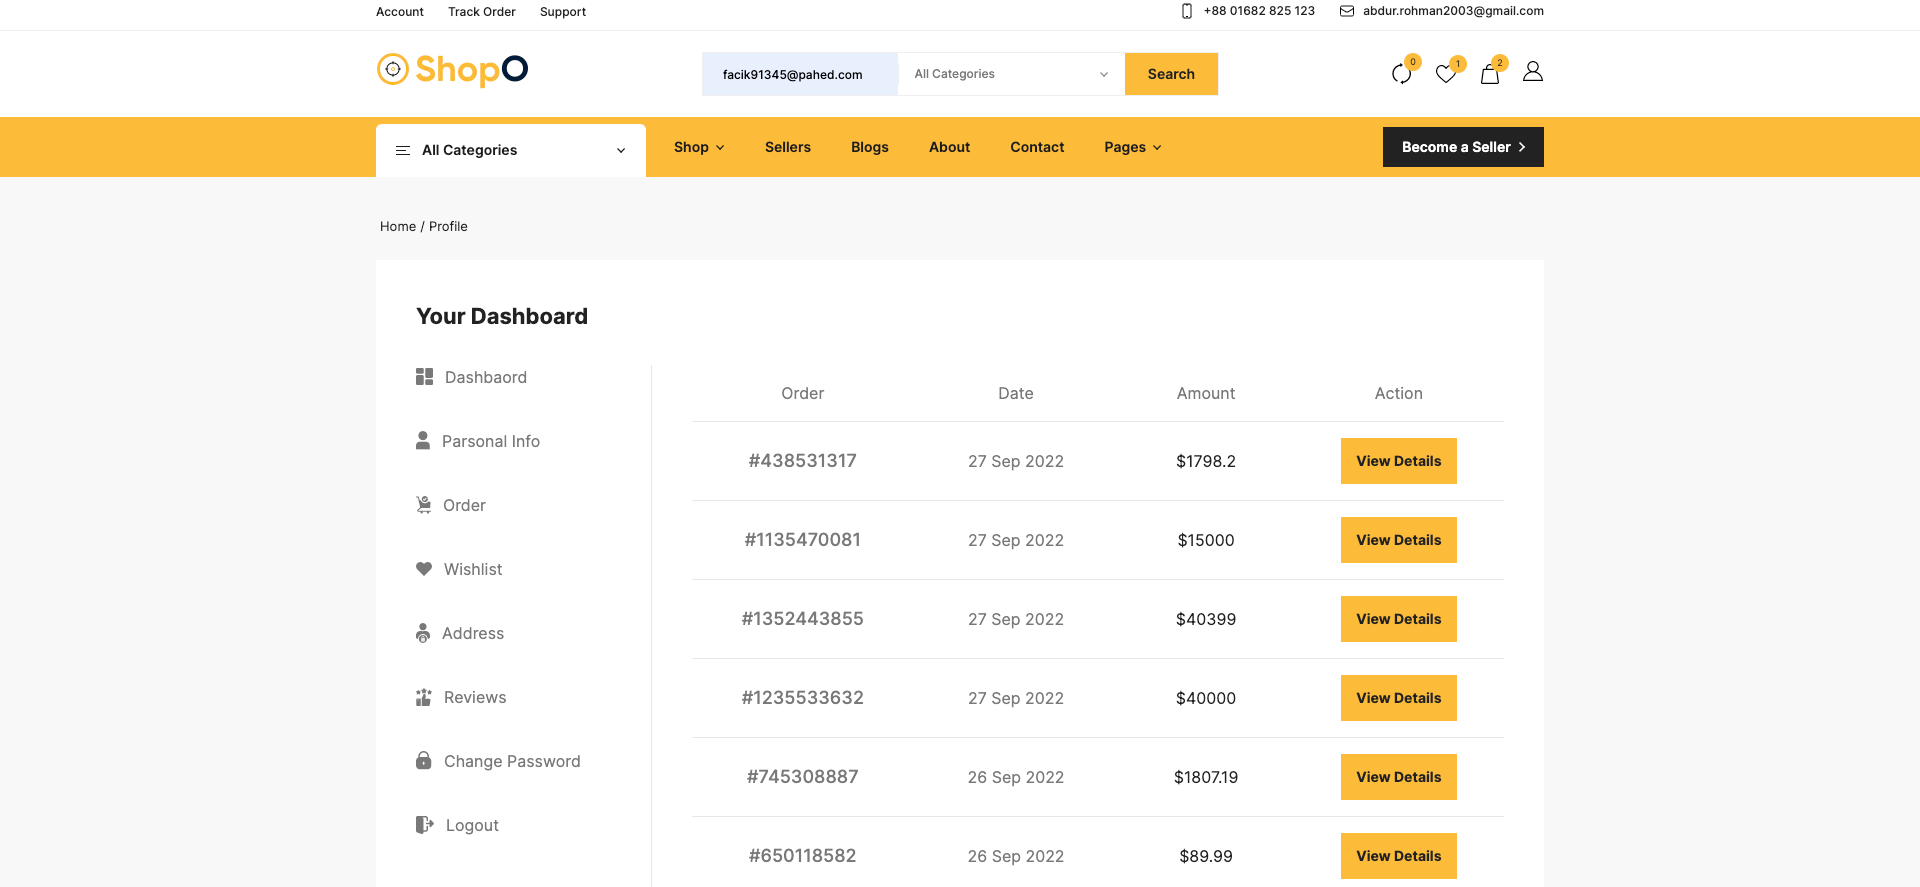
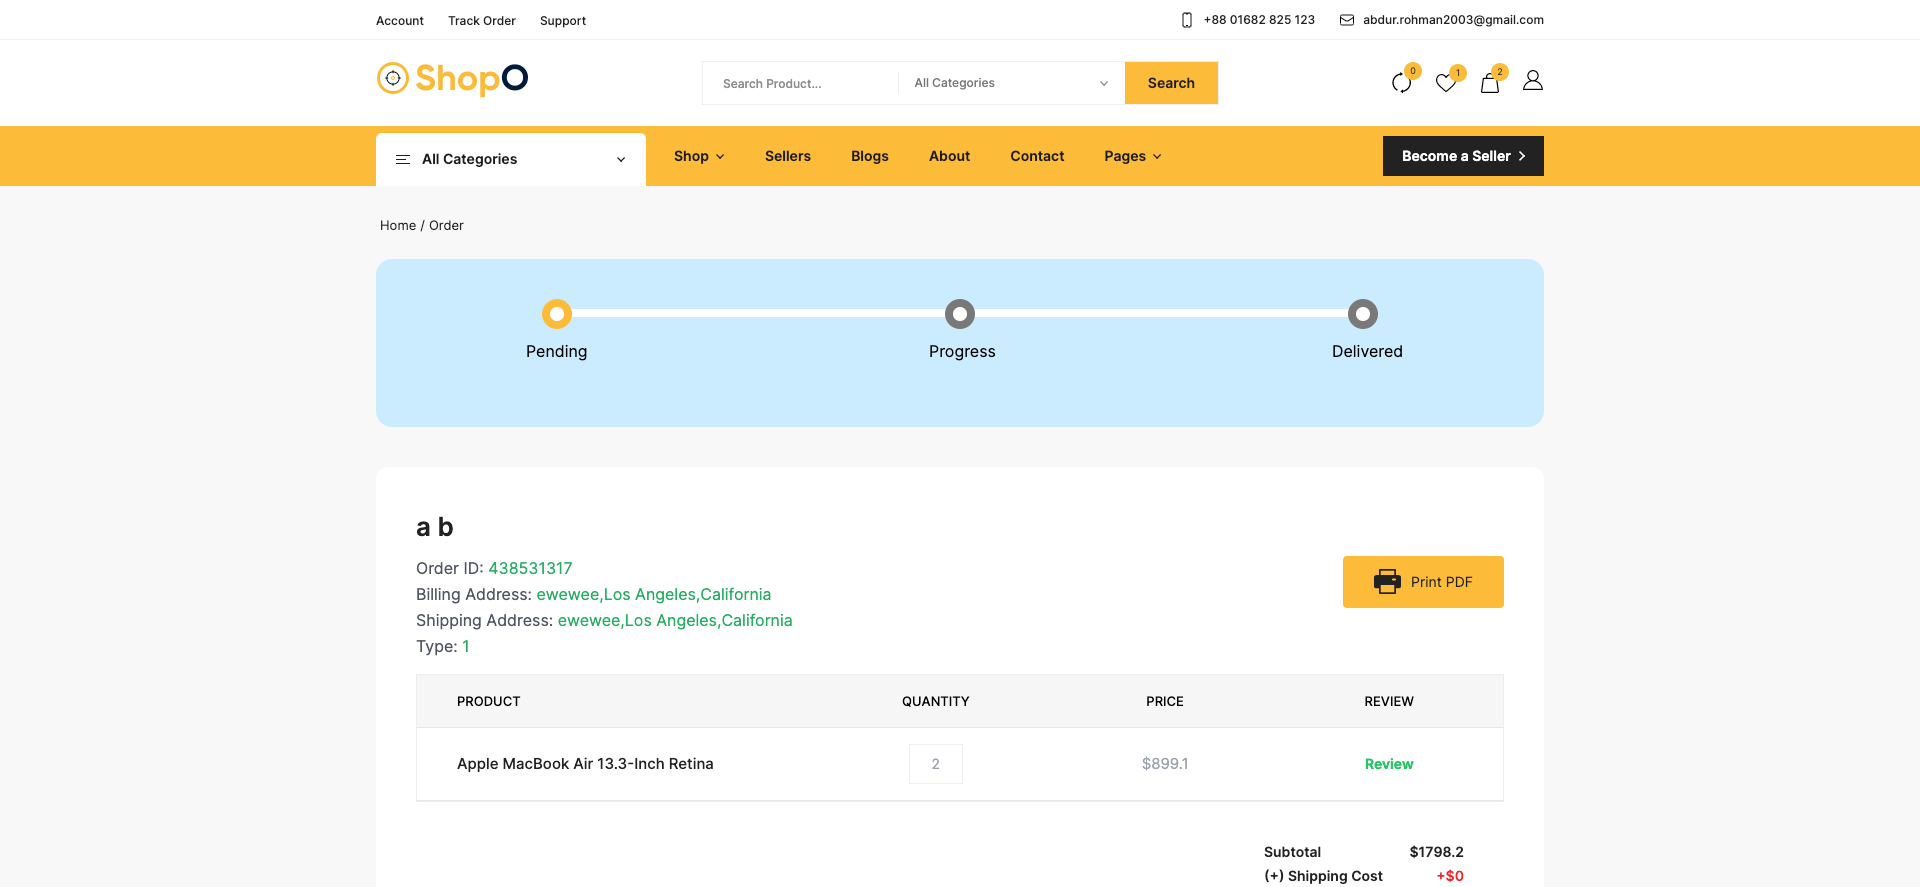
User can see all his order as a list. See...
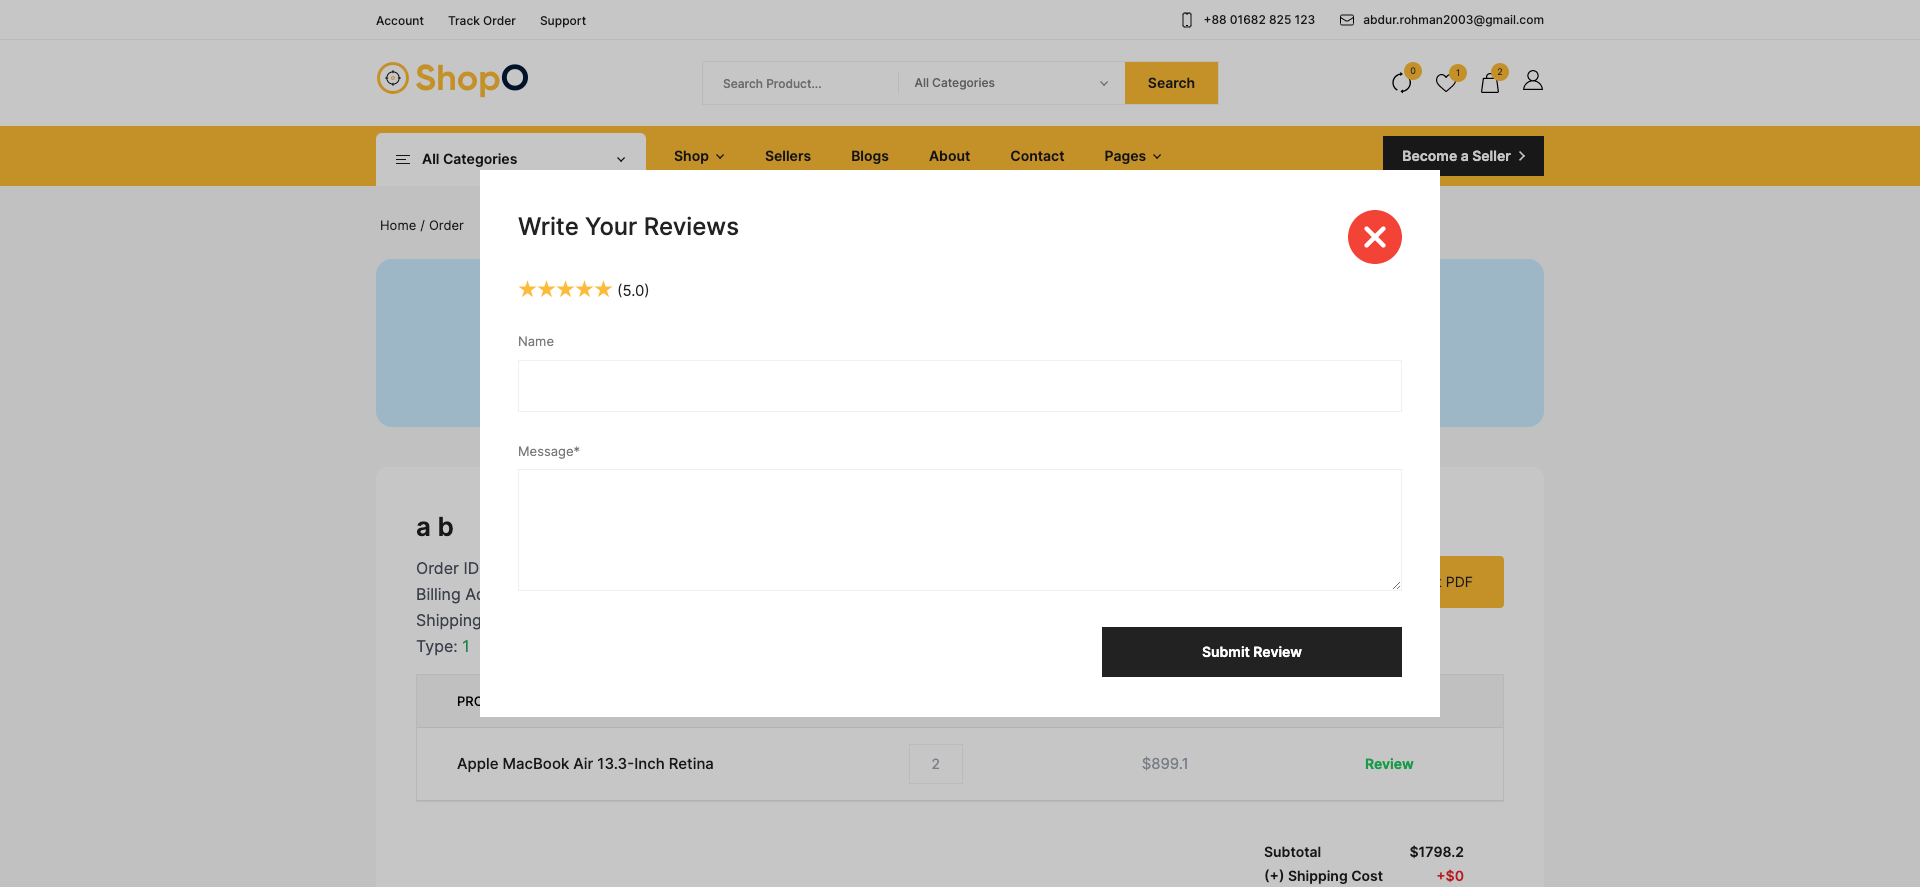
User can manage his review from the sidebar. See...
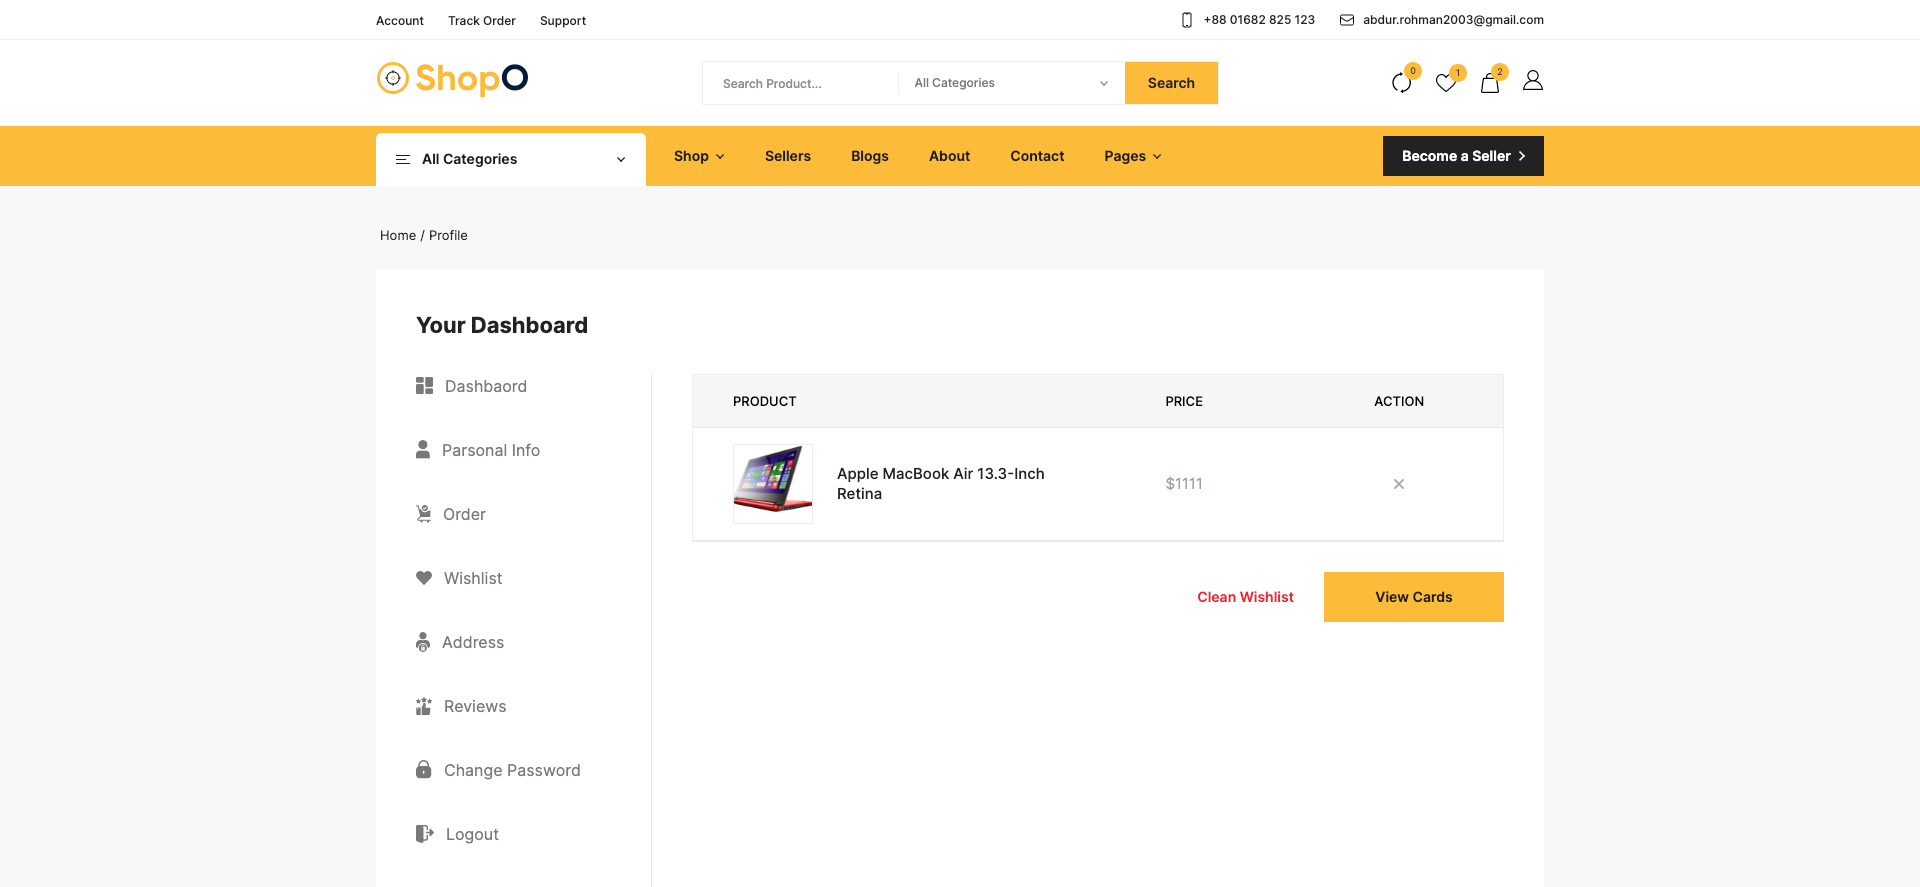
User can see all wishlist as a list. See...
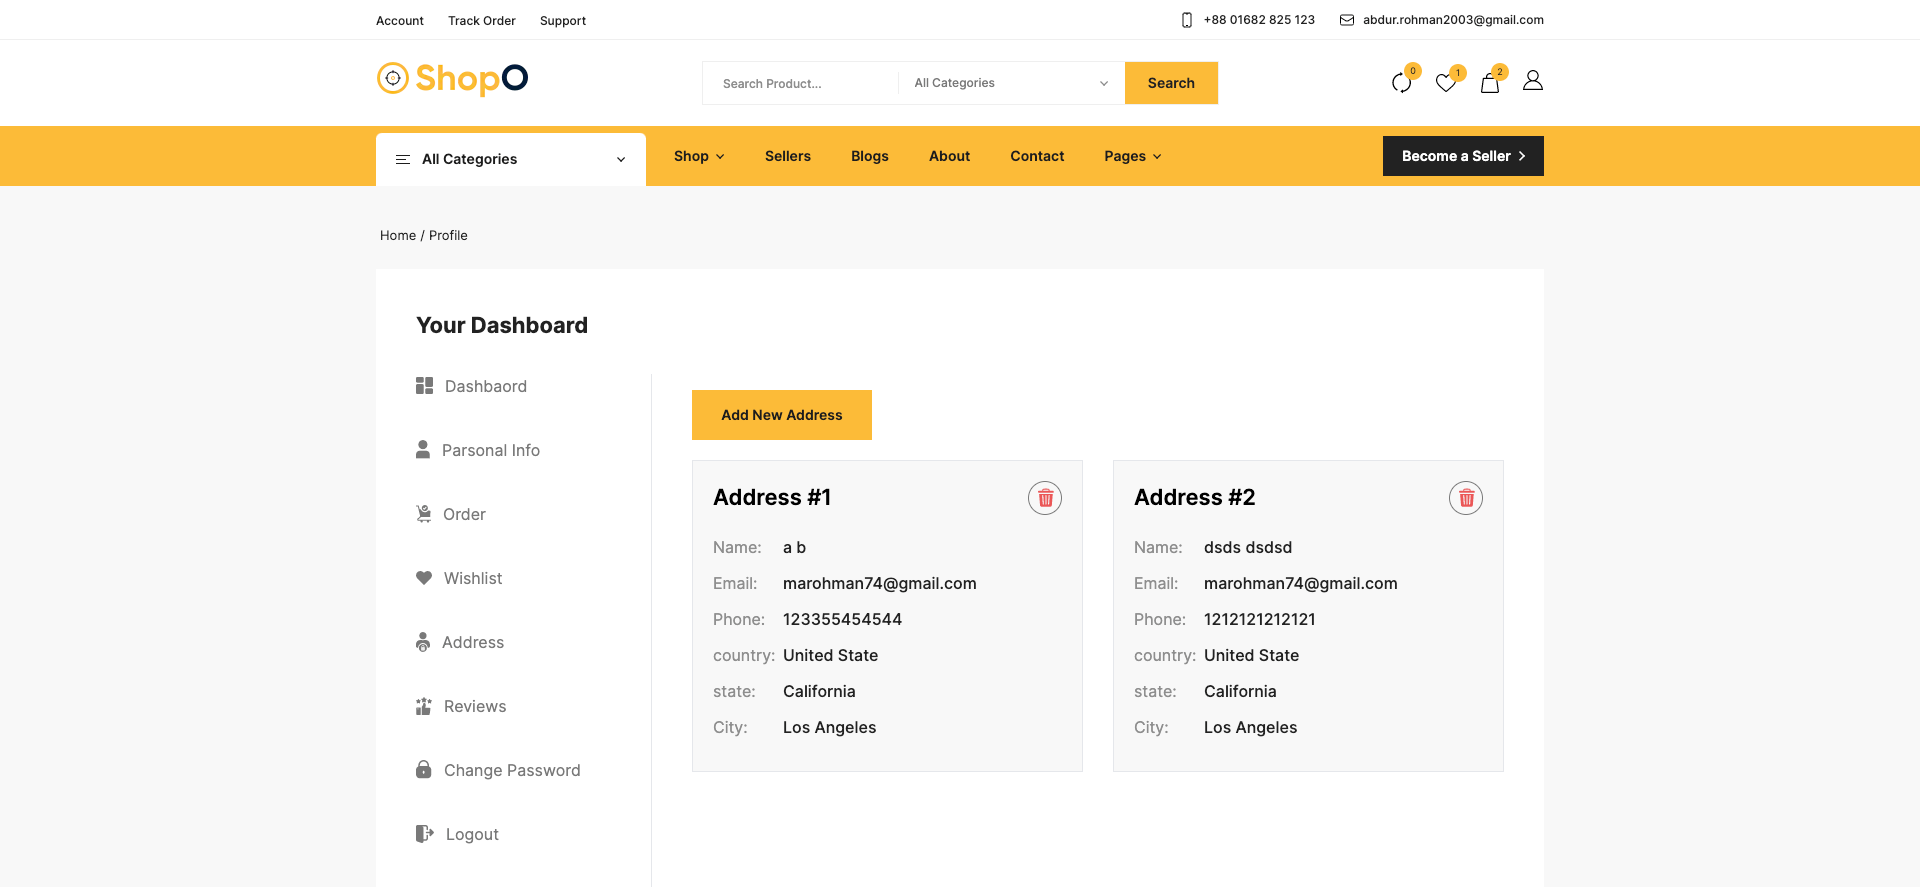
User can manage billing and shipping address from the sidebar. See...
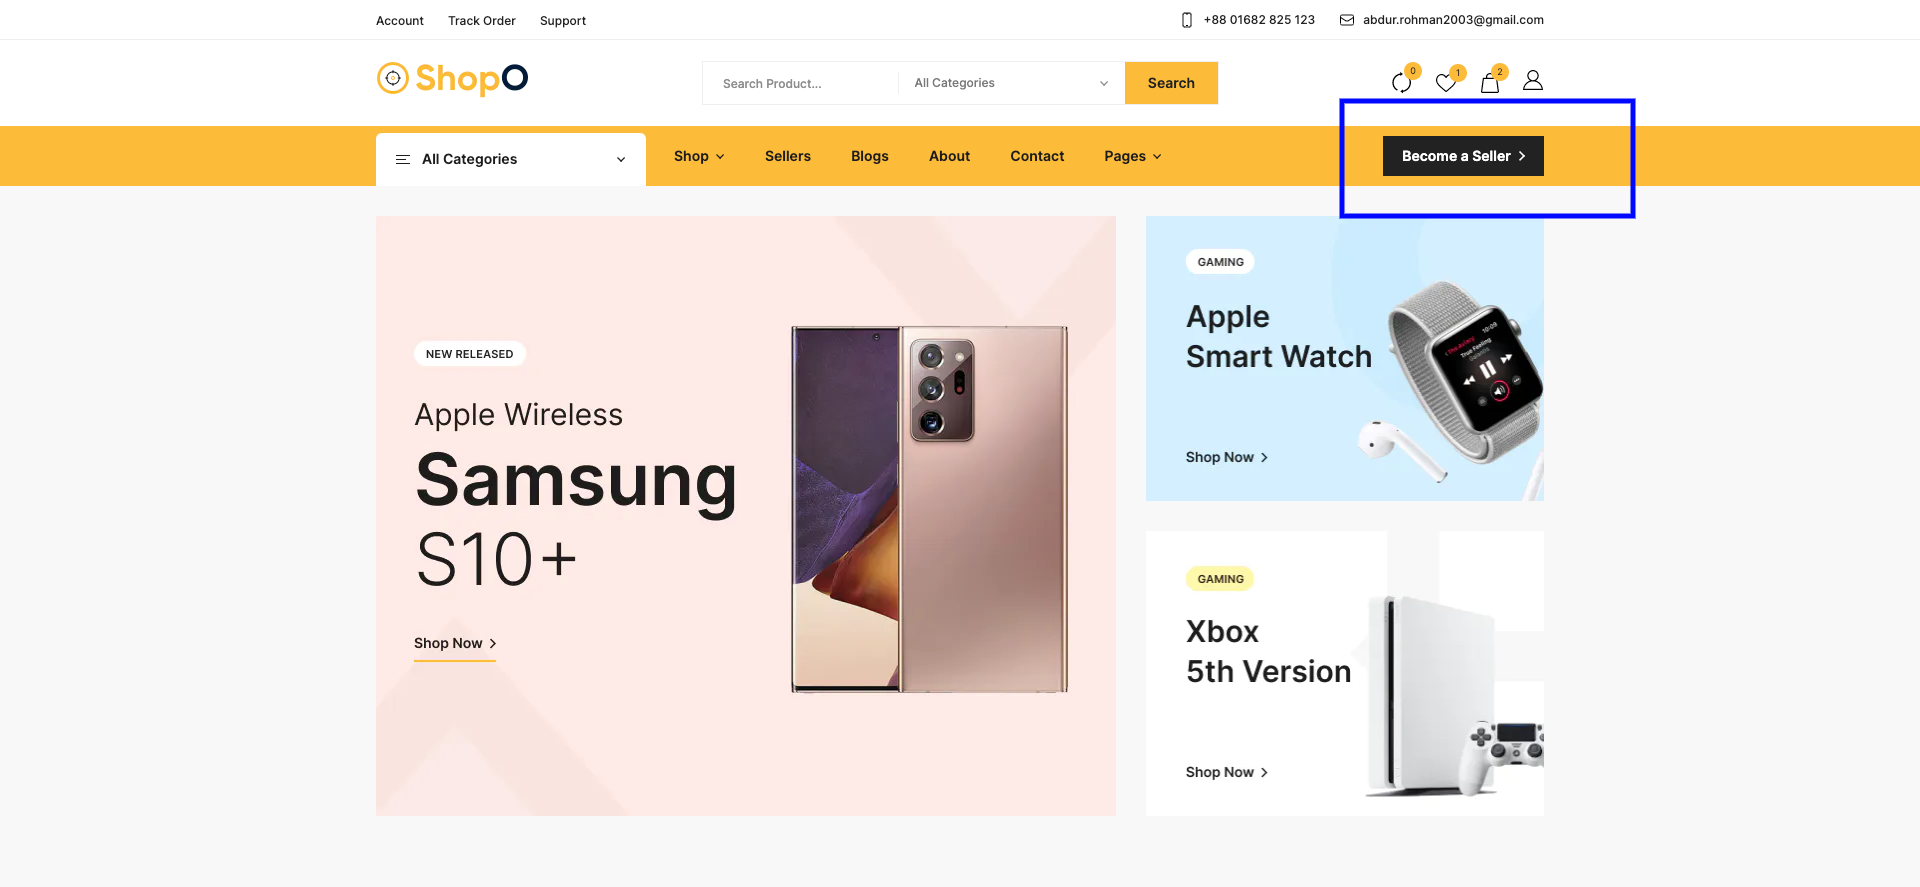
If user want to become a seller, he can easily apply from the sidebar. See..
From the top menu, Seller can click on Login.
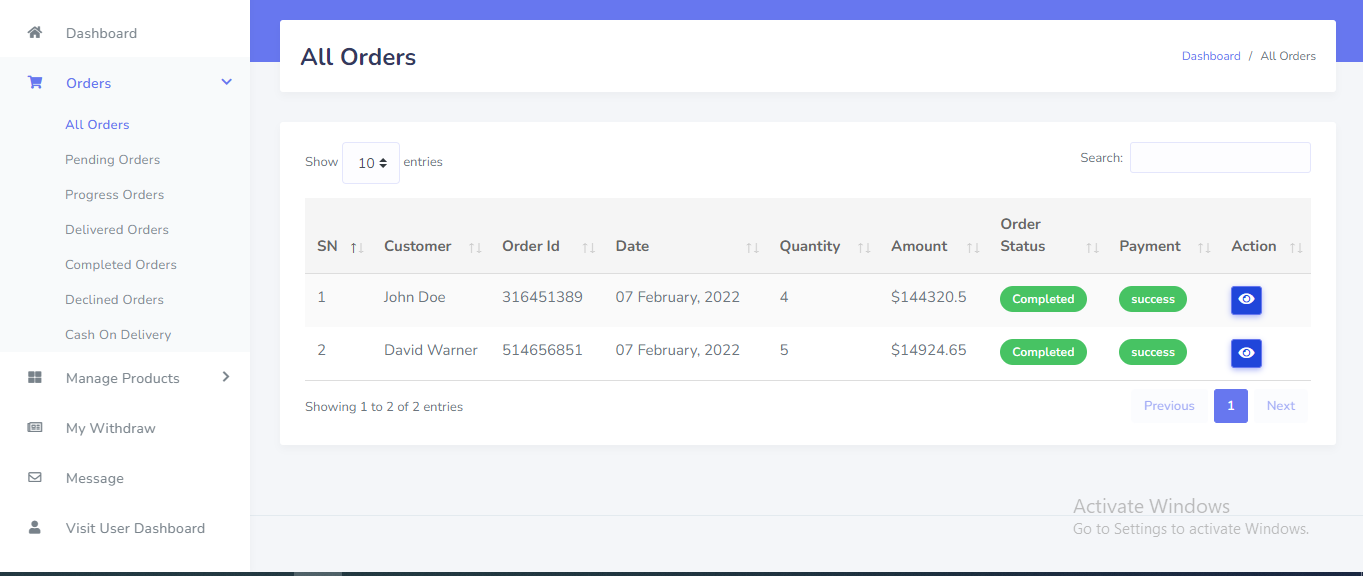
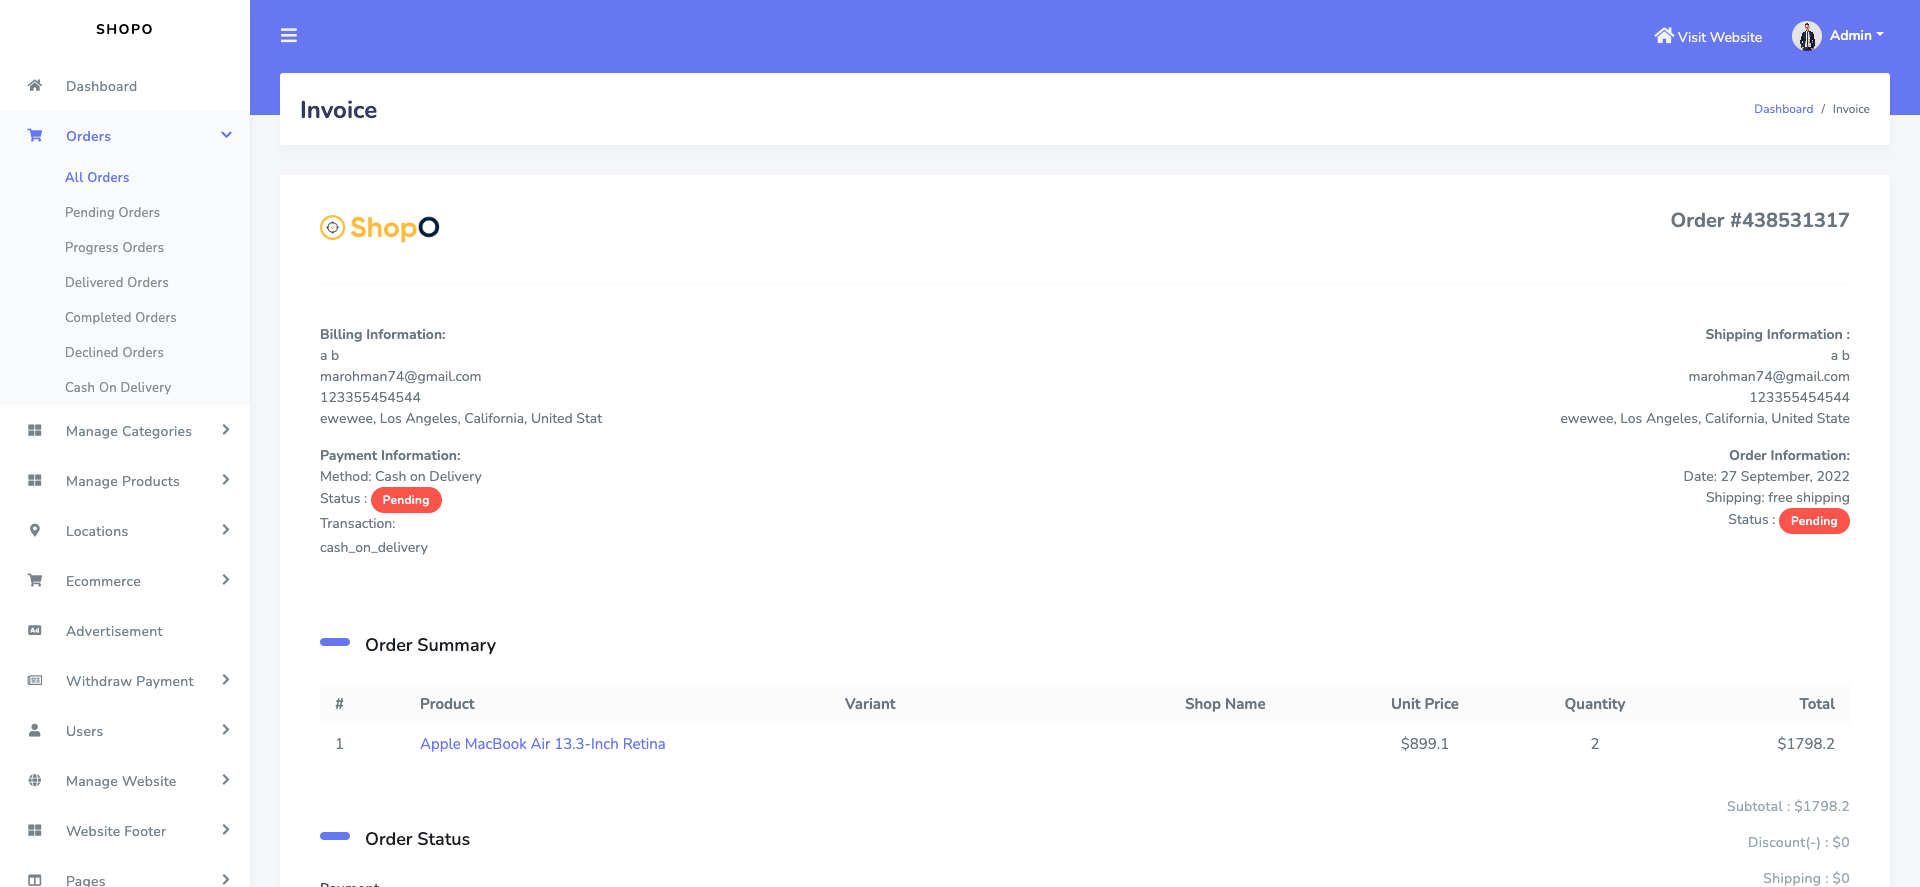
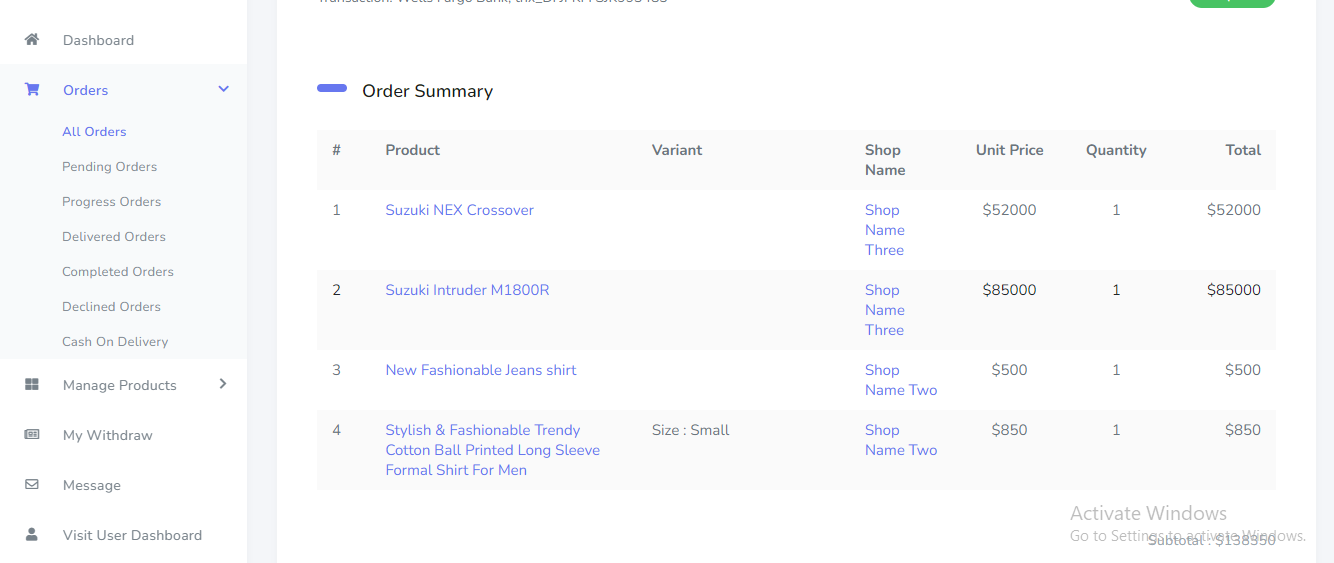
Order can be manage from the Seller panel. Go to "Orders >>..." from sidebar. See:
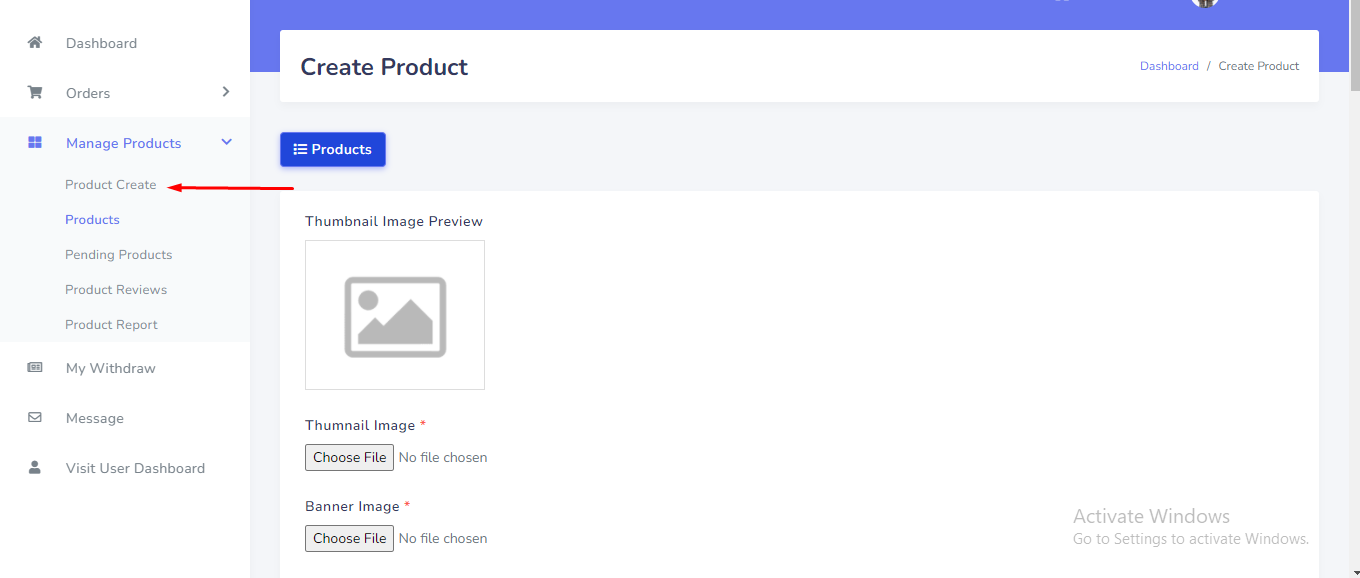
Create product can be manage from the Seller panel. Seller product won't be display until admin approval. Go to "Manage Products >> Create Product" from sidebar. See:
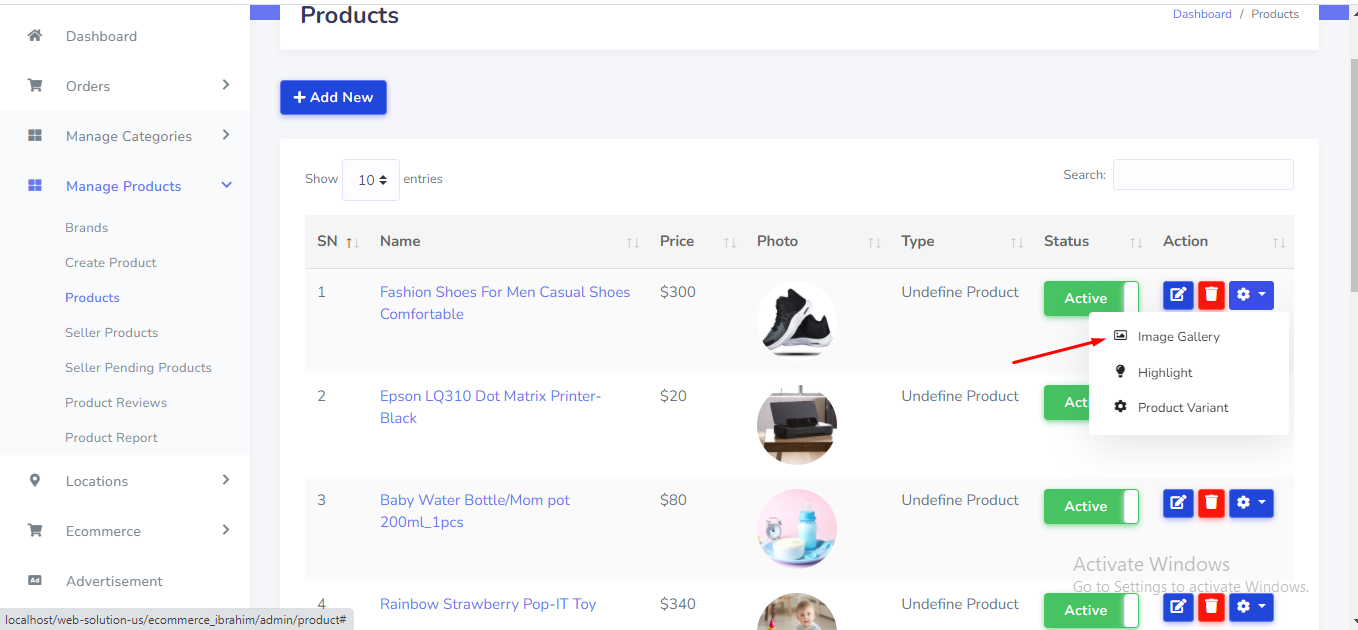
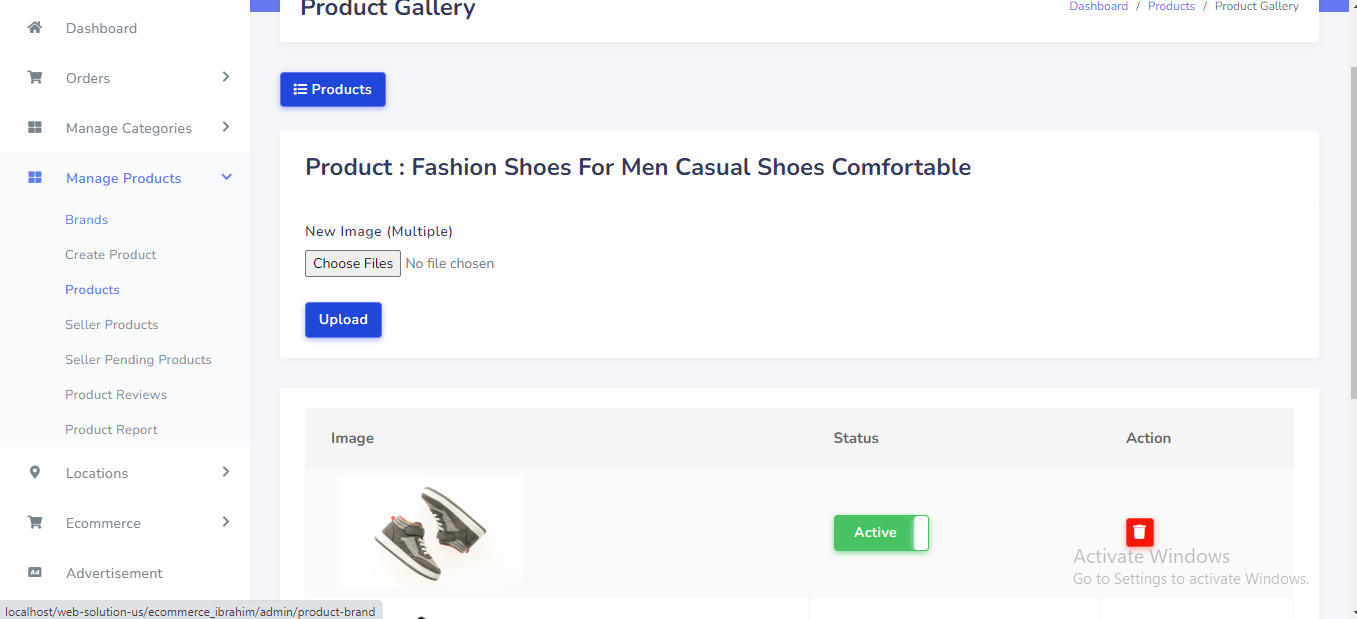
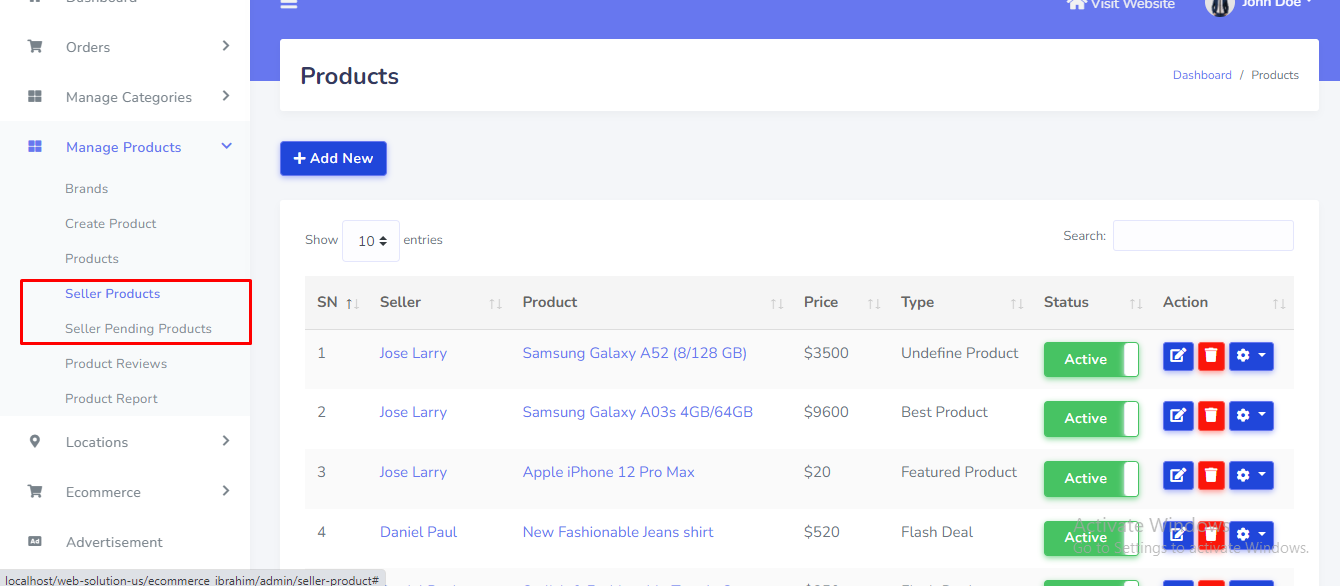
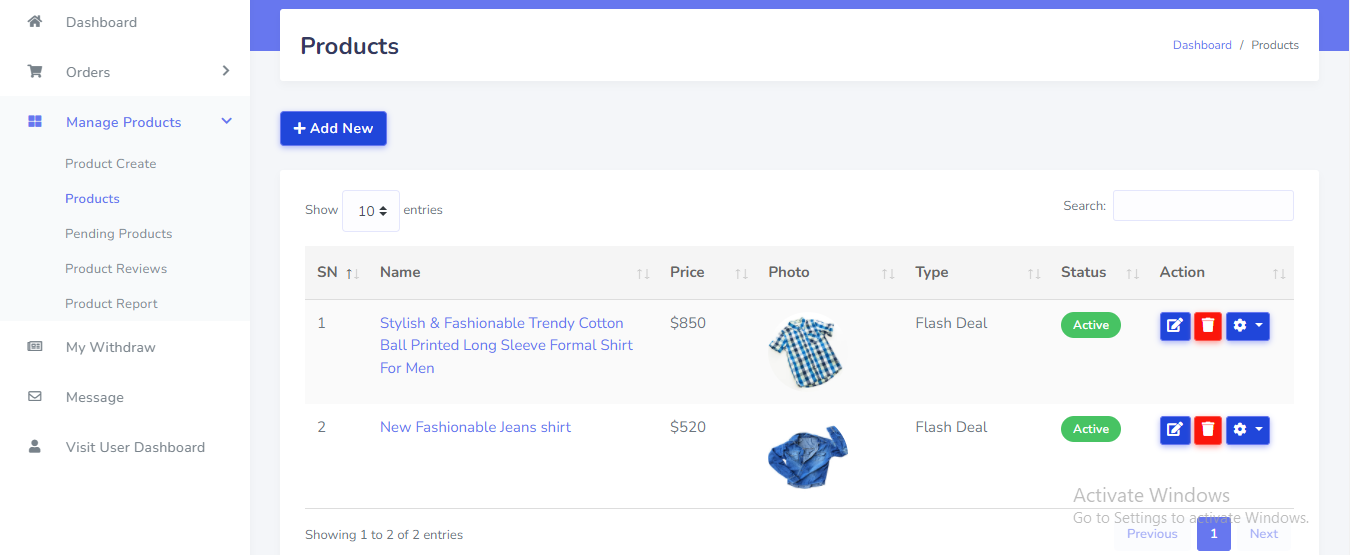
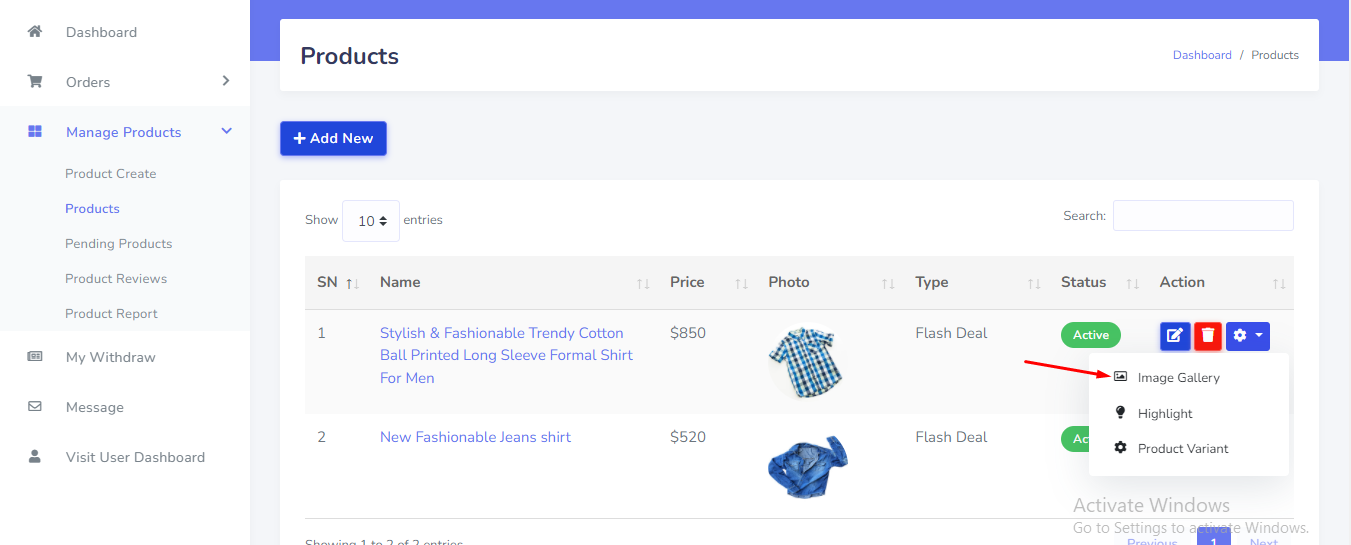
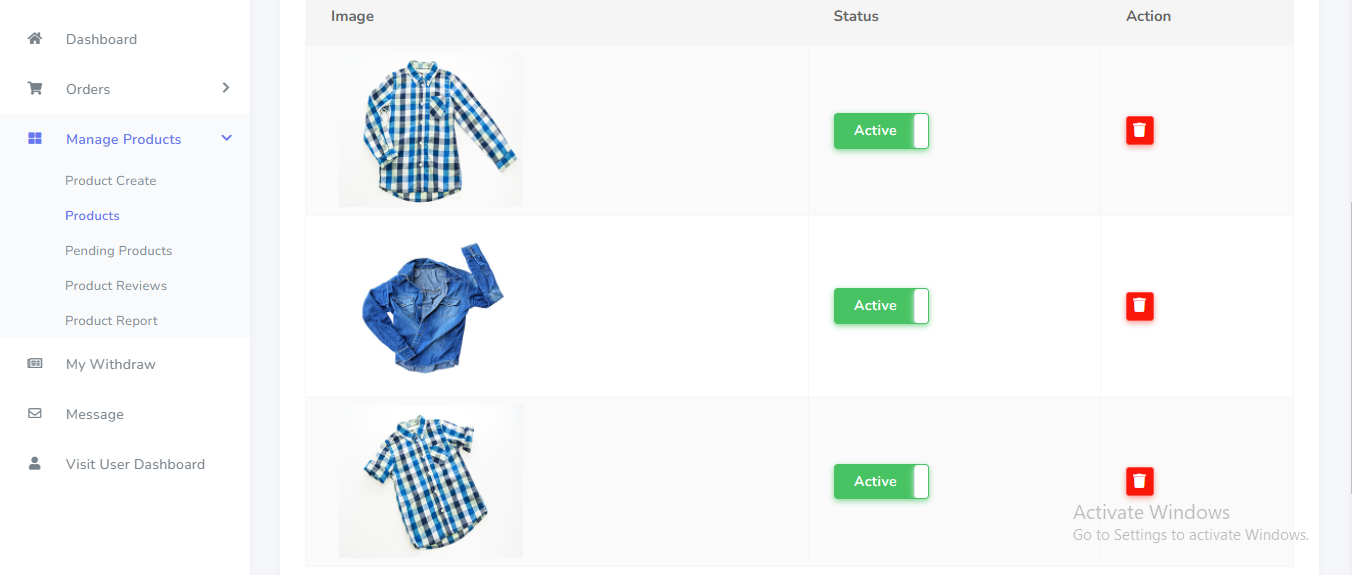
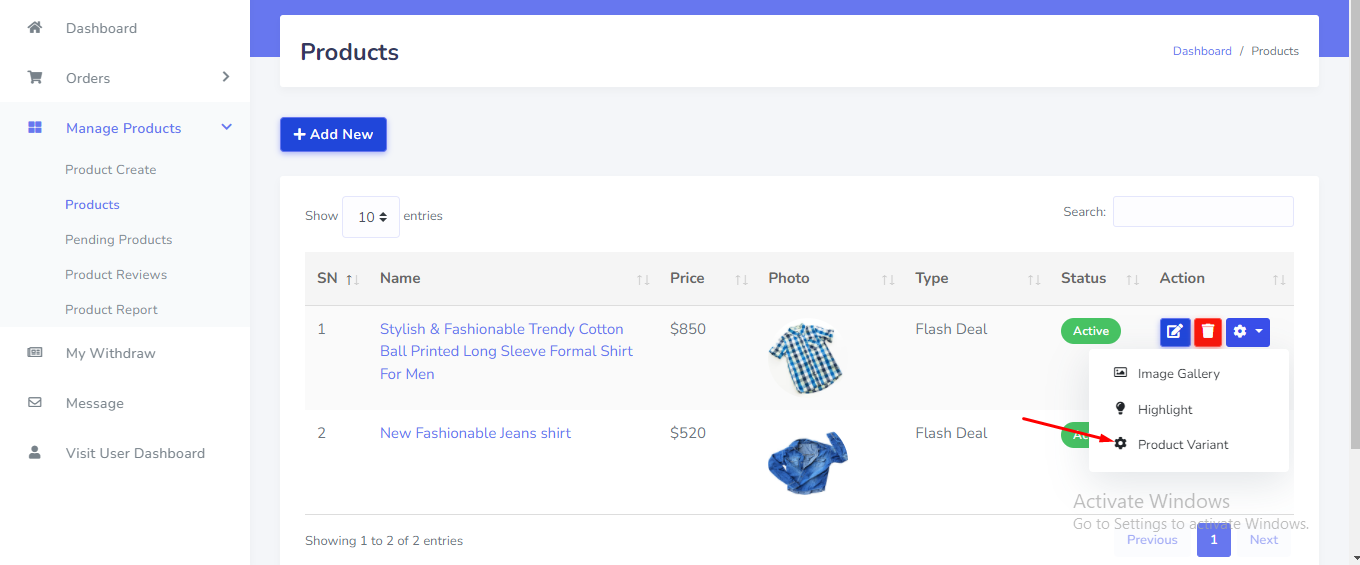
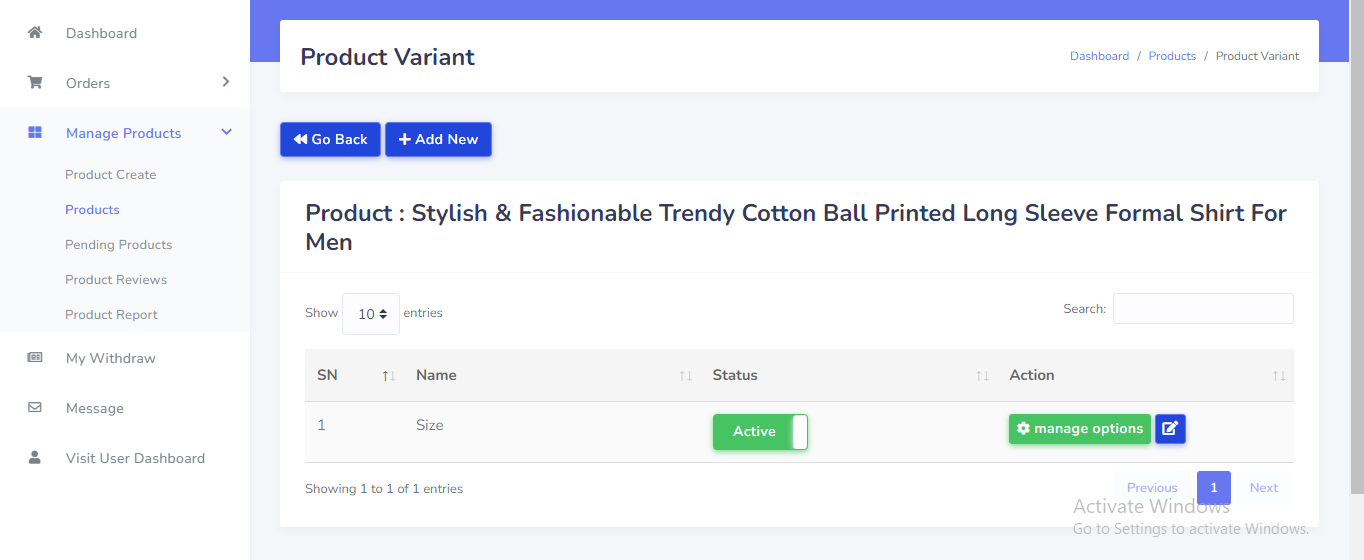
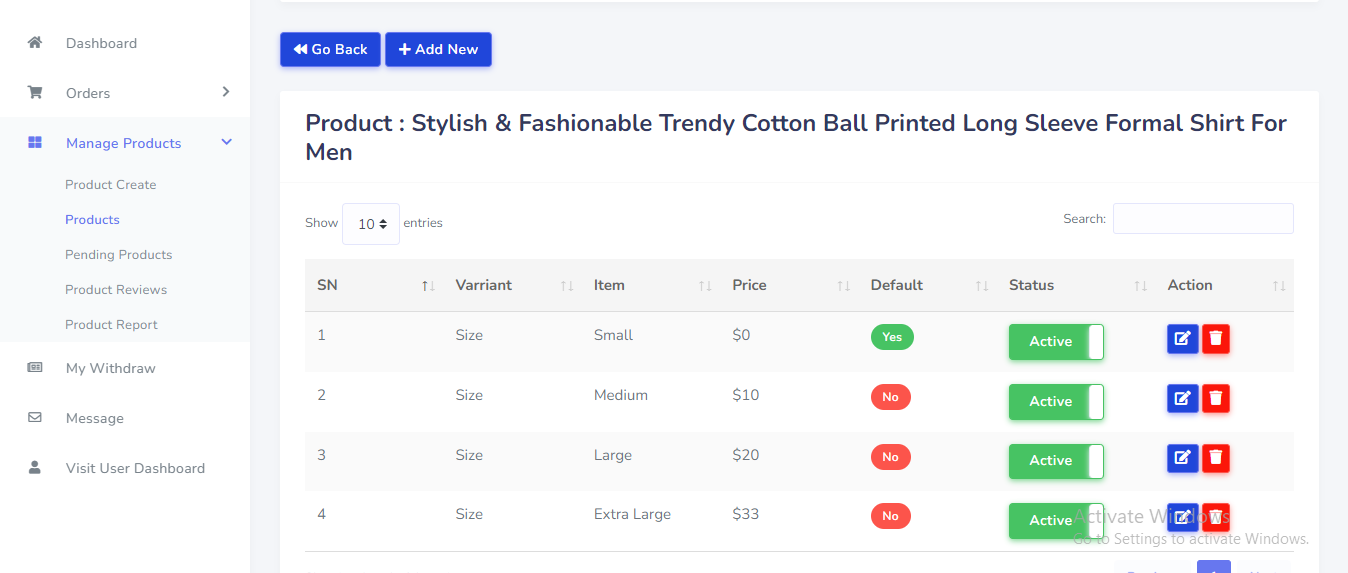
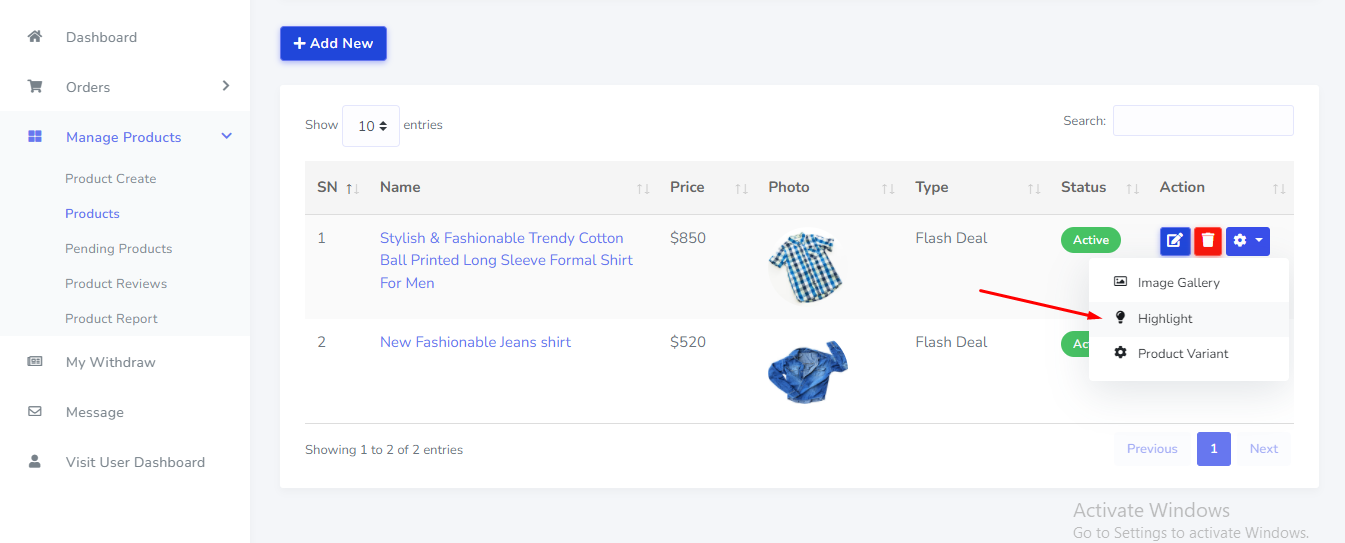
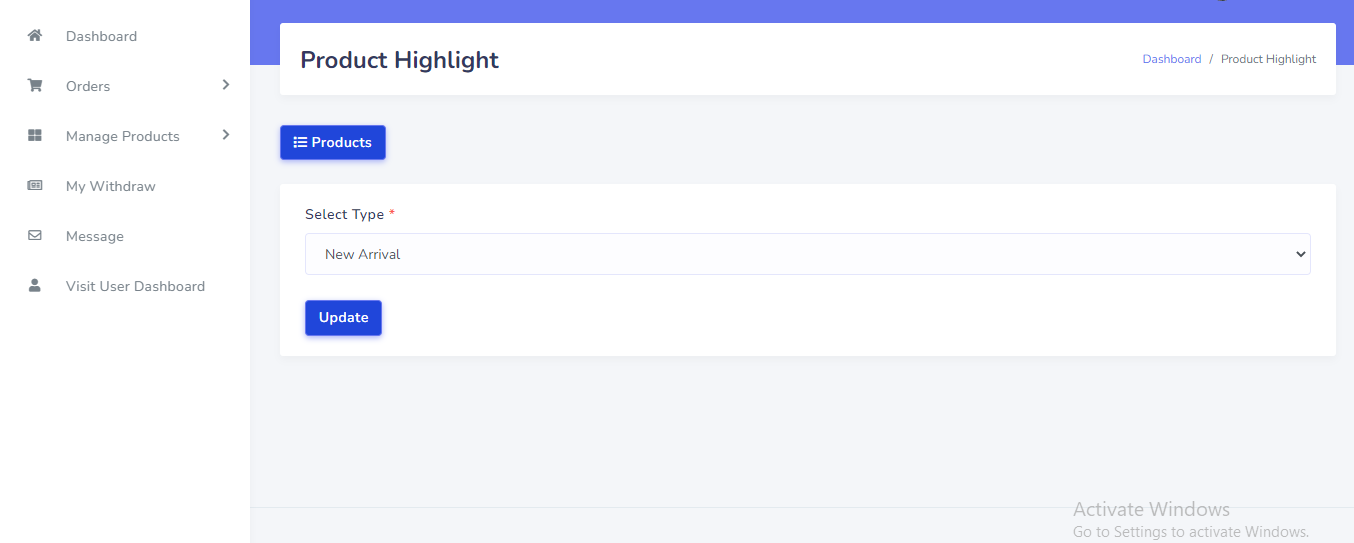
Product can be manage from the Seller panel. Go to "Manage Products >> Products" from sidebar. See:


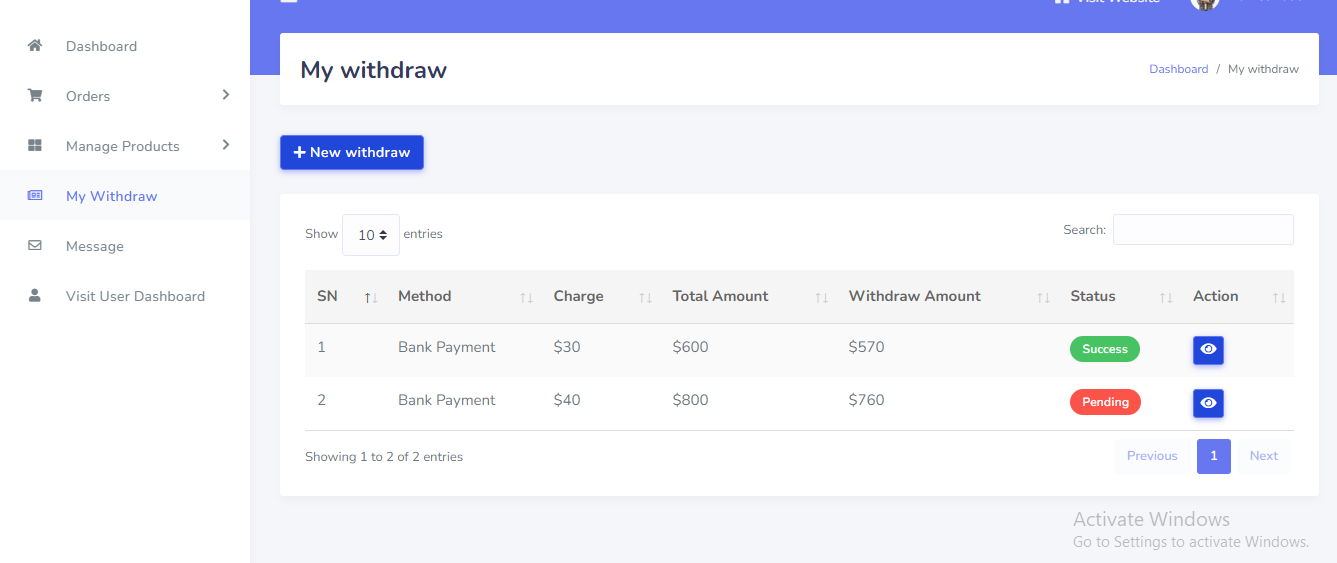
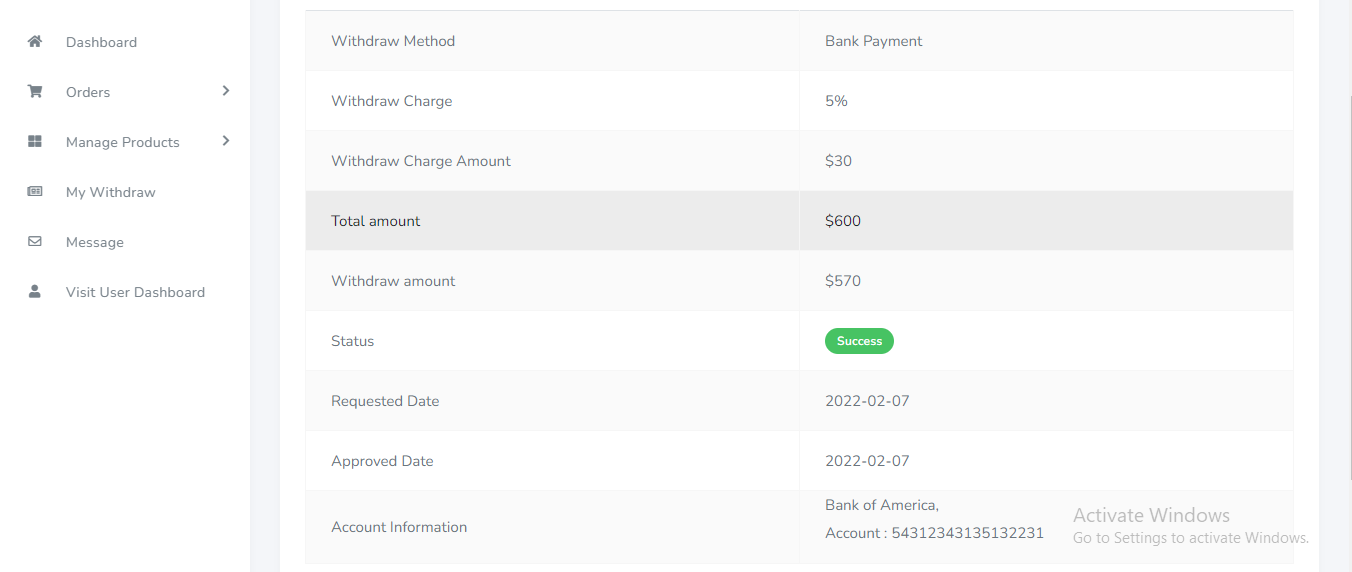
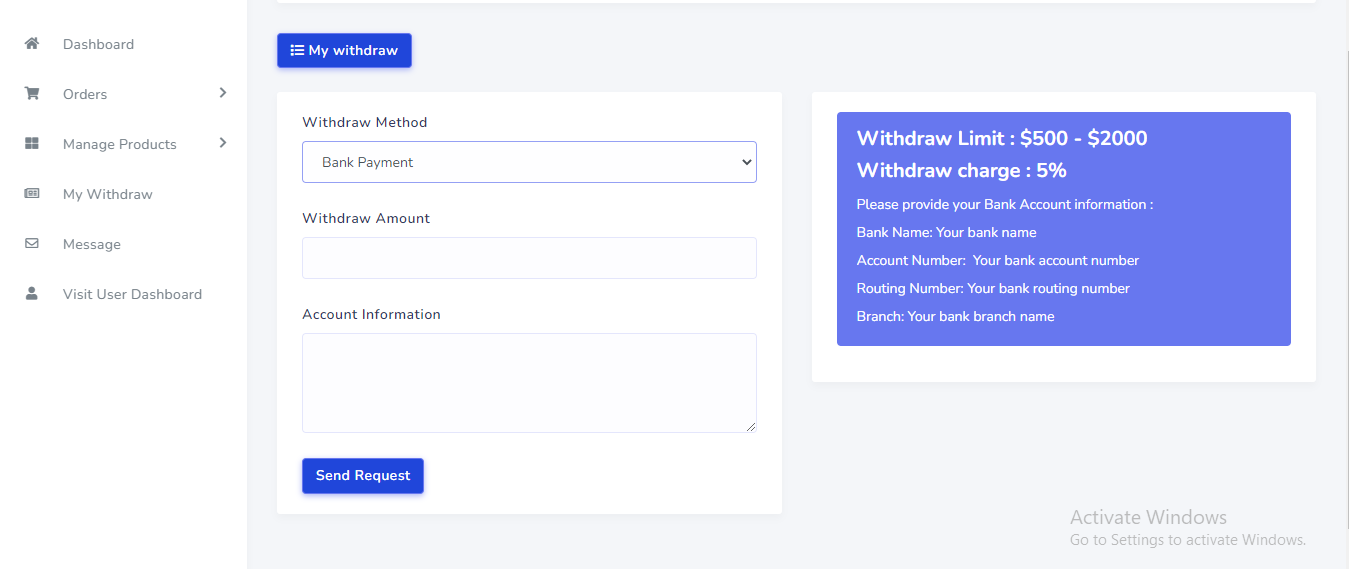
Seller can withdraw his payment from the Seller panel. Go to "My Withdraw" from sidebar. See:
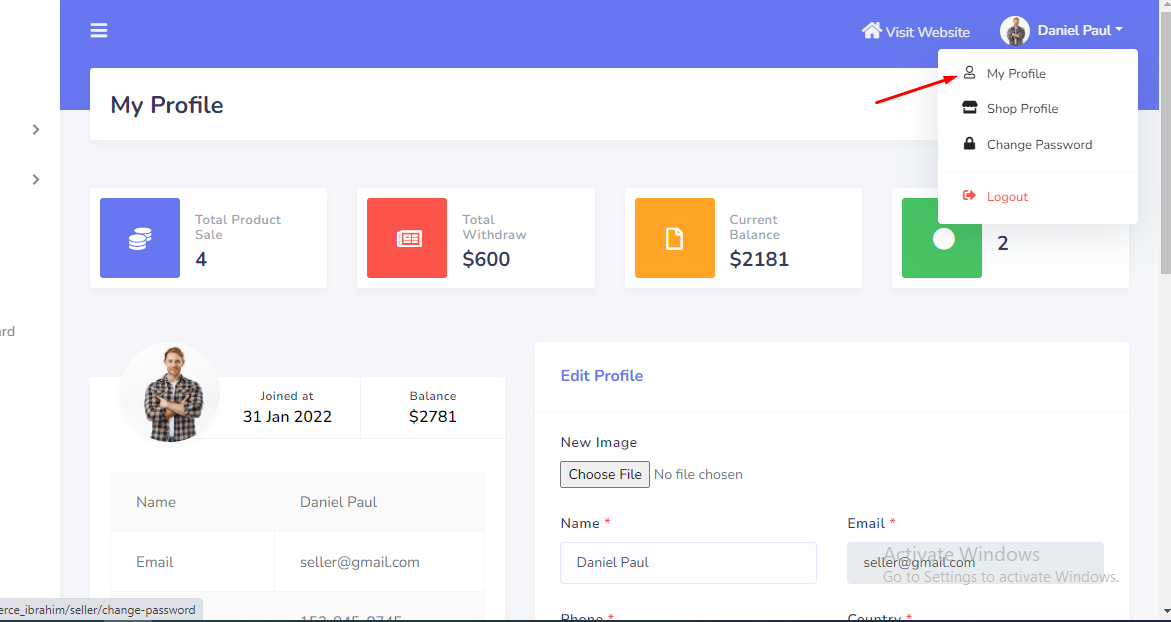
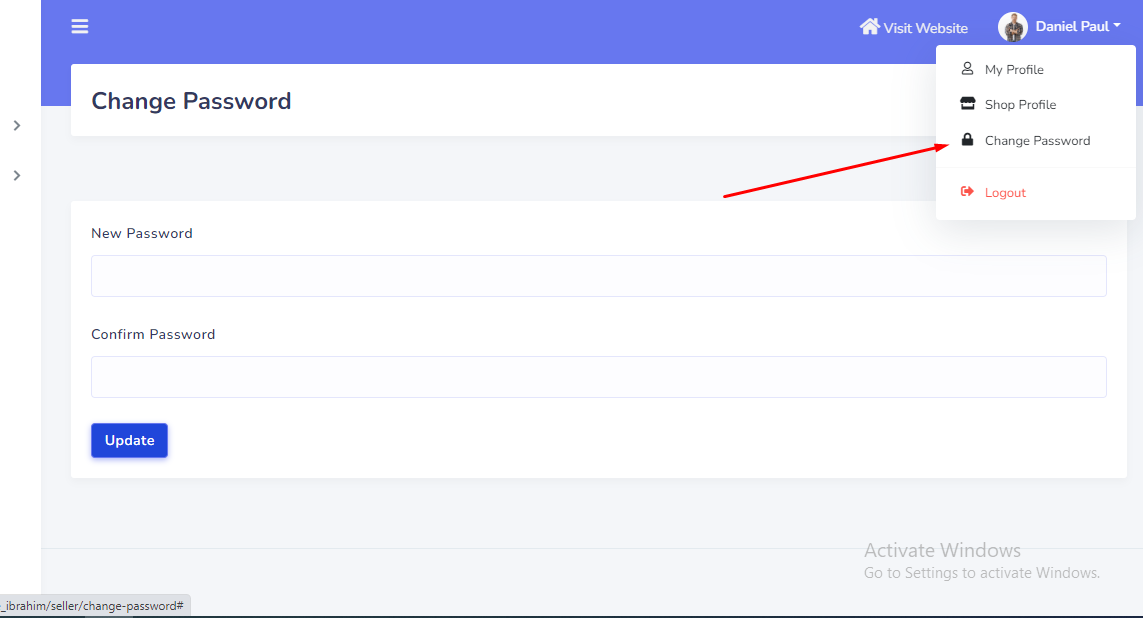
From the topbar seller can manage profile information and change password . See:
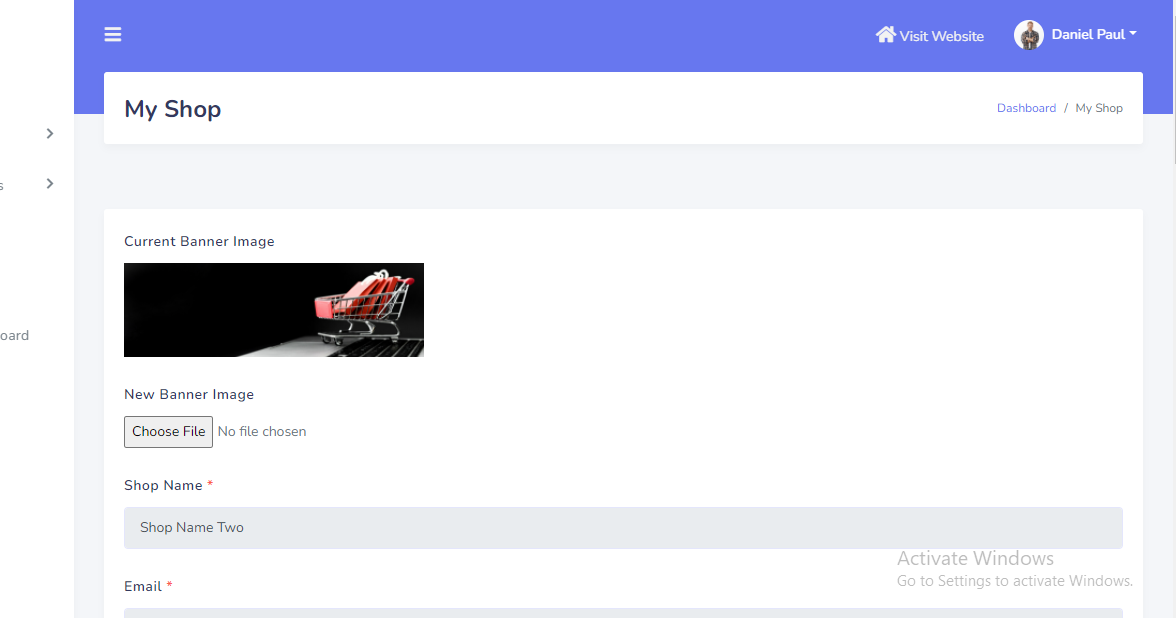
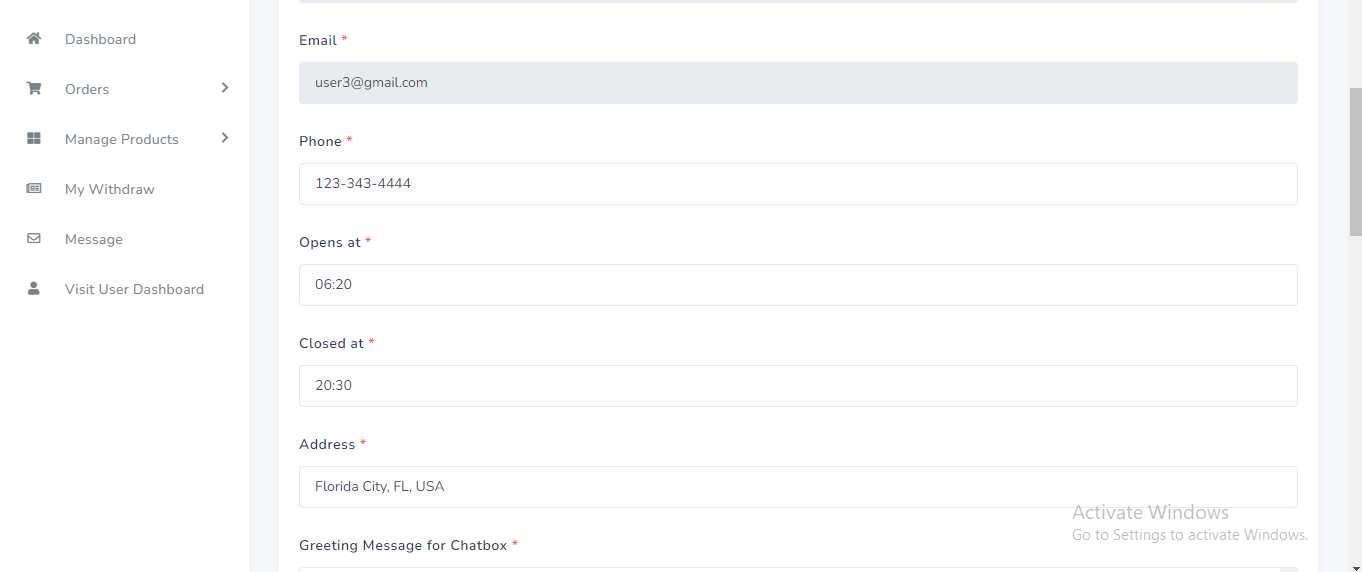
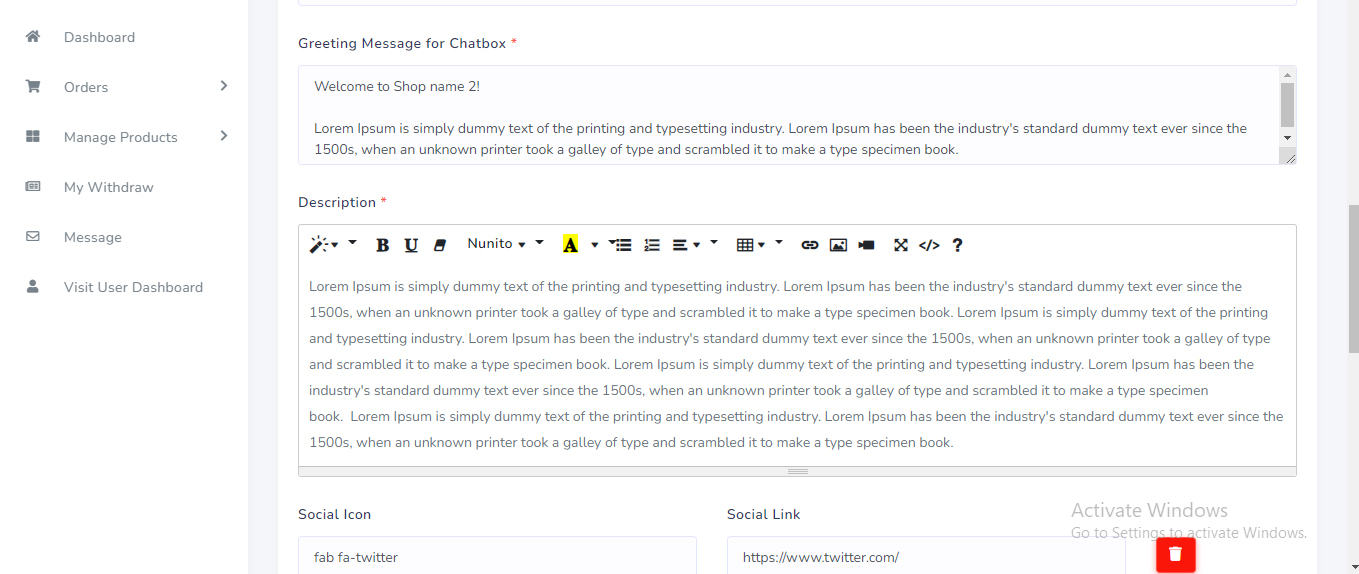
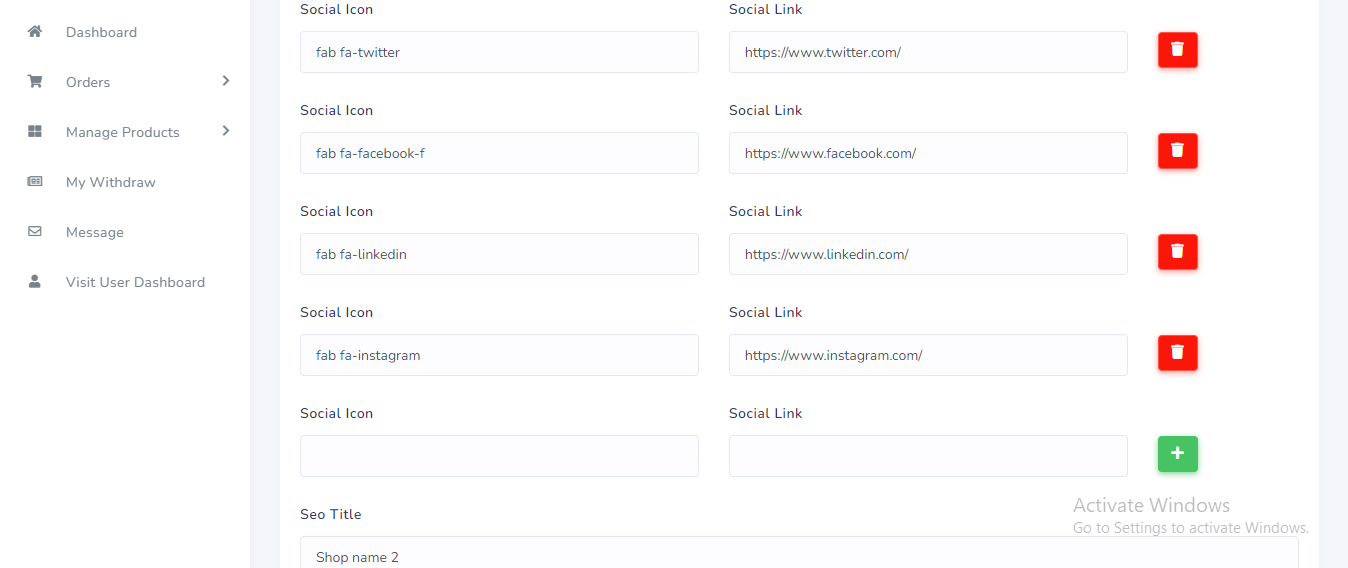
From the topbar seller can manage shop profile information. See:
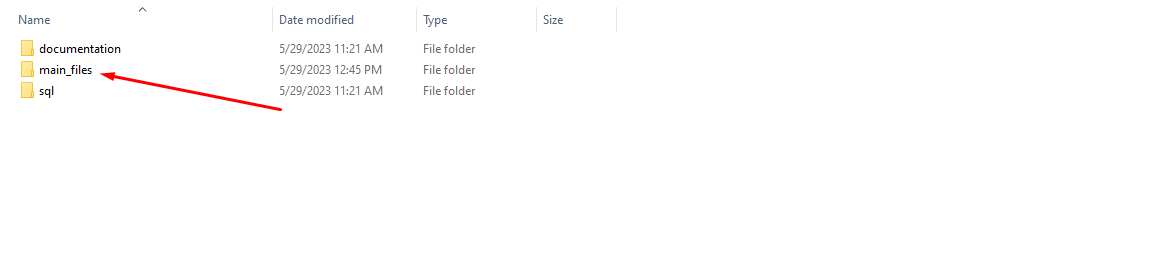
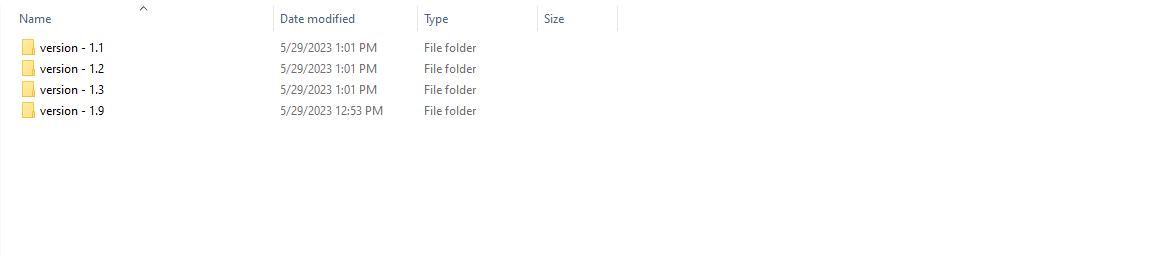
After download the script from codecanyon you can get a zip file. After unzip the file you can total 3 folders. In the 'main_files' folder you can see 2 folder. In the 'main_files' folder there are main laravel script exist. Inside the 'all version' folder you can see version list. See:

For update any version go to the version folder and you can see a "update.zip" file. See:

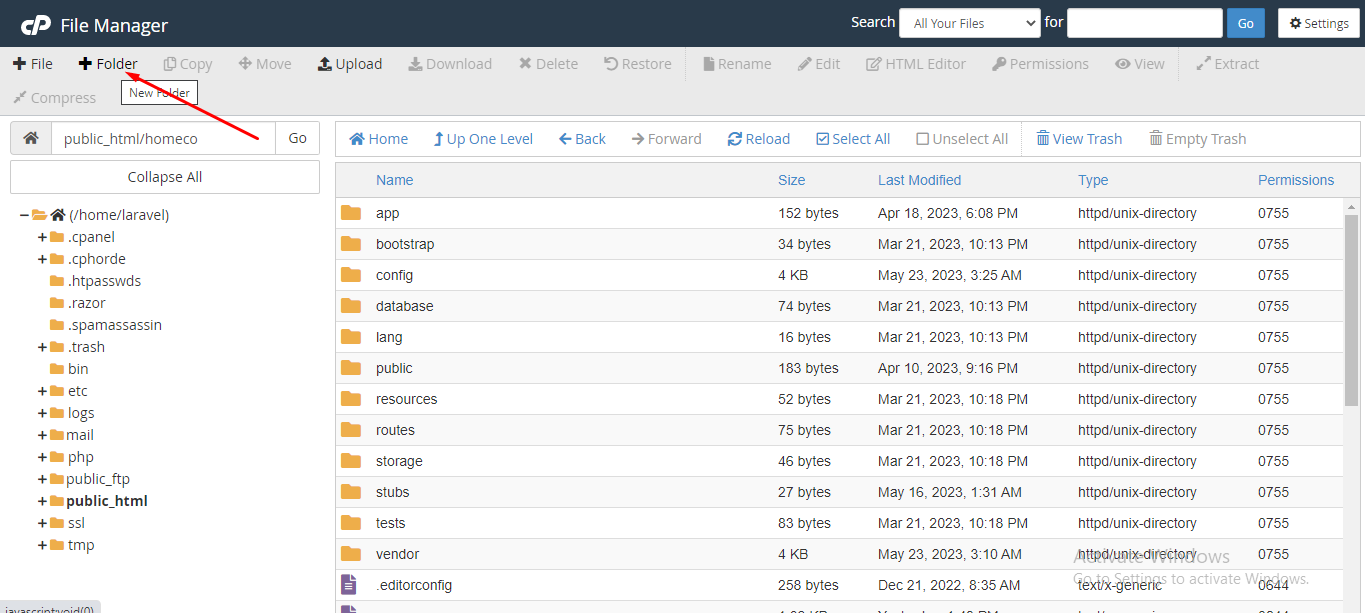
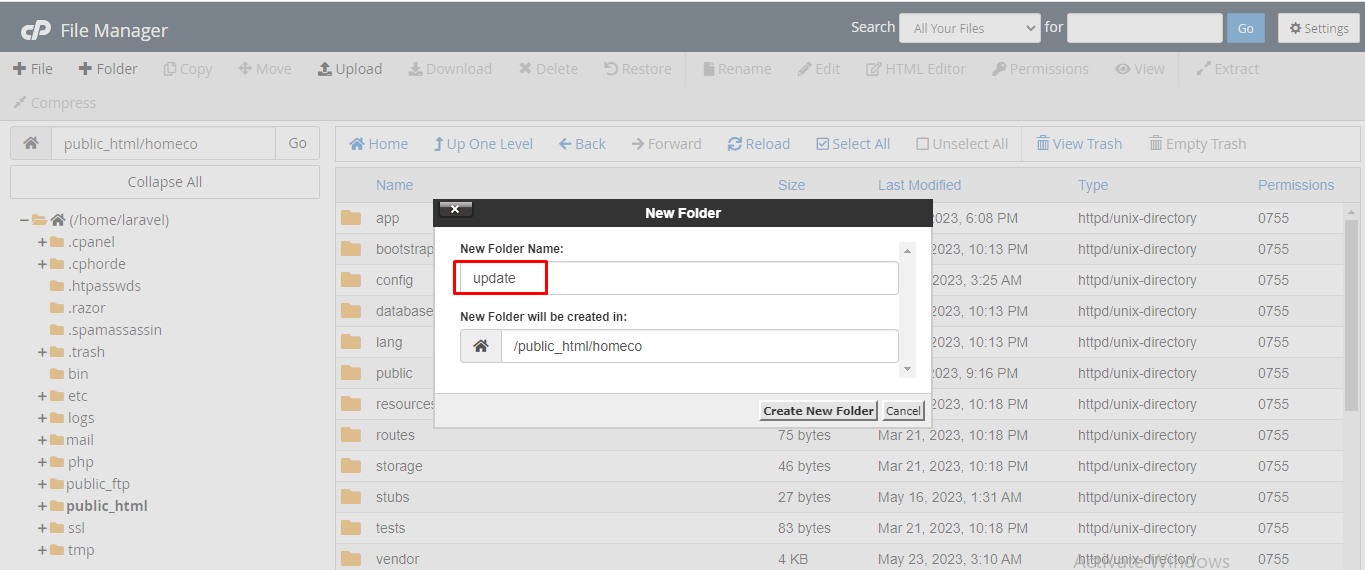
Now goto your server and root project directory. Create e new folder, the name of folder is "update". See:
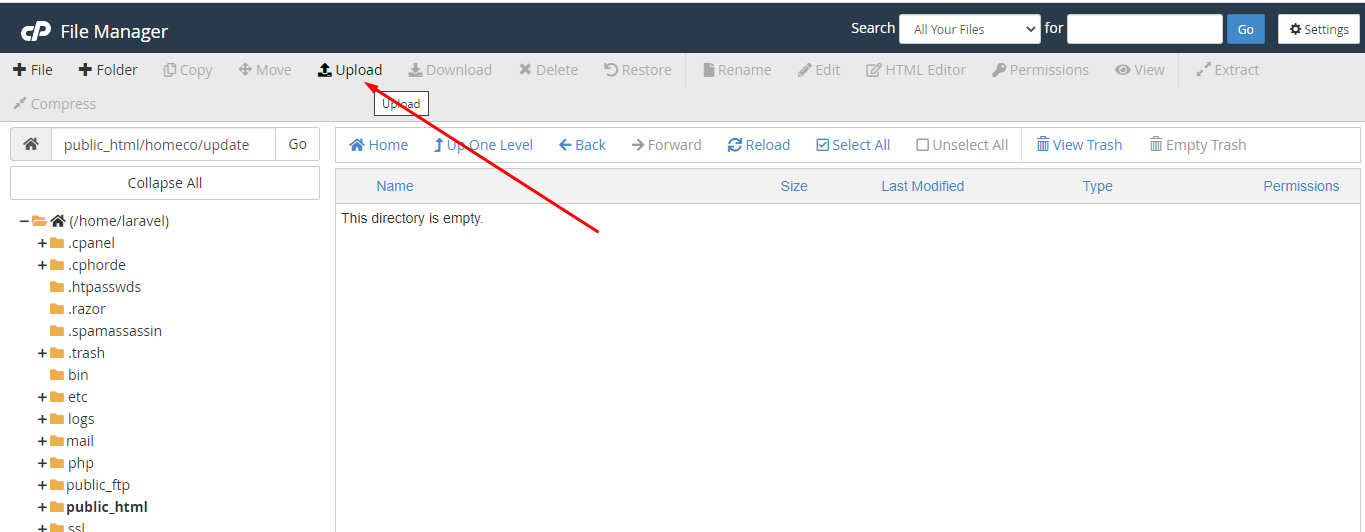
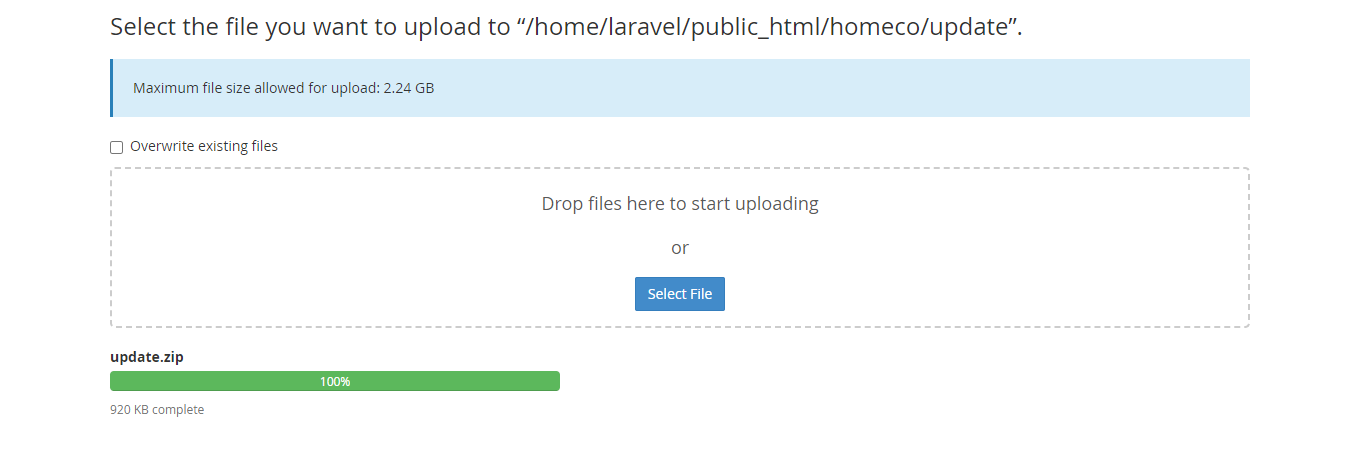
Inside the 'update' folder you need to upload the "update.zip" file. See:
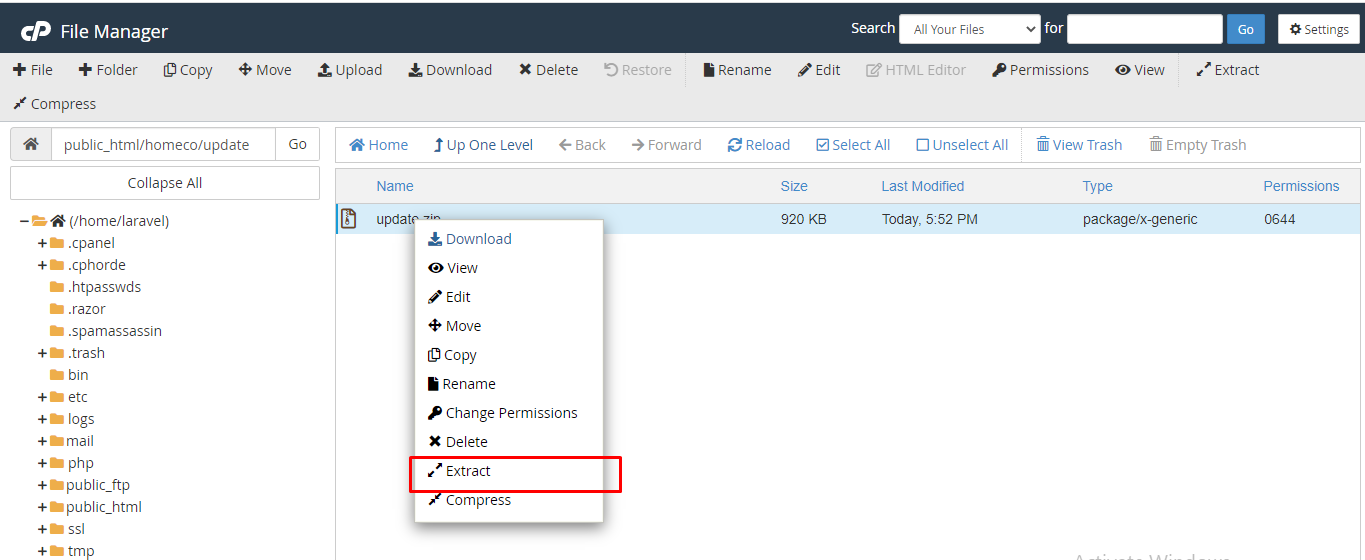
Now extract the zip file. See:
Now go to your "http://your_domain.com/update". See:

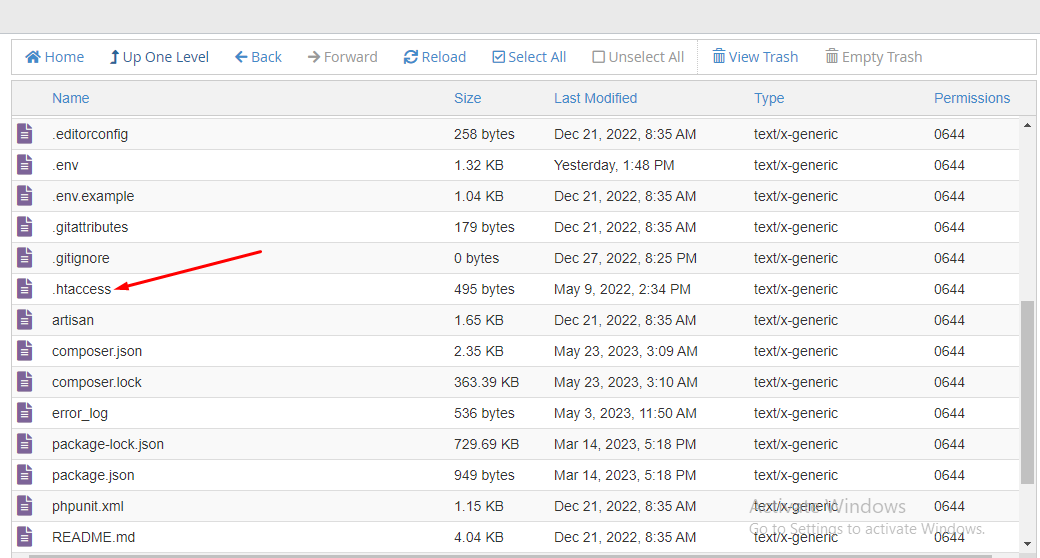
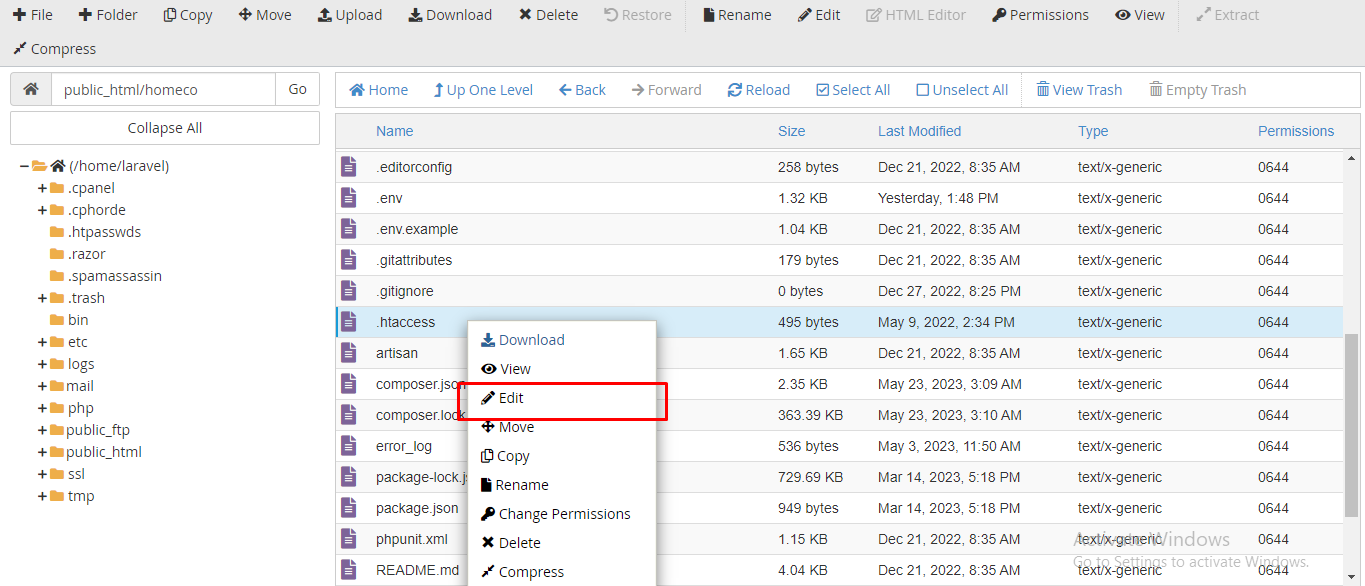
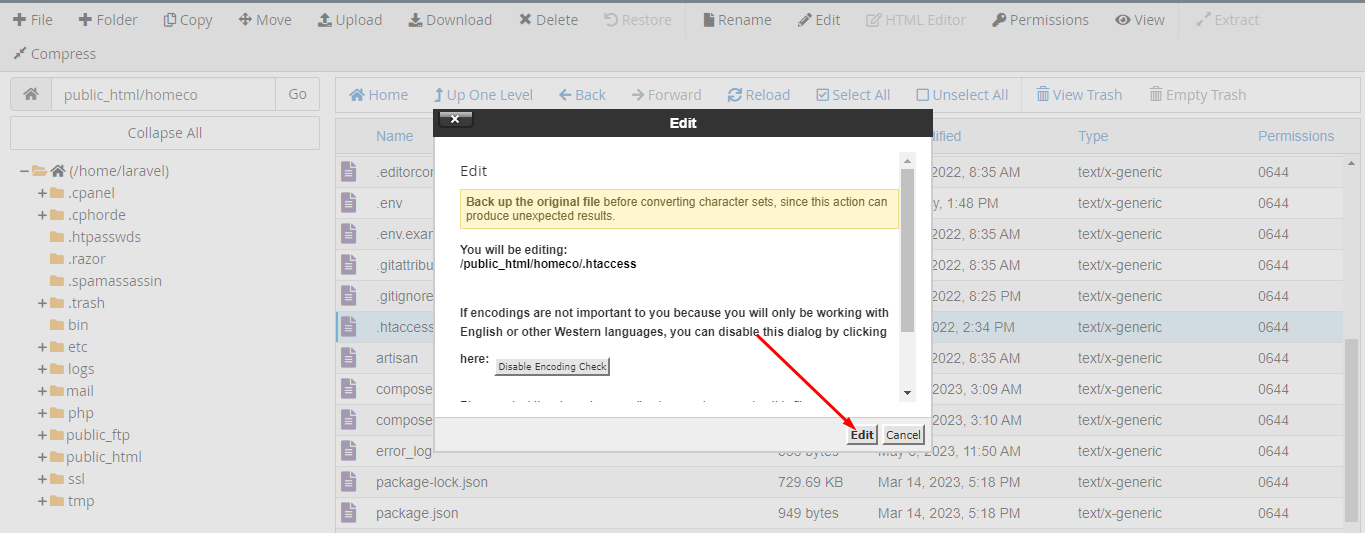
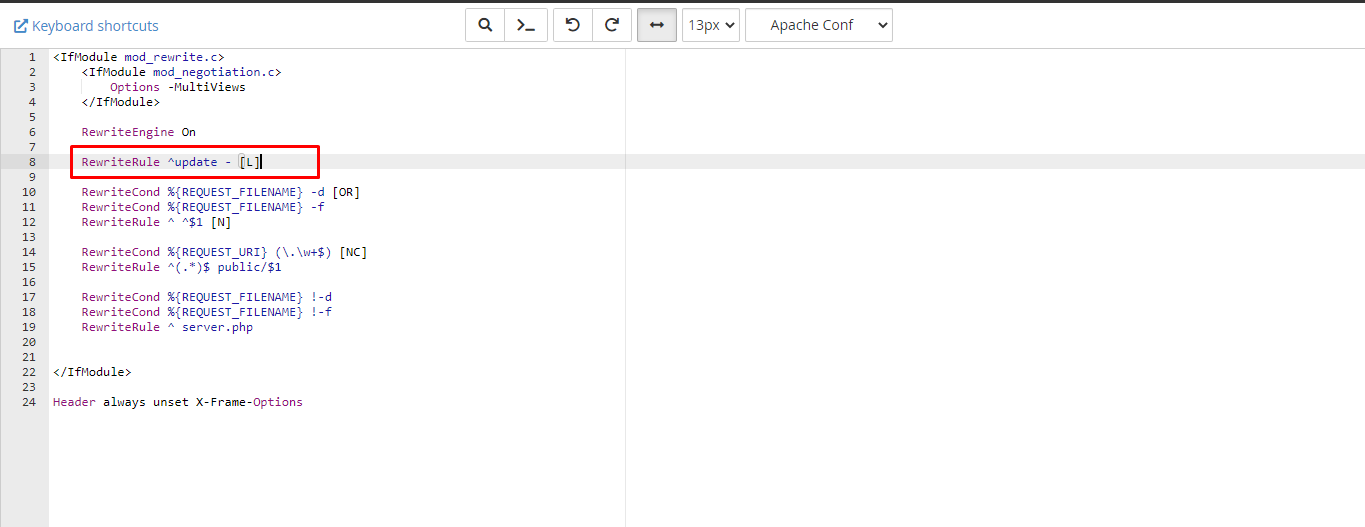
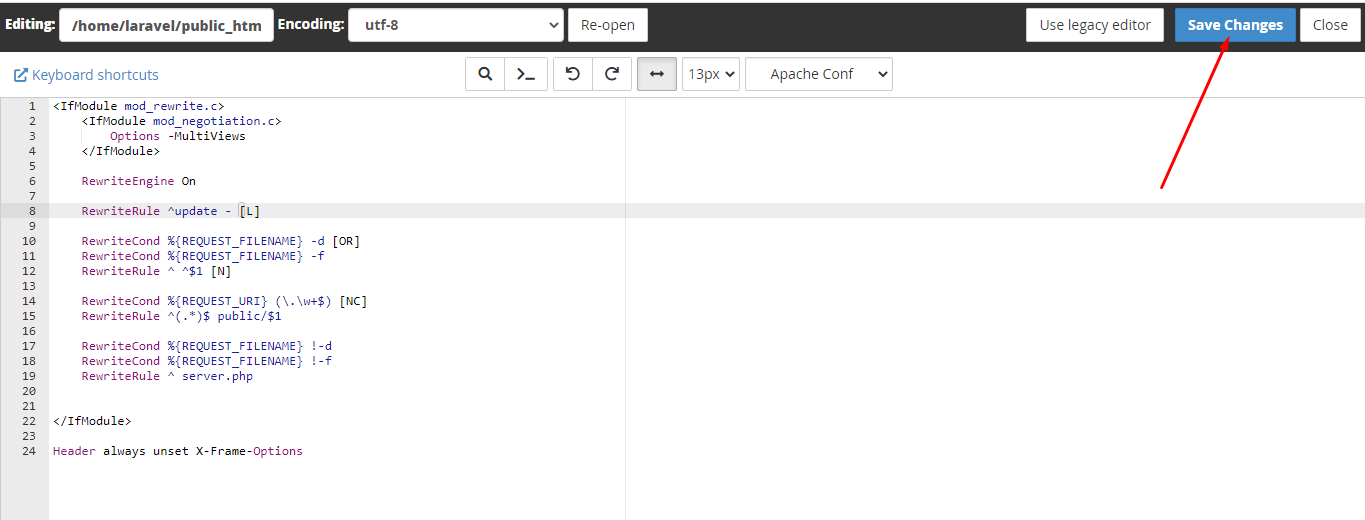
If your script version is less then version 3.7 you have to add new code ".htaccess" file. The code is "RewriteRule ^update - [L]". For add this code go to project root directory, open ".htaccess" file and past this code. See:

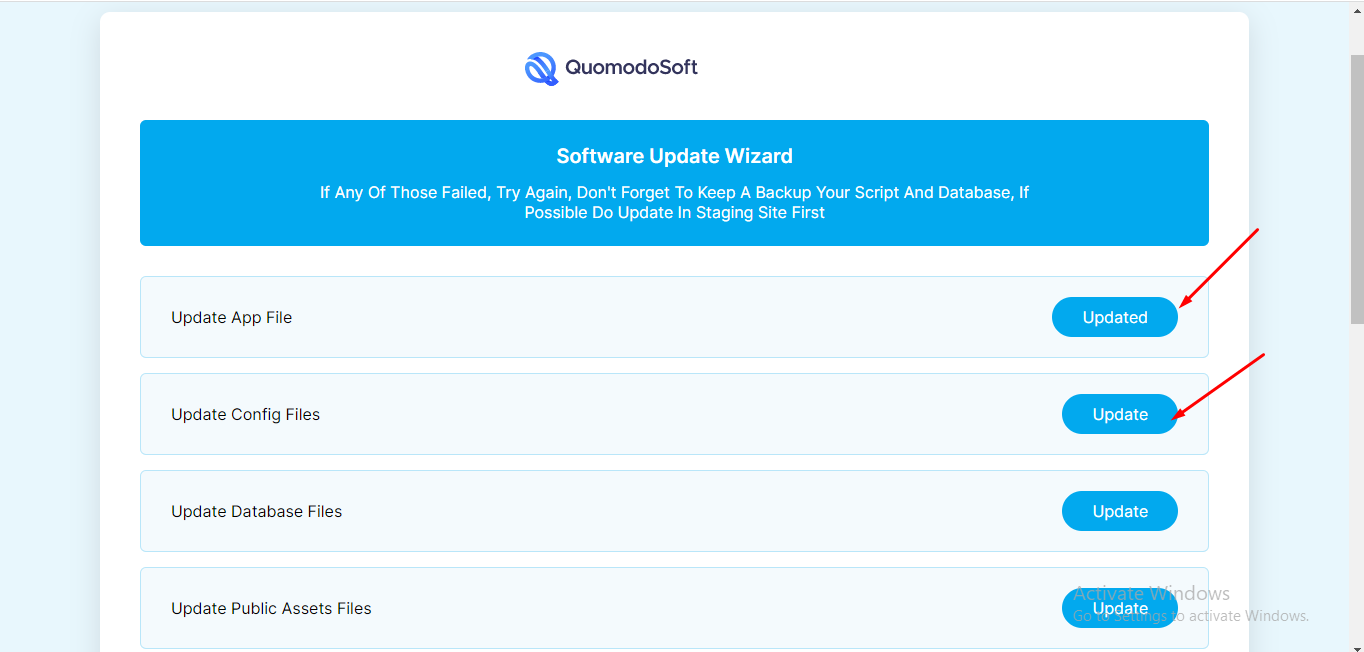
Now you can see our version wizard. See:
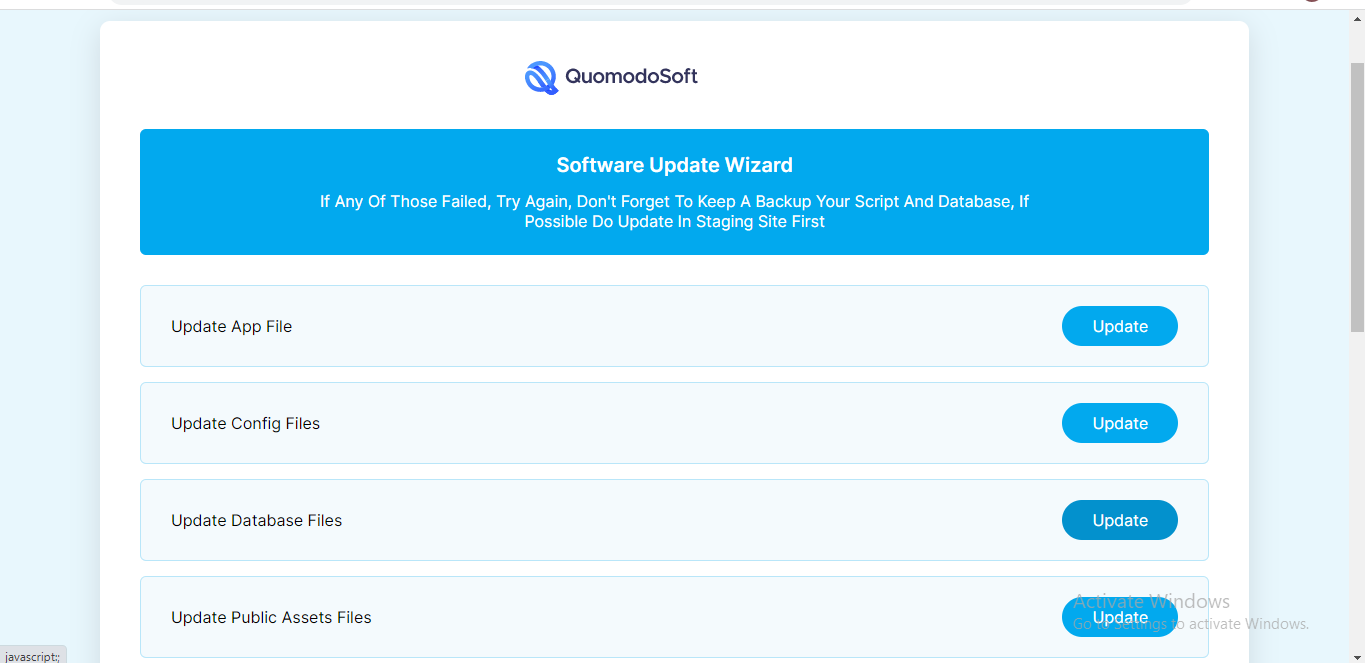
In this page you need to click the update button step by step. After successfully update you can visit your site and enjoy latest version See:
If you need any help from us, you can contact via our support email:
abdur.rohman2003@gmail.com
Our support will reply within 24-48 hours.
Social Login
Social Login credential can be set up from the admin panel. Go to "Setting" from sidebar. See:
To get facebook credentials. go to this link and create a new app :
https://developers.facebook.com/apps
To get google credentials. go to this link and create a new app :
https://console.developers.google.com